
Last updated November 17, 2026
 Wrought iron
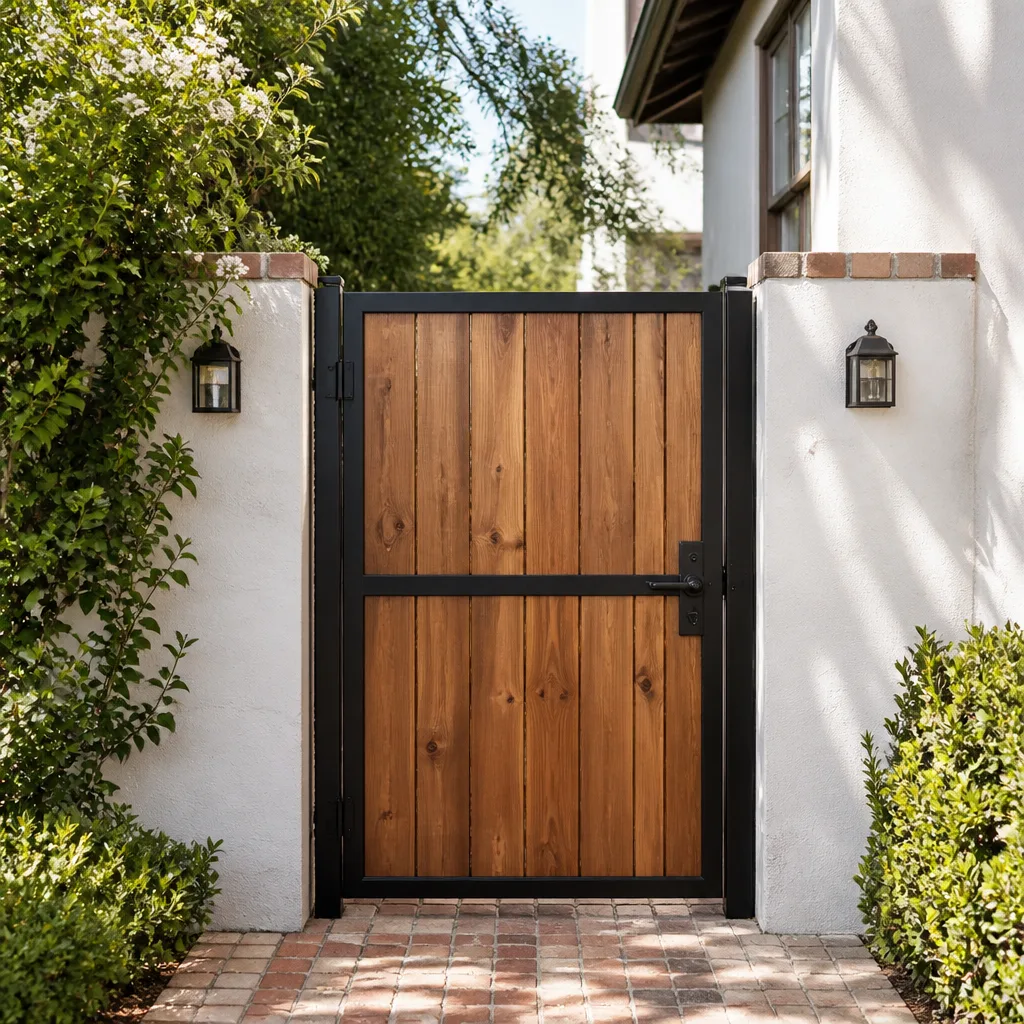 Wood & steel frame
 Farm & ranch
 Sliding driveway gates
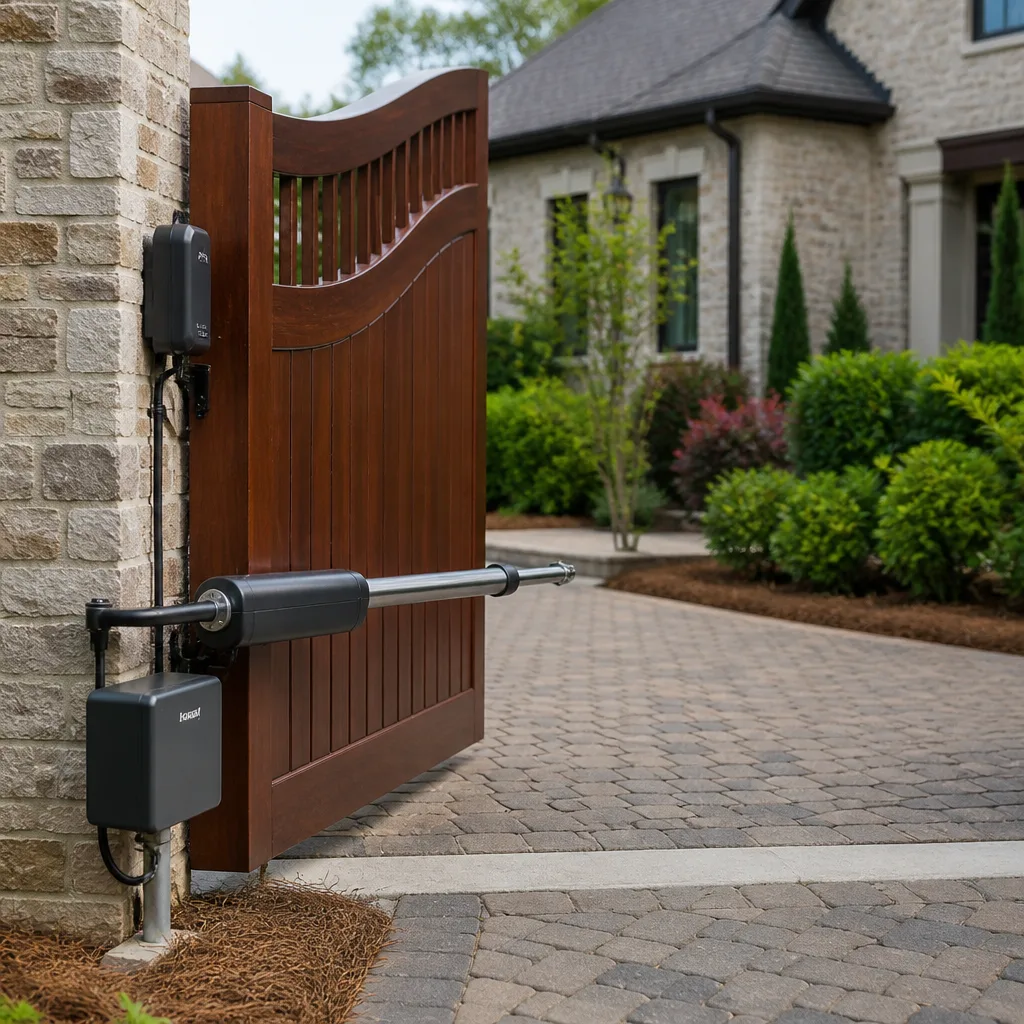 LiftMaster operators
Free on-site gate assessment - hinges, posts, and your LiftMaster or Nice gate operator checked before anything is quoted
The assessment is free and the quote is the invoice.
Get your free estimateDIY vs Professional Gate Motor & Opener: What’s Safe to Do Yourself
Thousands of homeowners successfully mount a gate opener arm on a weekend. Thousands of others void their homeowner’s insurance and create a liability hazard doing the exact same job, because the difference lives entirely in the site conditions they didn’t evaluate first. A like-for-like swap on a gate that already has proper mounting, existing conduit, and a clean power feed is a genuine Saturday job for a careful person. A new opener on a new gate, or a 120V circuit that needs to come from the panel, is a different animal. This guide draws the line clearly, using what we see on driveways across Whitney, so you can judge which side of it your job sits on.
Quick Answer
Replacing an existing opener with the same model on a gate that’s already sound, already wired, and already mounted is genuinely safe to do yourself. Installing a new automatic opener, running 120V power, mounting arms to a gate that wasn’t built for automation, or setting travel limits and safety sensors from scratch crosses into electrical and structural work where a mistake can crush, shock, or leave you uninsured. If your job is the first kind, DIY is reasonable. If it’s the second, hire a gate specialist.
Key Takeaways
- Swap, don’t install: replacing a compatible opener on existing wiring is the clearest DIY case.
- 120V line voltage is where the real danger lives, not the low-voltage control side.
- An opener’s safety sensors and travel limits are life-safety settings, not convenience settings.
- Several manufacturers void the warranty when a non-certified installer does the job.
- Unpermitted automated gate work can complicate a property insurance claim.
- Battery swaps, remote programming, sensor cleaning, and minor limit adjustments are safe for a careful homeowner.
Styles & brands we work with
- Wrought iron
- Wood & steel frame
- Farm & ranch
- Sliding driveway gates
- LiftMaster operators
Table of Contents
- What Counts as a Genuine DIY Job?
- Where the Real Danger Lives on a 120V Opener
- Crush Force, Sensors, and the 500-lb Moving Hazard
- Warranty and Insurance: What DIY Actually Costs You
- Tasks That Are Genuinely Safe to Do Yourself
- When a “Simple Swap” Isn’t Simple
- Common Mistakes to Avoid
- Frequently Asked Questions
What Counts as a Genuine DIY Job?
The honest answer is that “gate motor installation” covers two very different jobs that share a name. The first is a replacement: the gate is already automated, the arm bracket is already bolted to a sound gate frame, the low-voltage control wires are already run to the safety sensors, and the power feed already works. You are putting a new motor where a dead one sat. That is mechanical assembly, and a careful homeowner with a wrench, a level, and the manual can do it.
The second is a new installation. The gate may never have been automated. Or it’s a different brand with different mounting geometry and different force settings. Or the gate itself was hung for manual use and was never built to carry the load of a motor pushing it. That job is structural and electrical at the same time, and the site conditions are what decide it.
Run through this checklist before you decide:
- Does the gate currently have a working opener, or has it ever had one?
- Are the safety sensors already mounted and wired, or do they need to be installed new?
- Is there a dedicated 120V circuit or outlet within reach, or does power need to come from the panel?
- Is the gate frame sound, or is it sagging, bent, or loose on its hinges?
- Does the replacement match the existing opener’s model family and voltage, or is it a different brand?
If you answered yes to the first three and the last two are “matches” and “sound,” you’re on the safe side of the line. If any of the power or mounting answers came back “needs work,” you’re not. When homeowners in Whitney ask us which side of the line their job is on, the honest answer usually comes down to the wiring and the gate frame, in that order. Our Gate Motor & Opener in Whitney page lays out the full scope of what a proper install includes.
Where the Real Danger Lives on a 120V Opener
Here’s the part most DIY guides get wrong. The gate opener itself runs on low voltage at the motor and the control board. The danger is not there. The danger is in the 120V supply that feeds the transformer, and that’s the piece people underestimate.
Most residential gate openers take household current into a transformer, which then feeds the low-voltage controls. If your driveway already has a weatherproof outlet or a dedicated circuit near the gate, and you’re simply plugging in or swapping a matching opener, the electrical risk is minimal. If you need to run new conduit, pull wire from the panel, or install an outlet, that’s licensed electrical work. We’re not being precious about it. A 120V line buried without proper GFCI protection and conduit can fail years later in ways that are genuinely dangerous, and in this part of Nevada the summer heat and the rare but real monsoon rain both work against a sloppy outdoor connection.
The genuinely low-risk part of an opener is the control side: the low-voltage wires to the safety sensors, the keypad, and the remote receiver. Those are safe to handle for a careful homeowner. The line-voltage side is where we recommend a licensed electrician or a gate professional who carries the trade skills.
So the accurate picture is: the actuator and control wiring are manageable. The power feed is not a place to improvise.
Crush Force, Sensors, and the 500-lb Moving Hazard
A steel driveway gate might weigh 300 to 500 pounds. An opener moves that weight on a pivot arm or a sliding track. When the force setting and travel limits are wrong, that weight keeps moving after it should have stopped, and the safety sensors don’t catch what the settings didn’t tell them to.
This is the single most consequential setting on the entire opener, and it’s the one most often set by trial and error during a DIY install. Manufacturers publish force and obstruction-sensor calibration procedures for a reason. The opener has to reverse or stop when the gate meets an obstruction of a specified resistance, and that threshold has to be set precisely, then tested.
- Mount the opener per the manual, with the gate in its fully open and fully closed positions verified by hand first.
- Set the open and close travel limits by hand, physically confirming each endpoint before powering the motor.
- Set the force limit to the manufacturer’s specified threshold, not looser.
- Test the obstruction sensor and the inherent force-reversal by putting a test object in the gate’s path, both a solid 2×4 and a softer test piece, at more than one position.
- Verify the sensors are aligned and the gate stops when the beam is broken.
- Run at least a full open-close-open cycle under power and watch the whole path, every time.
Skipping step four because the gate “looks like it reverses fine” is the mistake. We regularly see setups in Whitney where a gate reverses on a light touch but doesn’t sense a child or a pet who touches the frame near the hinge, where the load is different. That’s not a software bug. It’s a force setting that was never calibrated to the manufacturer’s spec.
Warranty and Insurance: What DIY Actually Costs You
This is the cost that doesn’t show up until you need it. Manufacturer warranty coverage on gate openers is often conditioned on installation by a qualified professional. A DIY install by a non-certified installer can void the warranty entirely, meaning a motor that fails at eighteen months is out of pocket instead of replaced.
Insurance is subtler and more serious. A homeowner’s policy covers accidents arising from a properly maintained and permitted installation. When automated gate work requires a permit in your jurisdiction and it wasn’t pulled, or when the work doesn’t meet code for protective devices and force settings, a claim can be denied or the liability can land on you if someone is injured. We handle gate automation for homeowners who call us after a claim went sideways, and the paperwork is the same in nearly every case.
Two honest qualifiers. First, requirements vary by jurisdiction and by insurer, so check with your local building department and your insurance agent before assuming a rule applies to you. Second, the warranty clause varies by brand. Elite, Mighty Mule, LiftMaster, and FAAC each handle installer qualifications differently. Read the specific terms for the model you’re considering, and if the language about “qualified installer” is unclear to you, assume the manufacturer intends it to be read strictly. In our experience across our branded service work, that’s the safe reading.
Tasks That Are Genuinely Safe to Do Yourself
There’s a real list here, and we’d rather you had it than not. None of these cross into electrical or structural work.
Safe for a careful homeowner
- Battery replacement in the safety sensor and in the backup battery unit, following the manual.
- Programming remotes and keypads, including adding a new remote and removing a lost one.
- Cleaning the safety-sensor eyes, since a leaf or a smear of dirt causes more “failures” than anything else.
- Minor limit adjustments where the manual documents the procedure and the gate clearly over-travels.
- Cleaning and lubricating the gate hinges and track, which reduces the load on the opener itself.
- Verifying the gate closes fully and reverses on a test object, as routine maintenance.
Stop, and call someone
- Running new 120V power or conduit to the gate.
- Mounting an opener to a gate that has never had one.
- Setting force limits and sensors from scratch.
- Anything where the gate sags, drags, or moves by hand with resistance.
- A replacement with a different brand or different mounting geometry.
Our guide to Gate Repair in Whitney is the place to start if you’re not sure which category a symptom falls into.
When a “Simple Swap” Isn’t Simple
Most failed swaps we see started as “I’m just replacing the same model.” Then the old opener came off and the new one didn’t line up, or the gate’s hinge bracket had rusted through, or the safety sensors were wired in series, or the old model is discontinued and the new replacement has a different arm length. This is where a swap becomes an install, and the line moves.
We see this pattern a lot on the older estates around Whitney, where a gate has been automated for decades and the original mounting hardware is no longer standard. The gate frame may be sound, but the mounting plate isn’t. The conduit may be there, but the run wasn’t sized for a modern opener with more electronics on it. None of that means DIY is impossible. It means the site conditions weren’t evaluated before the old unit came down.
If you’re considering replacing an opener on an existing automated gate in Whitney and want the job measured and quoted correctly before you commit, our Gate Installation in Whitney page covers how a proper install is scoped. The professional route here is not about capability. It’s about the fact that mounting and force settings on a 500-lb moving object have no margin for a guess.
Common Mistakes to Avoid
- Buying the opener before checking the gate. If the gate sags or drags by hand, the opener is the wrong place to start, and no motor will fix a bent hinge. In Whitney’s dry heat, gate frames and hinges take a decade of load before the symptom shows up, so check them first.
- Skipping the obstruction-sensor test. A sensor that’s aligned on the bench can drift out of alignment once the gate swings, and it can be out of alignment for months before anyone notices. Test it after every install.
- Setting the force limit loose “to be sure it closes.” That doesn’t make the gate safer. It makes the gate less likely to stop when it should. Follow the manufacturer’s threshold and recalibrate if the gate binding changes.
- Running power without GFCI and conduit. Nevada outdoor heat and the occasional monsoon both test a sloppy connection. That’s a licensed-electrical job.
- Assuming your policy covers an unpermitted install. It often doesn’t. Check before, not after.
- Not keeping the manual. Every manufacturer publishes the force and sensor calibration procedure for the specific model. A remote programming code you didn’t save will cost you a call.
- Confusing a low-voltage sensor with line voltage. The sensor wire is safe to handle. The supply transformer is not. Know which side of the box you’re in.
See the difference
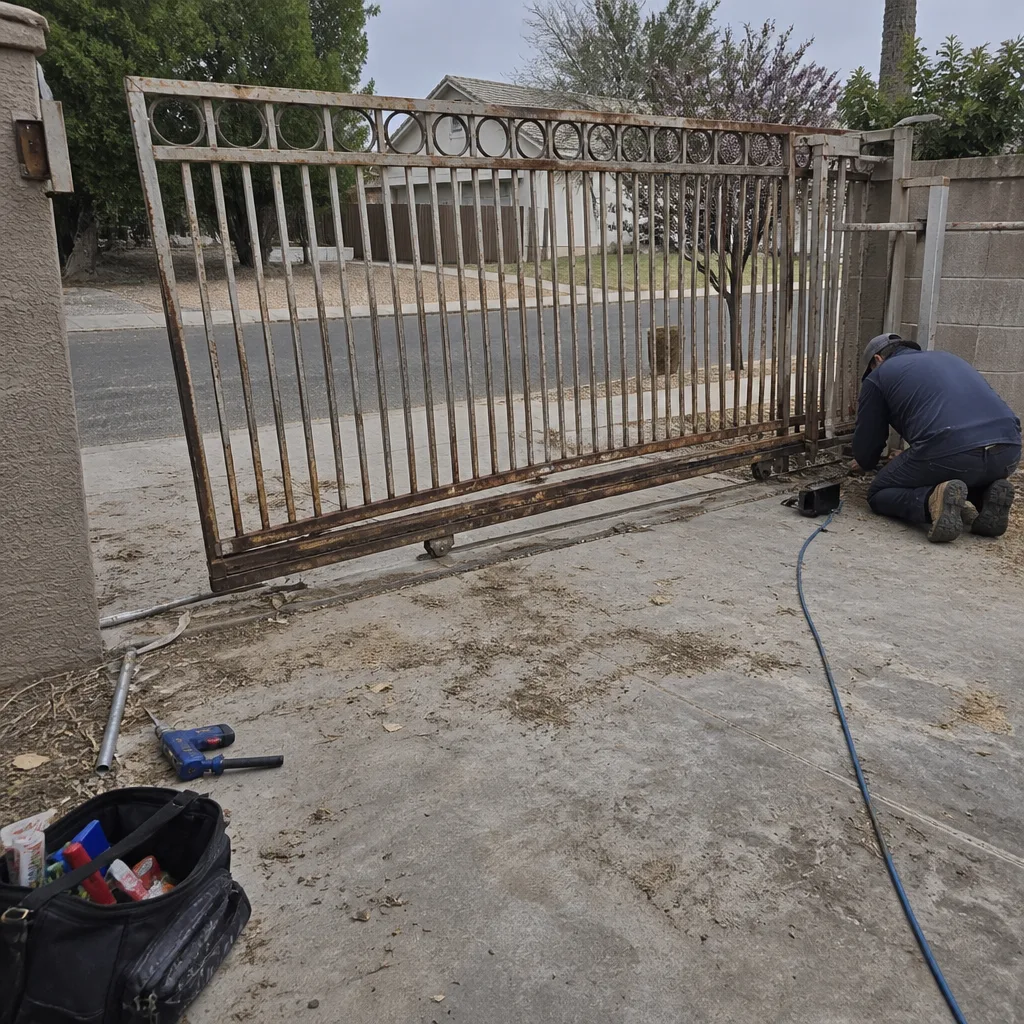 Before
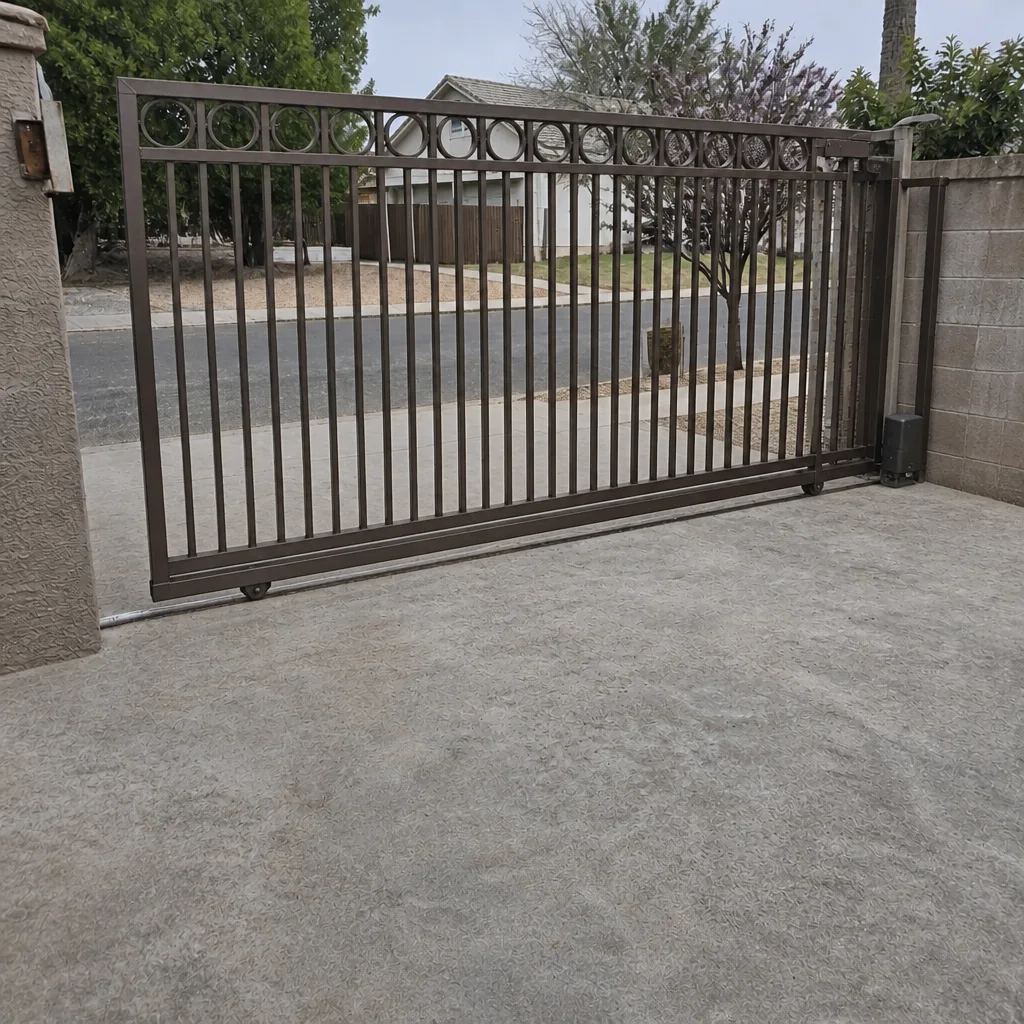 After
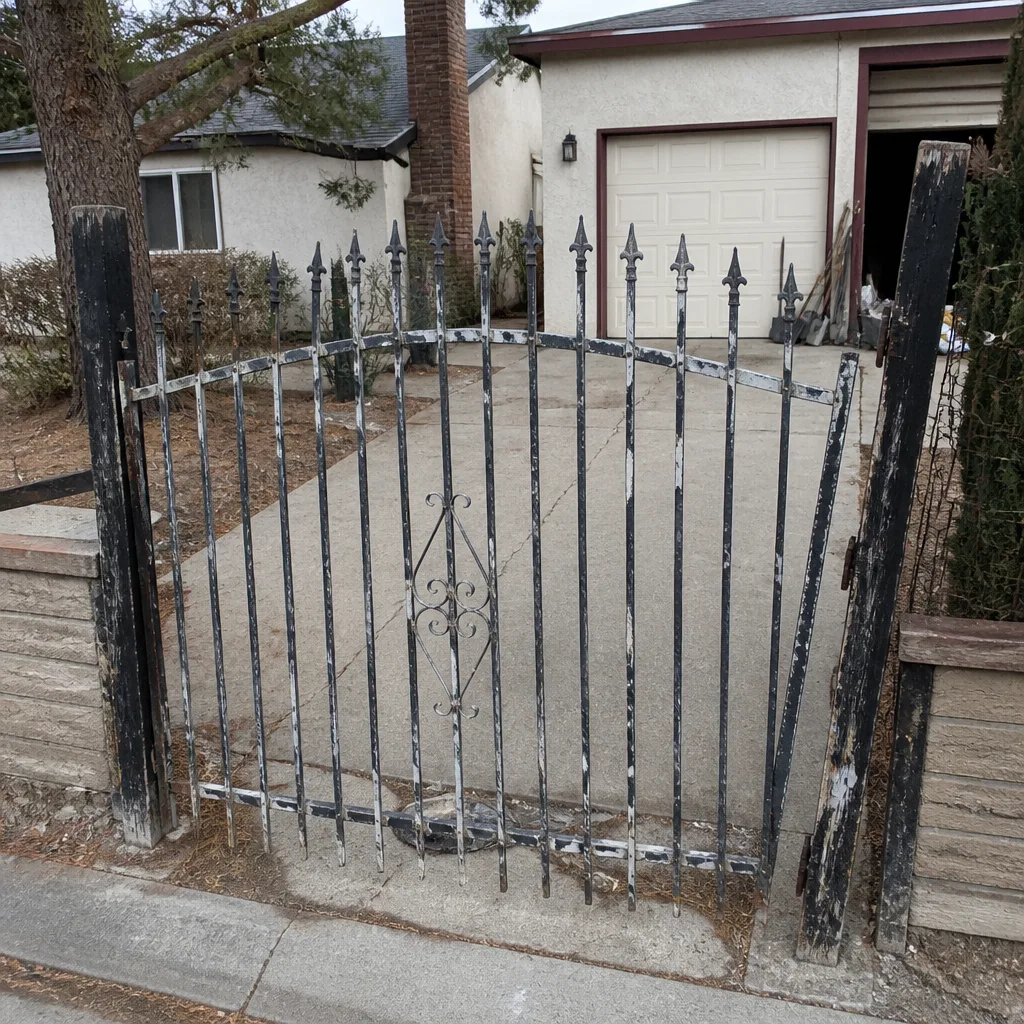 Before
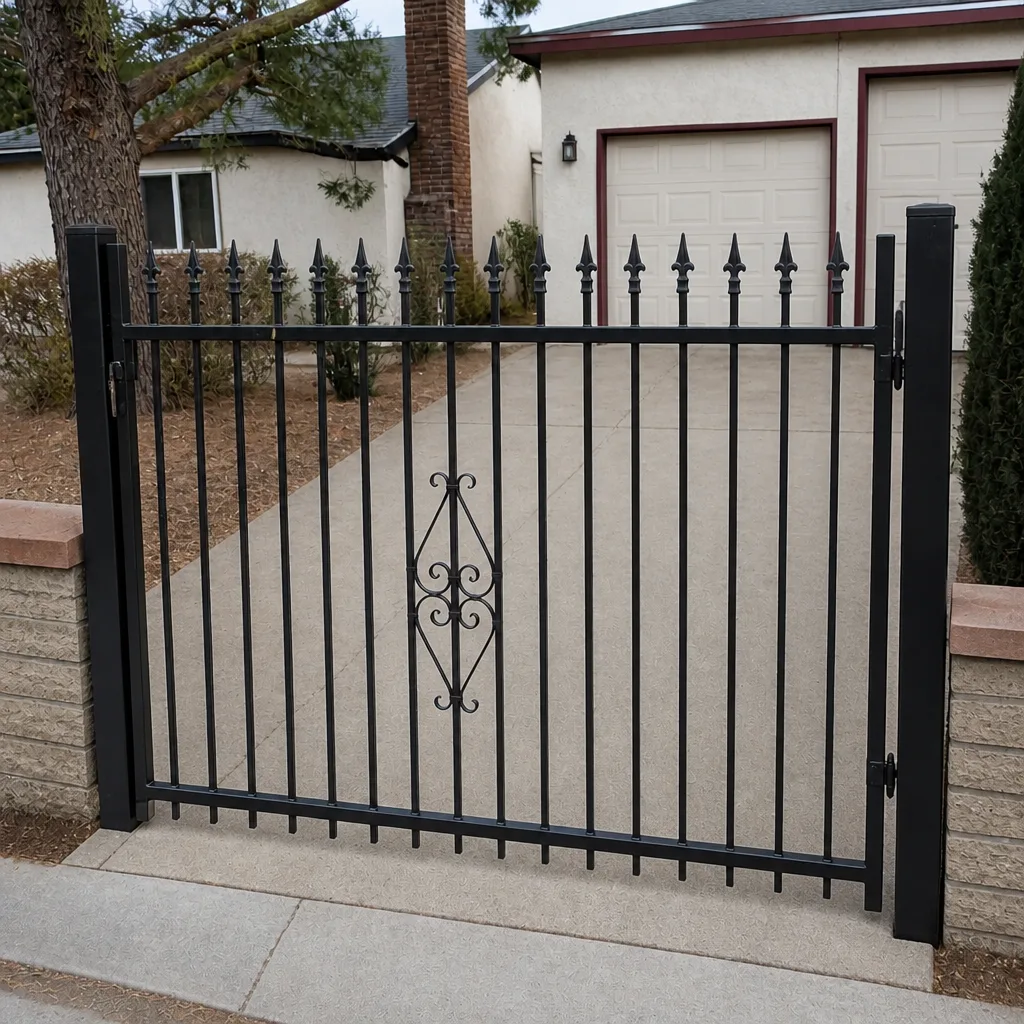 After
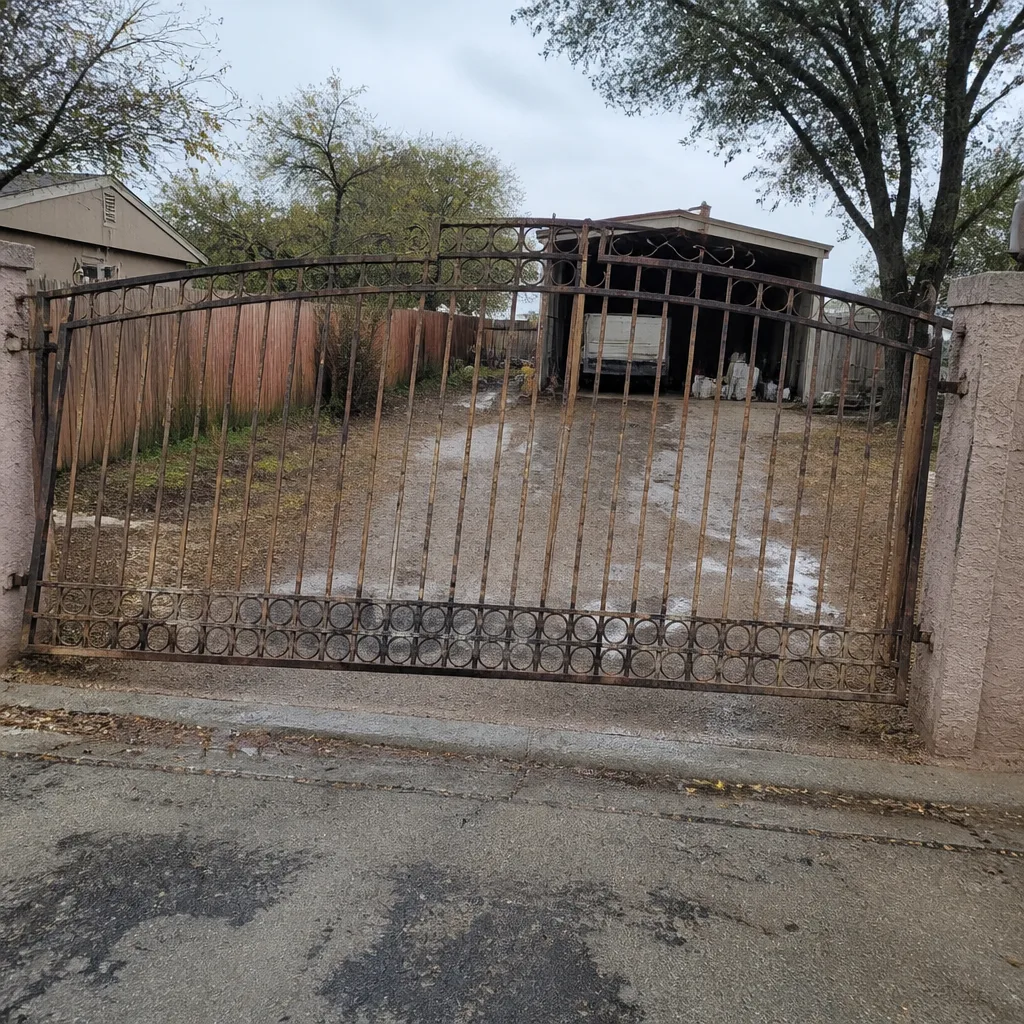 Before
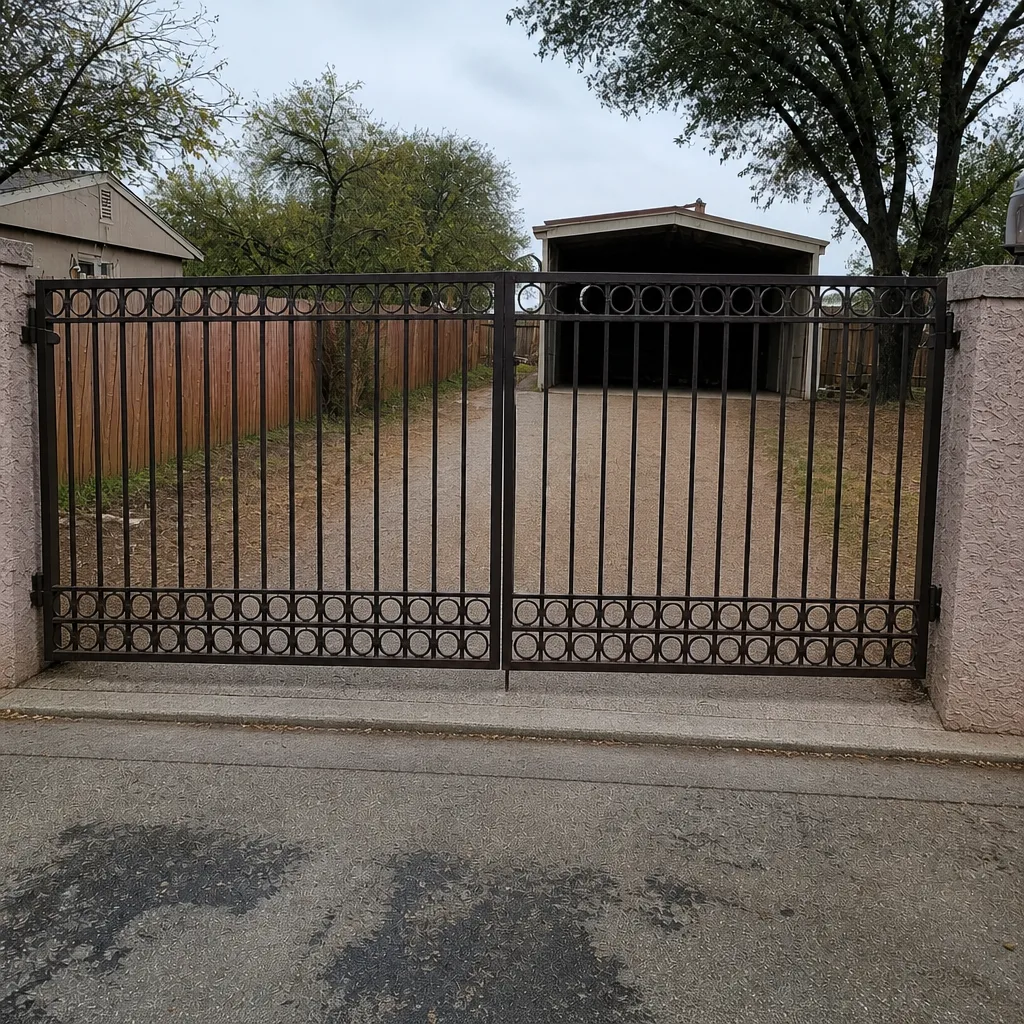 After
When to Call a Professional
Call a professional when any of these is true: the gate has never been automated; power needs to come from the panel; the safety sensors need to be installed new; the gate is heavy, sagging, or on a slope; the replacement doesn’t match the existing opener; or the work requires a permit. Those aren’t edge cases. They’re the practical situations where a mistake compromises safety or coverage.
Our team is trained and equipped on LiftMaster, FAAC, and the other major automation brands, and we complete most jobs in a single visit with pricing settled before any work begins. Ironworks Gate Co. Whitney offers free estimates in Whitney. Call (855) 928-1304 and we’ll tell you honestly which side of the line your job is on.
Frequently Asked Questions
Yes, if it’s a like-for-like replacement on a gate that’s already automated, already has working low-voltage sensor wiring, and already has a dedicated 120V supply in place. The task is mechanical assembly in those conditions, and a careful homeowner with the manual can do it. If any of those three aren’t true, the job has crossed into electrical or structural work.
Possibly. Several manufacturers condition warranty coverage on installation by a qualified professional, and the specific terms vary by brand and model. Read the warranty language for the exact unit you’re buying. If it specifies a qualified installer and you’re not one, assume the coverage won’t apply to a failure claim.
Yes, the supply side is. The motor and control board run on low voltage, but the transformer feeding them takes a 120V household supply, and a poorly run outdoor connection can fail in ways that are genuinely hazardous. The control and sensor wiring is safe to handle; the line-voltage feed is where you need an electrician or a qualified gate professional.
Every properly installed automatic gate has a force-reversal requirement, and the hazard is real on any gate over a few hundred pounds when the settings aren’t calibrated. Test the gate by placing a solid object in its path while it closes and confirming it reverses. If it doesn’t reverse, the force setting and sensor haven’t been set correctly, and that’s a stop-and-call-a-professional issue.
Automated gate installation often requires a permit, and requirements vary by jurisdiction and by insurer. Check with your local building department before you start. Pulling the permit isn’t just paperwork. It’s the record your insurer may ask for if a claim ever involves the gate.
Battery replacement, remote and keypad programming, safety-sensor cleaning, hinge and track lubrication, and minor limit adjustments the manual documents. Those are the tasks that don’t involve line voltage, don’t change the force settings, and don’t touch the mounting. Everything past that should go to a professional.
If you want a free second look at what you’re planning, our Gate Repair in Whitney team will give you an honest read, and Ironworks Gate Co. Whitney home has the full scope of what we do.
The Bottom Line
The DIY question on a gate opener is a site-conditions question, not a talent question. A like-for-like swap on a sound gate with existing conduit and sensor wiring is mechanical assembly, and it’s reasonable for a careful homeowner. A new installation, a new 120V run, a force-limit calibration from scratch, or a mounting job on a gate that was never built for a motor is structural and electrical work, and the margin for a mistake is a 500-lb moving object. Battery swaps, remote programming, sensor cleaning, and minor limit adjustments are always yours to do. Everything else is where the written warranty, the insurance, and the safety sensors all point to a professional.
If you’re not sure which side of the line your driveway in Whitney sits on, call us. Ironworks Gate Co. Whitney offers free estimates, upfront pricing settled before a single bolt is turned, and a written 90-Day Done Right Promise on every job. Call (855) 928-1304 for a free estimate.
Written by the team at Ironworks Gate Co. Whitney.