
Last updated November 17, 2026
 Wrought iron
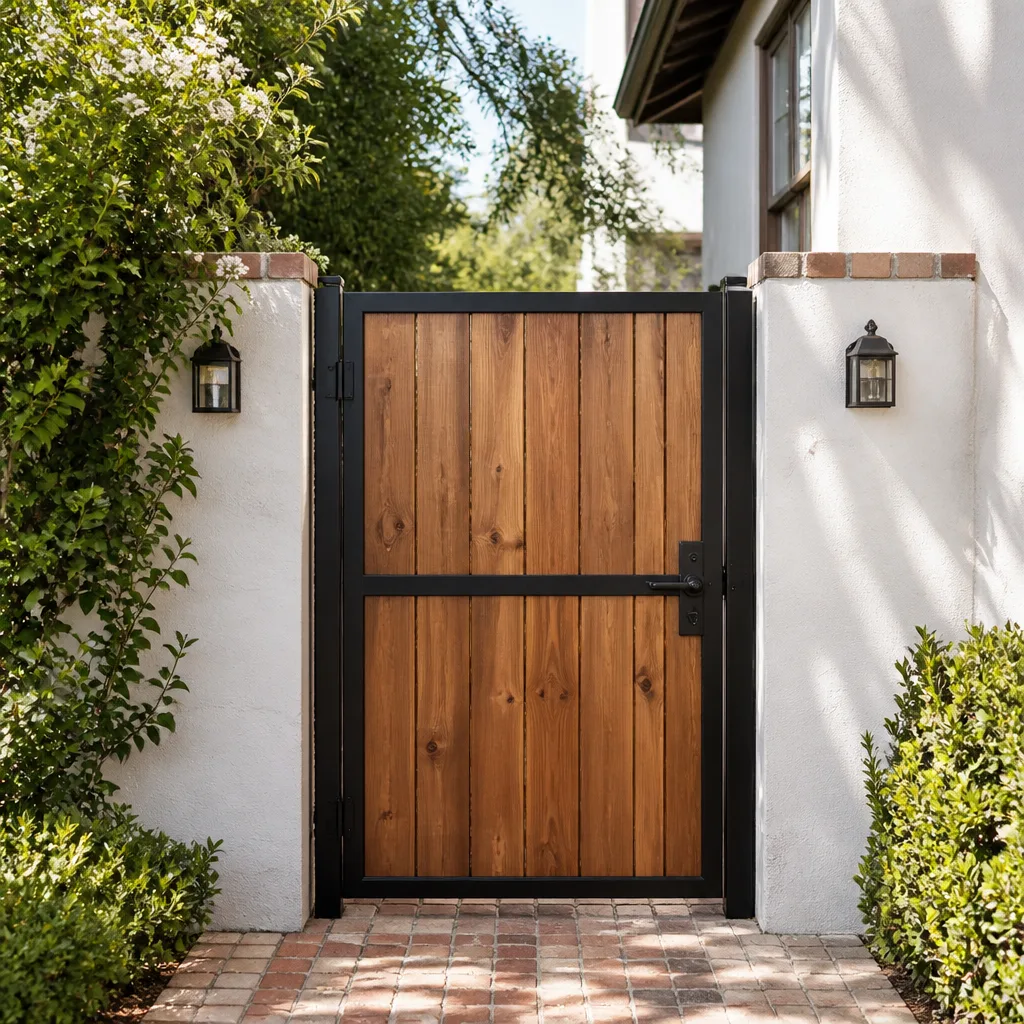 Wood & steel frame
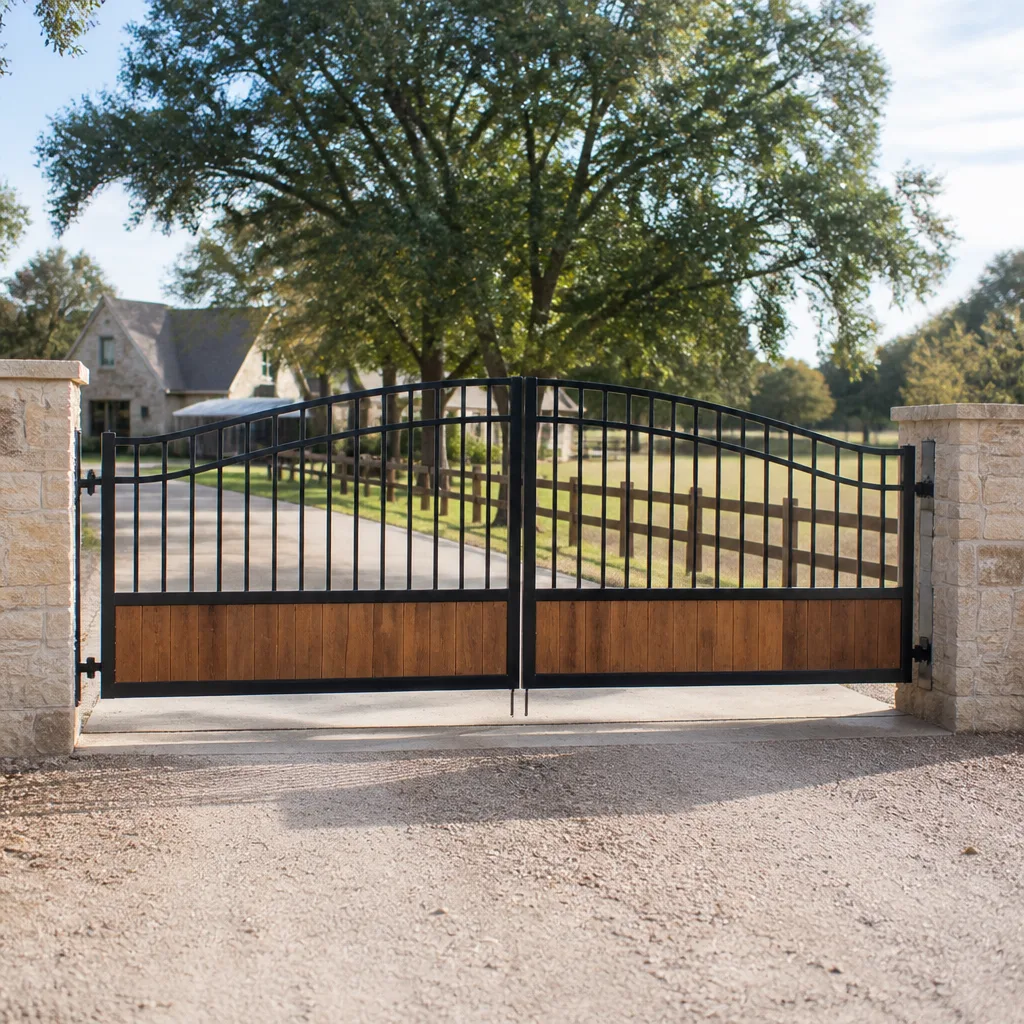 Farm & ranch
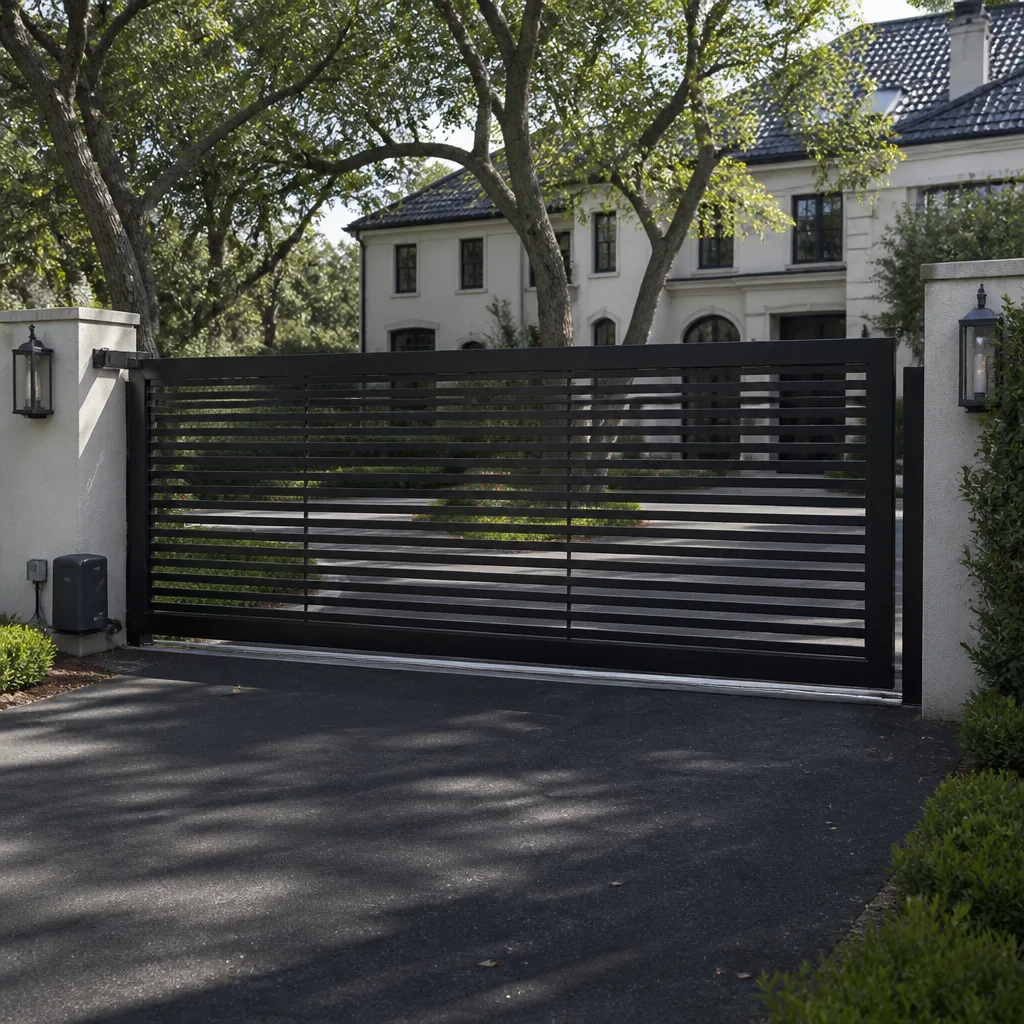 Sliding driveway gates
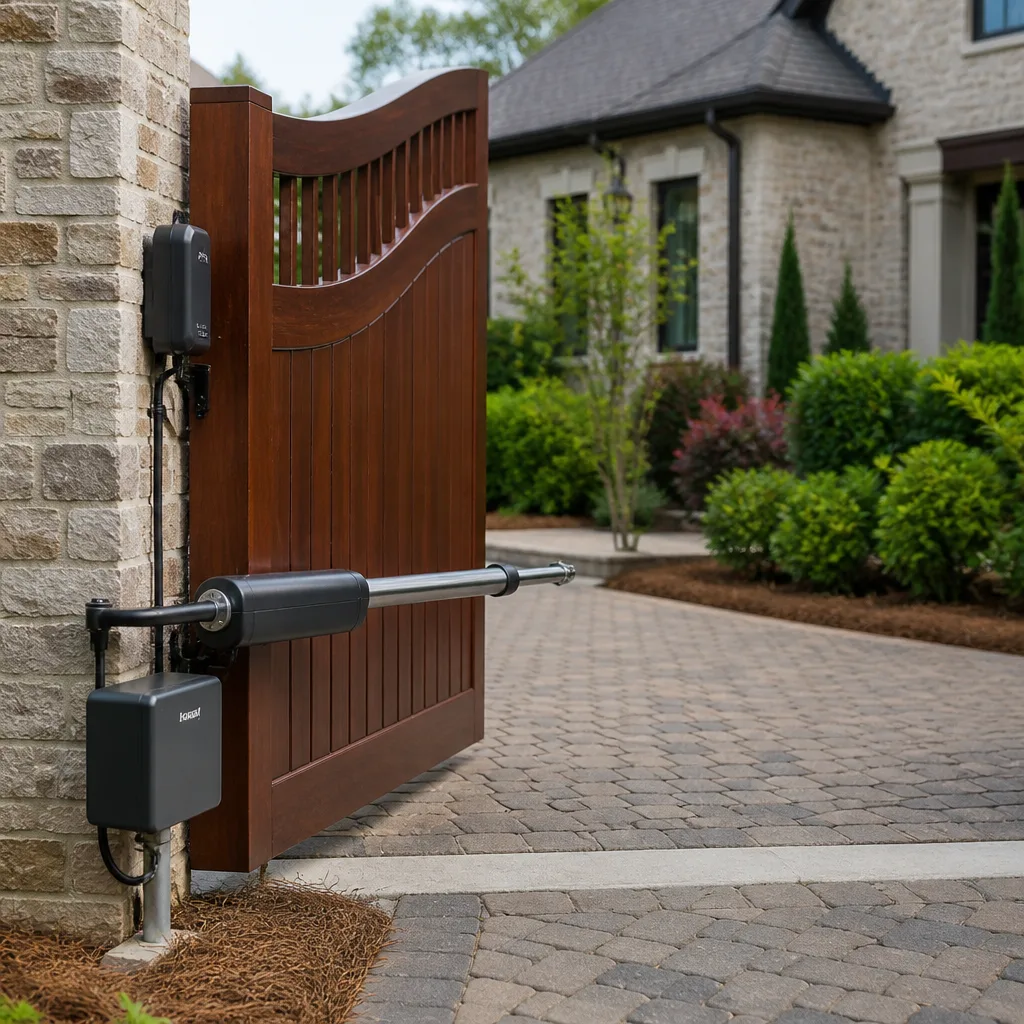 LiftMaster operators
Free on-site gate assessment - hinges, posts, and your LiftMaster or Nice gate operator checked before anything is quoted
The assessment is free and the quote is the invoice.
Get your free estimateDIY vs Professional Gate Installation: What’s Safe to Do Yourself
Here’s the fact most DIY gate guides skip: a homeowner who pours a perfect concrete footing and owns a welder still can’t legally finish the job alone. Automated gates in Nevada require safety entrapment protection that meets UL 325, and programming those sensors correctly is a certified skill. Skip it and you haven’t saved money – you’ve created liability. This guide breaks down the four disciplines a full installation demands, where a capable homeowner can honestly help, and where the work belongs to a trained hand. If you’re weighing DIY against a pro in Whitney, read this before you dig a single post hole.
Quick Answer
A driveway gate installation is safe to DIY only in its early, non-regulated stages: site layout, footing excavation, and concrete work on a swing or slide gate with no automation. Welding structural gate frames, running electrical to the operator, and programming safety sensors to UL 325 standards are not homeowner-safe or, in the automation case, legally compliant unless done by a trained installer. If your gate will open automatically, the regulated components belong to a professional.
Styles & brands we work with
- Wrought iron
- Wood & steel frame
- Farm & ranch
- Sliding driveway gates
- LiftMaster operators
Table of Contents
- The Four Disciplines a Gate Installation Actually Requires
- Nevada Code and UL 325: What Applies No Matter How Skilled You Are
- A Realistic Skill Audit: Where Do You Honestly Stand?
- The Hidden Cost of a DIY Install That Needs Correcting
- How to Structure a Partial-DIY Project
- Questions to Ask a Gate Installation Company Before Signing
- Common Mistakes to Avoid
- When to Call a Professional
The Four Disciplines a Gate Installation Actually Requires
Gate installation isn’t one trade. It’s four, and they have to happen in the right order. A mistake in any one of them ripples into the next. That’s why the honest question isn’t “can I do this?” but “can I do all four, in sequence, without one step undermining another?”
Here’s the breakdown:
- Concrete and site work. Footings, post alignment, grade, and drainage. This is the one stage where a careful, experienced homeowner can genuinely hold their own – if they understand frost lines, soil conditions, and how a post settles over time in Southern Nevada’s caliche and shifting soils.
- Metalwork and welding. Gate frames, hinges, stops, and reinforcement. A welder who’s built fences may still miss structural load calculations for a wide swing gate. A gate that sags at year three usually failed at the weld, not the hinge.
- Electrical rough-in. Running conduit and power to the operator location, low-voltage control wiring, keypads, and any access control. This touches code in ways a general handyman often overlooks.
- Automation and safety programming. Installing the operator, setting travel limits, and – critically – configuring the entrapment sensors so the gate reverses or stops correctly. This is where certification matters most.
Whitney homeowners with large lots and long driveways often want a slide gate, which adds a track and a different foundation profile to the mix. The order still holds. Skip a step, and the gate may look fine for a season before it doesn’t.
Nevada Code and UL 325: What Applies No Matter How Skilled You Are
Automated gate safety isn’t optional. UL 325 is the standard that governs gate operators, and it requires entrapment protection – typically photo-eye sensors or edge sensors – on any automated gate near a driveway or public walkway. These aren’t accessories. They’re the difference between a gate that stops when a child walks through it and one that doesn’t.
The practical requirements for an automated gate:
- At least one primary entrapment protection device (photo eye or edge sensor) configured to reverse or stop the gate.
- Correct sensor placement so there’s no gap in coverage at the point of travel.
- Operator settings that match the gate’s weight, speed, and travel, so limits and force are correct.
- Proper low-voltage wiring and, where applicable, a disconnect at the power source.
The catch is that “configured correctly” isn’t a spec you can read off a box. It depends on the operator, the sensor type, and the gate’s behavior. This is exactly where we’ve seen DIY installs come undone in Whitney – sensors wired but not calibrated, or an operator set to a force limit that overrides the safety device. A gate that closes on a car because a sensor wasn’t set right is a legal exposure the homeowner owns, not the manufacturer.
If you want the regulated components handled correctly from the first visit, our Gate Motor & Opener in Whitney service covers the full automation scope. For gates without motors, the safety rules ease, but structural integrity doesn’t.
A Realistic Skill Audit: Where Do You Honestly Stand?
Most homeowners overestimate one discipline and underestimate another. Here’s an honest threshold for each, based on what actually goes wrong on a Whitney install.
- Concrete: You can do this yourself if you’ve poured footings before, understand soil bearing, and know how to check post alignment with a level and string line. If you’ve never finished concrete, hire it.
- Welding: You can handle this if you weld structural steel regularly and can calculate the load on a gate leaf. Occasional welding isn’t enough. A 12-foot swing gate carries real force at the hinge and stop.
- Electrical: You can run conduit and pull wire if you’ve done it before and understand local code for outdoor circuits. Tying into a panel is where many homeowners should stop.
- Automation: This is the discipline that separates a safe install from a risky one. Unless you’re trained on the operator brand and have configured safety sensors before, this is professional work. Our technicians are trained across nine gate-automation brands, including LiftMaster, FAAC, BFT, and Linear, so we meet the operator where it is rather than guessing.
A simple rule: if any one of the four disciplines falls below “confident and experienced,” the whole project should move toward a professional. The disciplines don’t stay in their lanes.
The Hidden Cost of a DIY Install That Needs Correcting
The math on DIY changes the moment a professional is called in to fix what’s already there. A fresh install from a professional is priced for a known job. A correction on a post that’s set in the ground, or an operator that’s mounted but miswired, is priced for undoing plus doing. That’s more hours, not fewer.
What drives the extra cost:
- Removing a set post. A footing that cured wrong has to be broken out and repoured, including the concrete and the labor to extract it.
- Re-welding a structural joint. A frame that flexes has to be reinforced or rebuilt, often with the gate taken down and re-hung.
- Correcting electrical. Conduit run to the wrong spot or wire sized incorrectly means redoing the run, sometimes with a new trench.
- Replacing an operator or sensor that was damaged during a DIY attempt. Electronics don’t tolerate miswiring, and the safety devices are not field-repairable once fried.
We see this pattern often in established Whitney neighborhoods like those off I-15, where a homeowner with real concrete skill gets the footing right and everything downstream wrong. The honest upfront fix would have been less than the rework. If you’ve already started and want a second opinion before spending more, we offer a free second opinion on any written estimate.
How to Structure a Partial-DIY Project
Partial DIY is the sweet spot for capable homeowners, and it works when you split the work honestly. The idea is to own the unregulated stages and hand off the ones that carry code and safety weight.
- You do: site layout, excavation, and the concrete footing, using the exact post spacing and depth the gate design calls for.
- You do (if qualified): grade and drainage, and any finish landscaping around the installation.
- The professional does: welding or verifying the structural gate frame, hanging the leaf, and setting hinge alignment.
- The professional does: running electrical, mounting the operator, and programming the entrapment sensors to UL 325.
- Confirm in writing: which stages the professional will and won’t take, and who owns the concrete if the gate later settles.
The trick is coordination. Whoever hangs the gate needs the posts set correctly first, and whoever wires the operator needs the electrical in the right place. If you’re running the concrete stage, get the professional lined up before you pour so the post spacing matches their template. That’s the part where partial DIY succeeds or fails. For a clearer picture of the full scope, our Gate Installation in Whitney page walks through what a complete professional install covers.
Questions to Ask a Gate Installation Company Before Signing
Before you sign anything, get clear answers in writing. The right company will welcome these; the wrong one will get vague.
- Are you licensed and insured? Ask for proof – not a verbal yes.
- Which automation brands are your technicians certified on? A company that names specific brands (LiftMaster, FAAC, BFT, Linear, and others) is trained. A company that says “we handle all of them” without naming any is a flag.
- What does your written warranty actually cover? Parts, labor, the weld, the concrete, and the automation are separate; get each one in writing.
- Is the price settled before work starts? It should be. A no-surprise bill means the quote is agreed upfront, not estimated and adjusted later.
- Does your crew have a verified background? For work that includes an electrical component on a home’s perimeter, ask for it.
- What happens if the gate doesn’t work right after install? The answer should be a written promise, not “call us and we’ll see.”
Our own promise is a written 90-Day Done Right Promise on every job, and we’re happy to put that in writing before work begins. A good company will too.
Common Mistakes to Avoid
- Pouring a footing before buying the gate. Post spacing and depth depend on the gate, not the other way around. Homeowners who pour first and shop second almost always repour.
- Setting sensor height to the manufacturer’s floor value. That height doesn’t account for your driveway grade or a child’s reach; calibrate to the site, not the spec sheet.
- Assuming a wider gate is just a bigger version. A 16-foot slide gate has different track, foundation, and operator needs than an 8-foot one. Whitney lots often favor longer gates, so sized-for-the-site matters here.
- Running electrical after the gate is hung. Wire the operator location first; retrofitting conduit around a set post and hung gate is the most expensive correction we see.
- Skipping the second entrapment device on a gate near a walkway. UL 325 expects coverage where people pass; one sensor isn’t always enough.
- Testing an automated gate by standing near it. Test with a physical obstruction, and confirm the gate reverses or stops cleanly. Never test by standing in the gate’s path.
- Assuming a warranty survives DIY work. Most operator warranties are voided by unlicensed electrical work. Check before you touch the wiring.
When to Call a Professional
Call a professional when the gate will be automated. The entrapment sensors and operator settings are regulated, and the liability for getting them wrong lands on the homeowner. Call a professional if you’re welding structural steel without structural experience, or running a new electrical circuit without prior electrical work. And call if the gate is heavy, taller than standard, or on a slope – those load calculations aren’t a weekend project. Our technicians have up to 13 years of experience and are trained across nine automation brands; they also stand behind every job, which is the part DIY can’t match. Ironworks Gate Co. Whitney offers free estimates in Whitney – call (855) 928-1304. If you’d rather start with a repair question, our Gate Repair in Whitney service is the place to begin.
See the difference
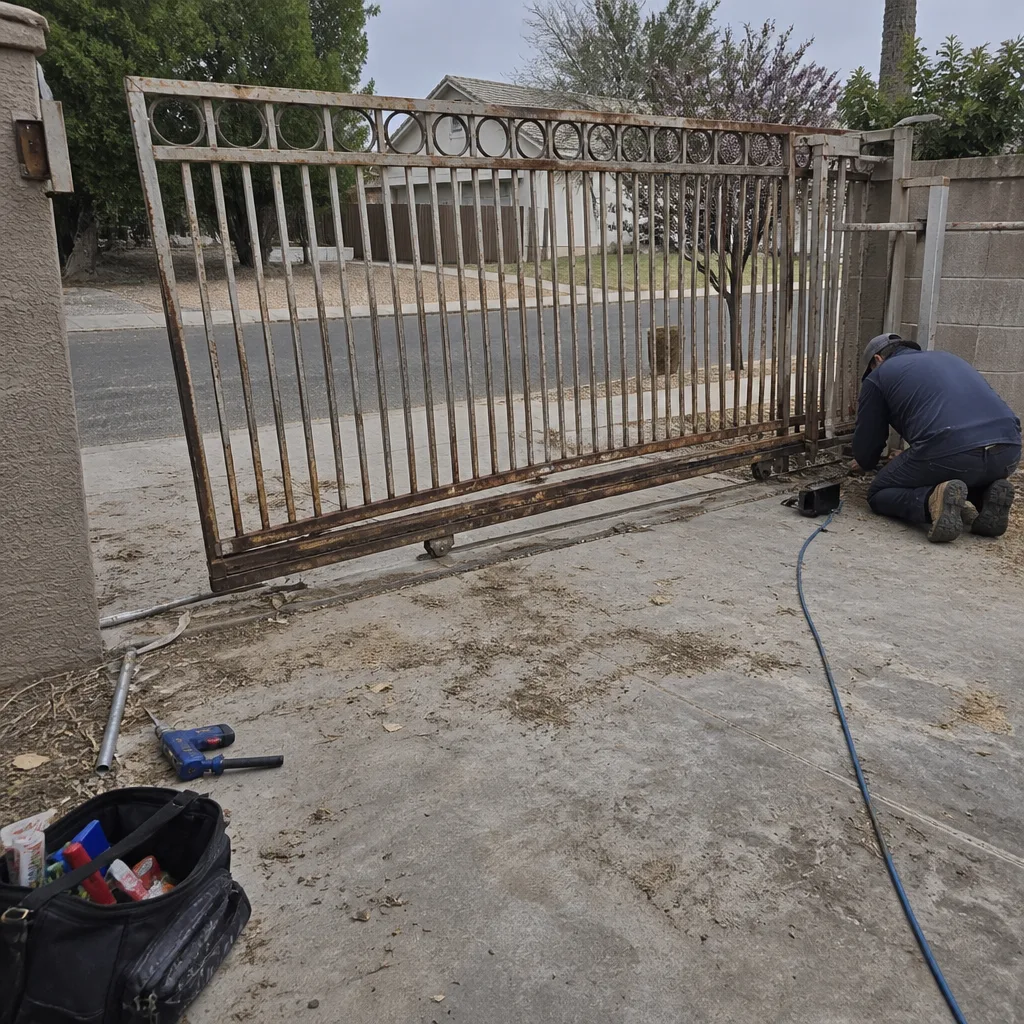 Before
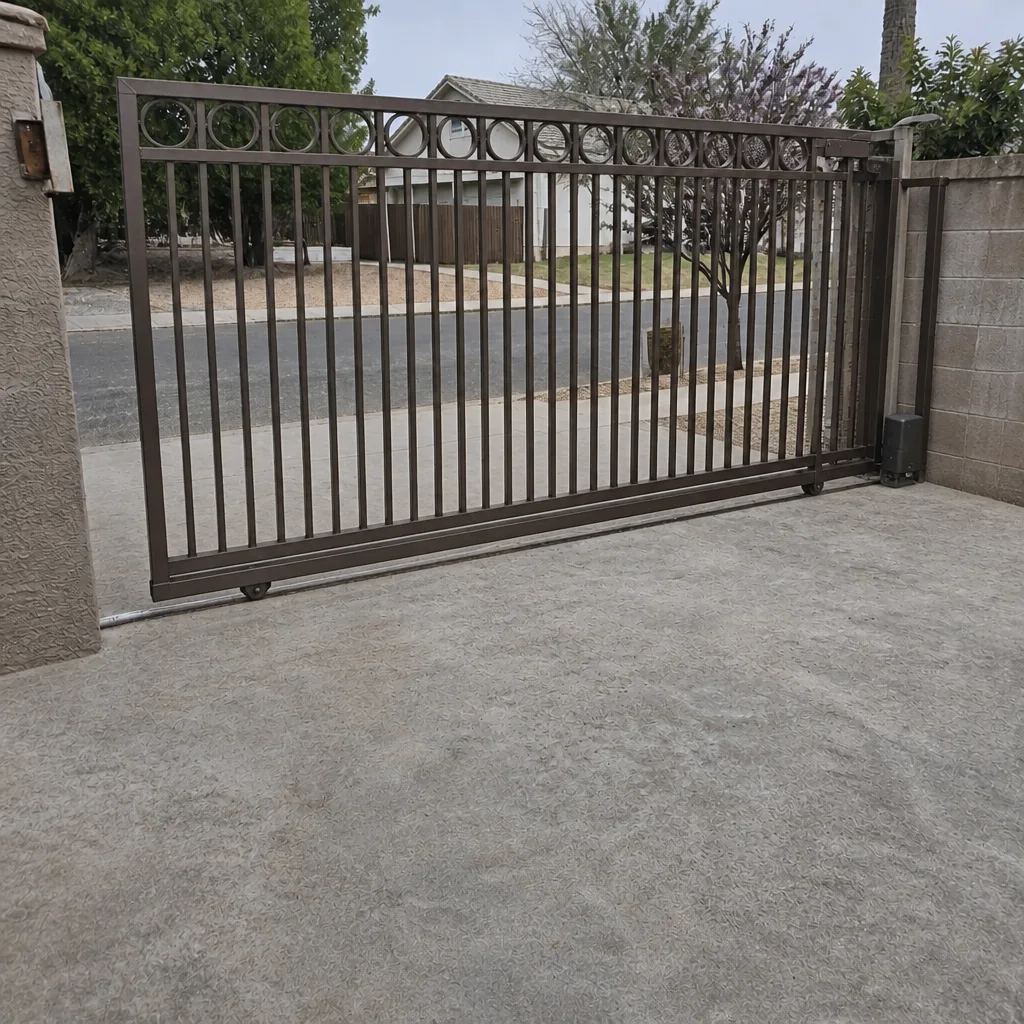 After
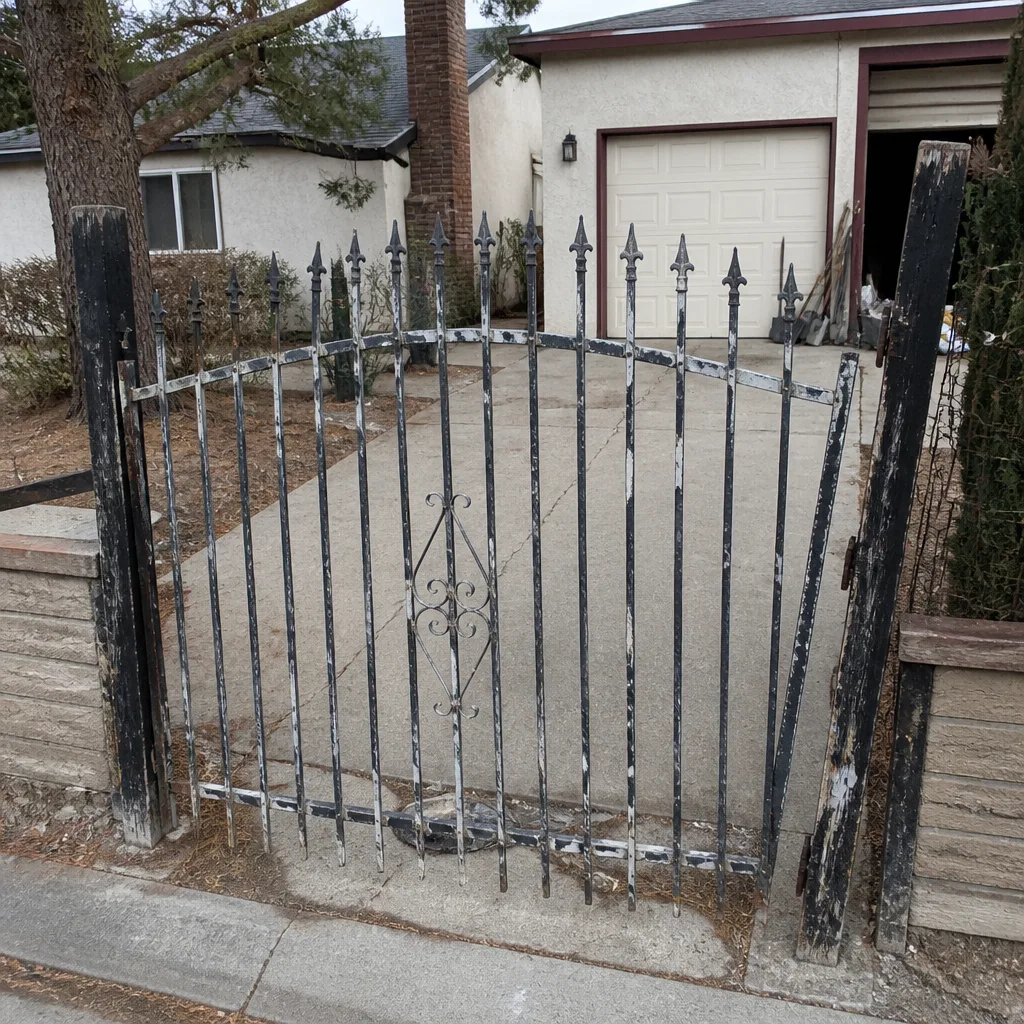 Before
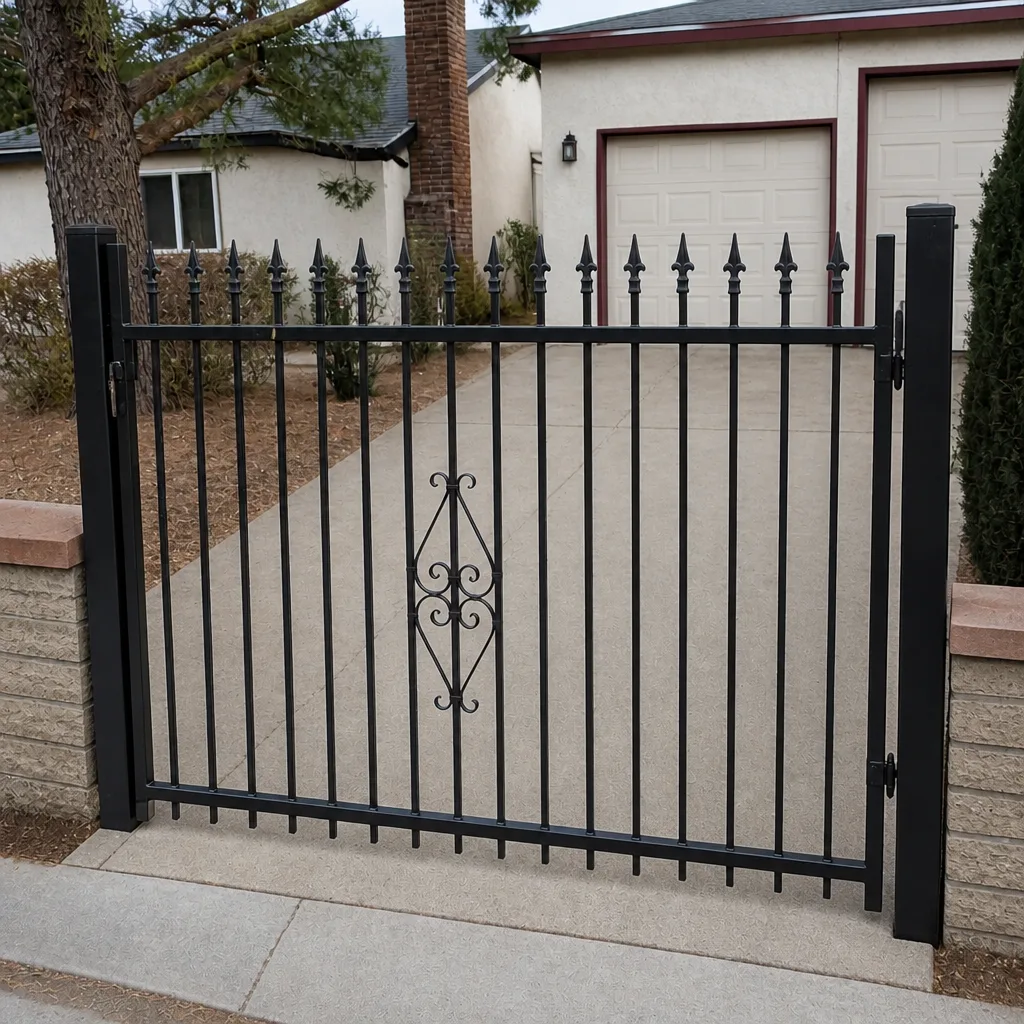 After
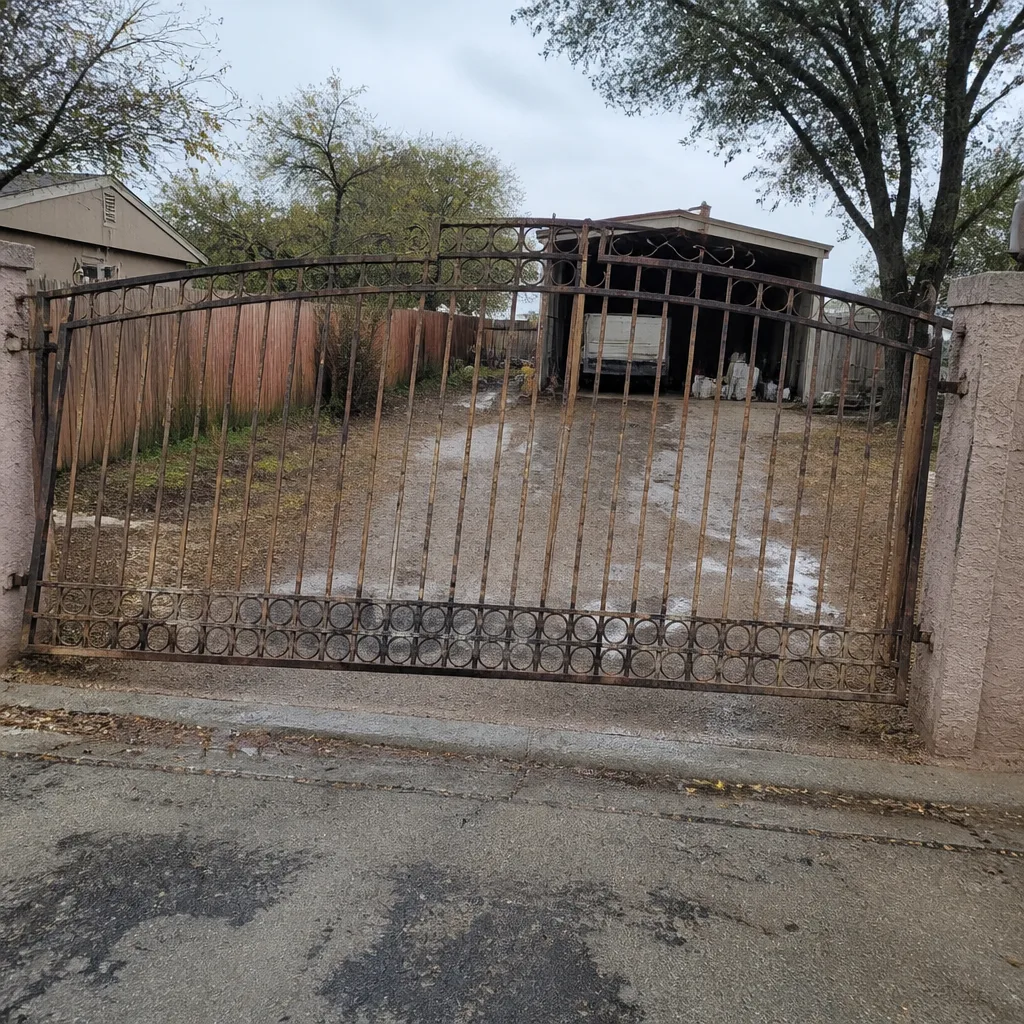 Before
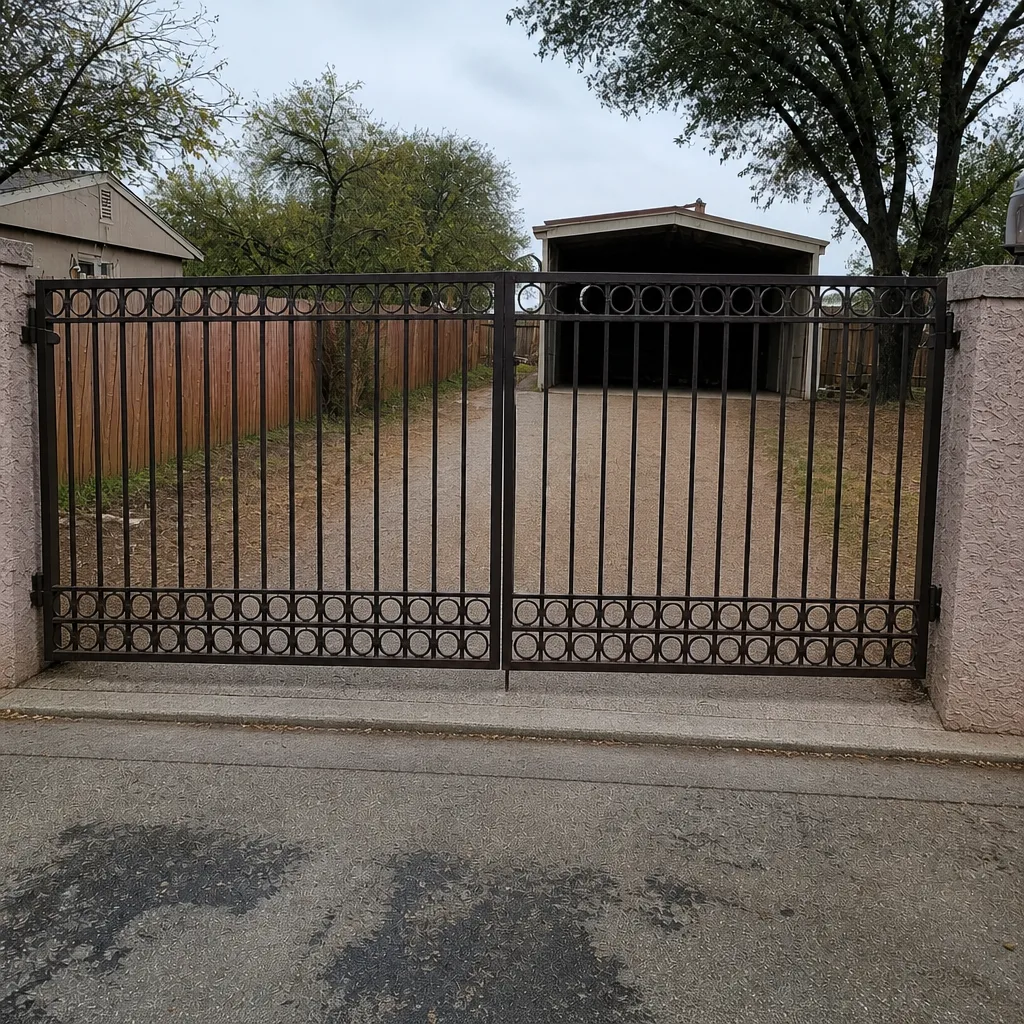 After
Frequently Asked Questions
You can handle the site work and concrete yourself on a non-automated gate if you have the experience. You should not run the electrical or program entrapment sensors on an automated gate yourself; UL 325 safety requirements apply to every automated gate in Nevada regardless of your skill level. Call (855) 928-1304 for a free estimate on the regulated parts.
Electricians and gate automation work tie into code that generally requires licensed work, and UL 325 compliance is a legal requirement for any automated gate. Doing it unlicensed can void equipment warranties and expose you to liability if someone is injured. We handle the programming and wiring with trained technicians – call for a free estimate.
A handyman can help with site and concrete work, but a generalist usually isn’t certified on the operator brands and safety sensors your gate requires. Ask any contractor which automation brands they’re trained on. Call (855) 928-1304 if you want the automation done right the first time.
You can realistically own site layout, excavation, and the concrete footing, which are the unregulated stages before the gate, frame, and automation go in. Everything downstream – welding the structural frame, electrical, and sensor programming – should go to a professional. We’re glad to work alongside a homeowner who wants to pour the footing; call (855) 928-1304 to coordinate.
UL 325 is the safety standard that requires entrapment protection devices on automated gates, so a gate reverses or stops when something is in its path. It applies to any automated driveway gate in Whitney, and the sensors must be configured correctly for the specific operator and gate. If you’re unsure whether yours is compliant, call (855) 928-1304 for a free estimate.
Often yes, especially if electrical work was done without a licensed installer; most operator and sensor warranties don’t cover unlicensed wiring. The weld and concrete may also be excluded if the failure traces back to install error. Let us check your setup before you decide – call (855) 928-1304 for a free second opinion on any written estimate.
The Bottom Line
Gate installation asks four trades to line up in sequence, and DIY only works if you’re honestly capable in all four. For a non-automated gate, a skilled homeowner can own the concrete and site work and hand off the rest. For an automated gate, the safety programming is regulated, the liability is real, and a correction on a post already in the ground costs more than the original install would have. The smart path is partial DIY: do what you’re genuinely good at, and hand the regulated components to a certified pro. If you’re in Whitney, start with a free estimate – Ironworks Gate Co. Whitney home has the full scope of what we cover.
Call (855) 928-1304 today for a free estimate. A live person answers every call, 24 hours a day, 7 days a week, and every job is backed by our written 90-Day Done Right Promise.
Written by the team at Ironworks Gate Co. Whitney.