
Last updated November 17, 2026
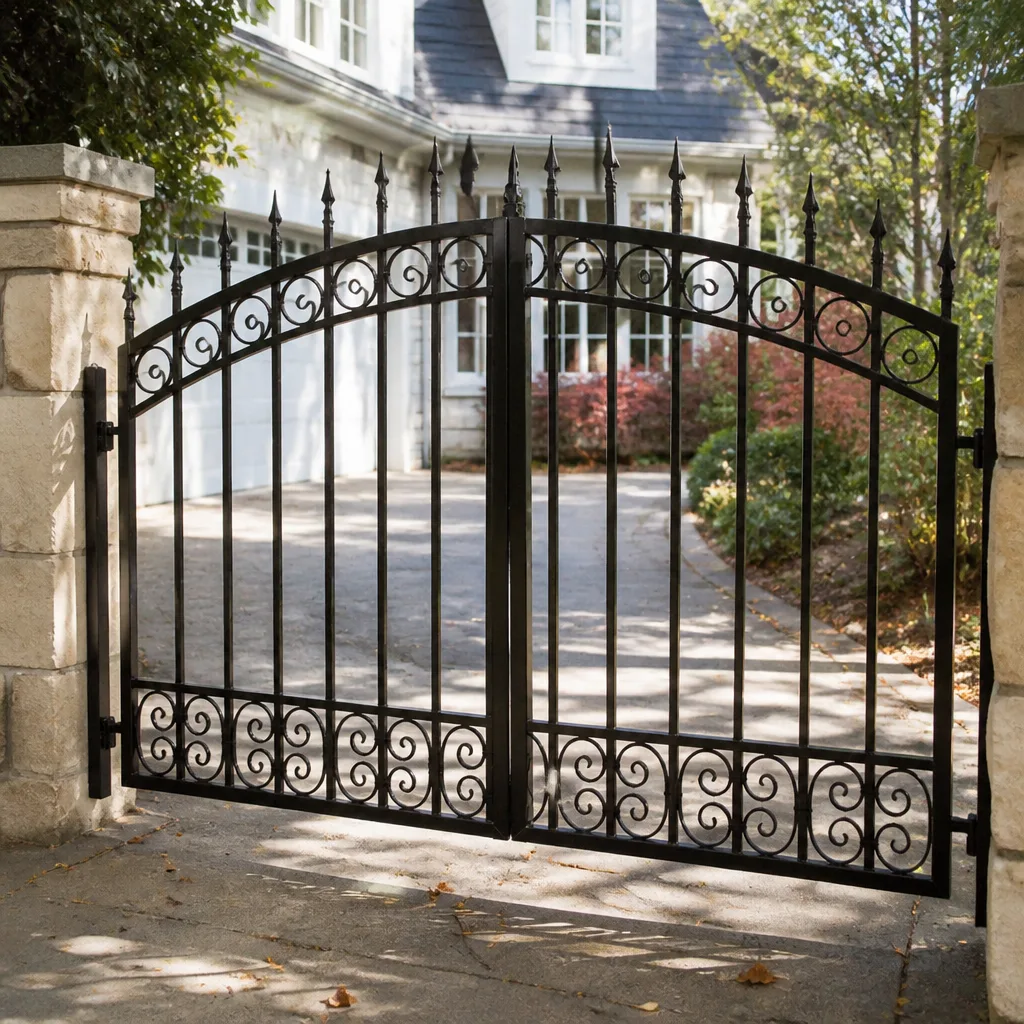 Wrought iron
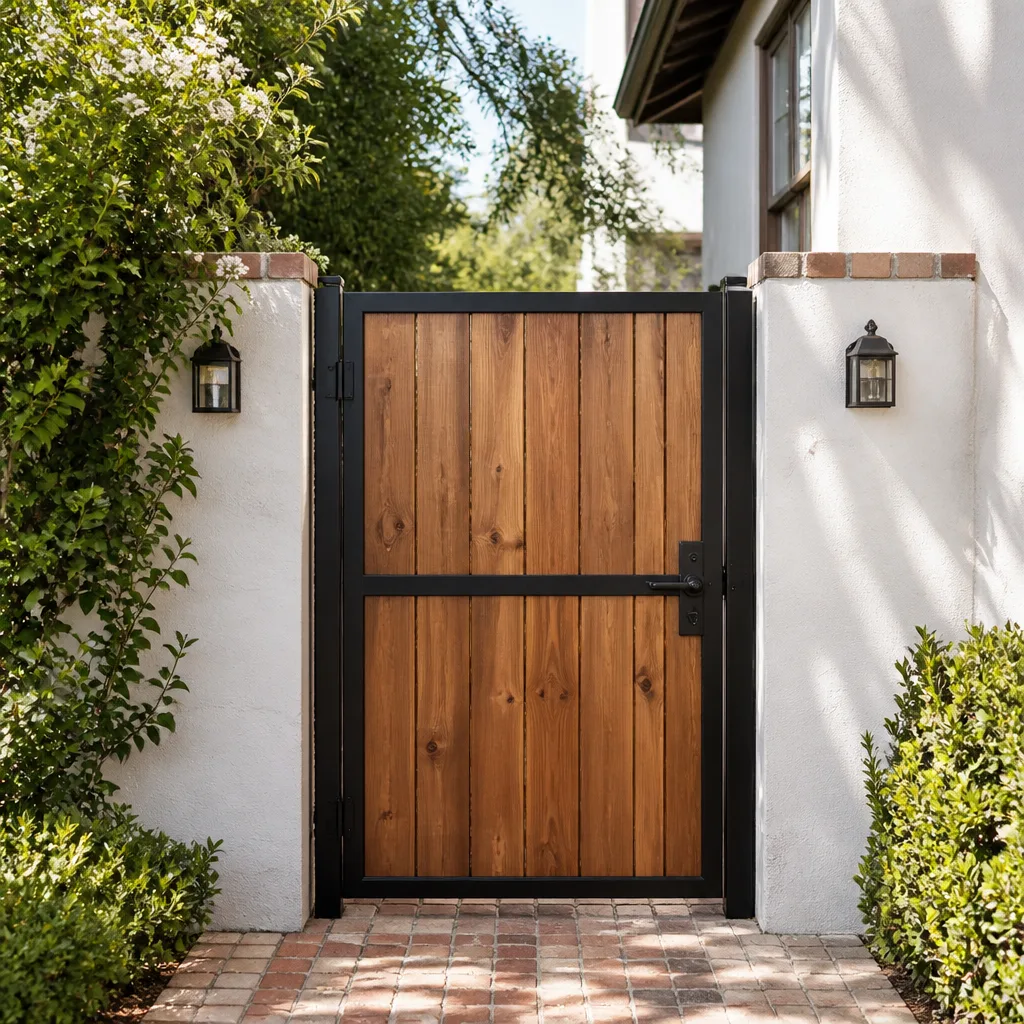 Wood & steel frame
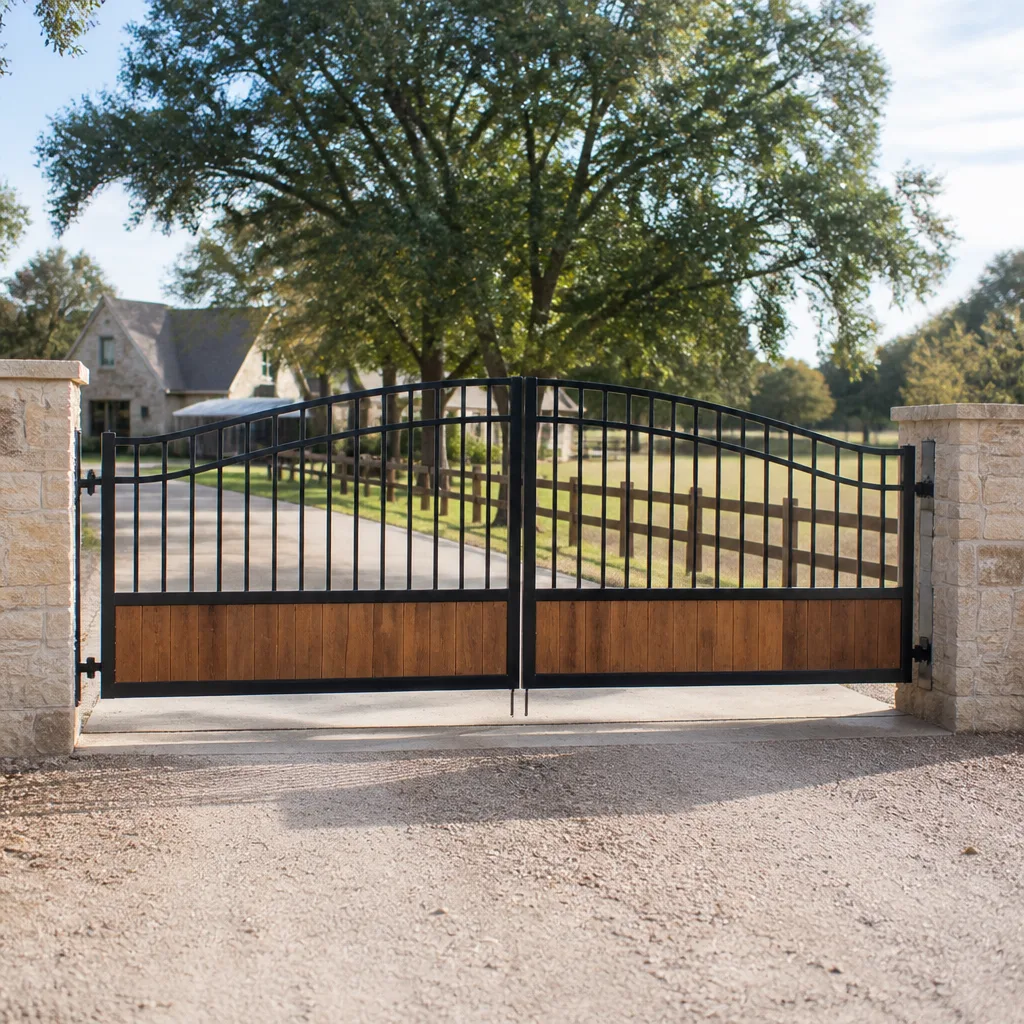 Farm & ranch
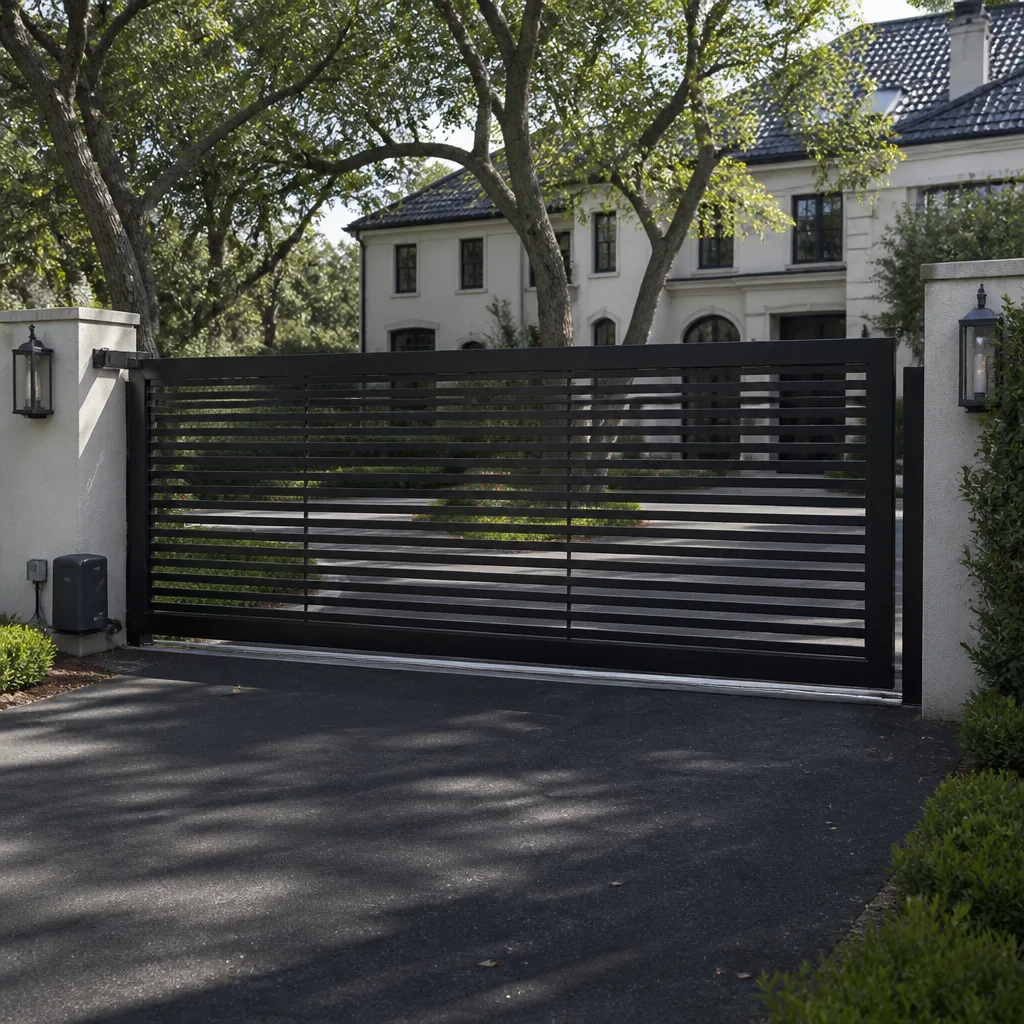 Sliding driveway gates
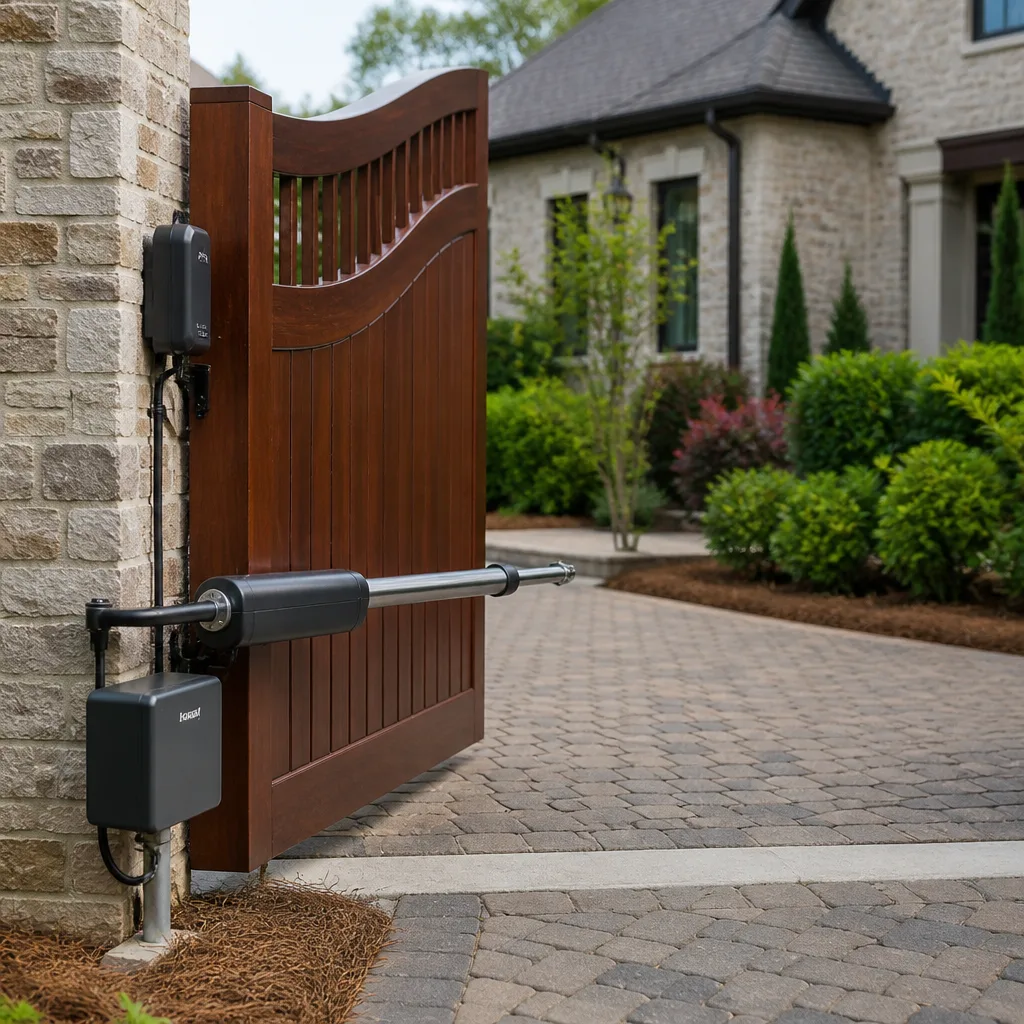 LiftMaster operators
Free on-site gate assessment - hinges, posts, and your LiftMaster or Nice gate operator checked before anything is quoted
The assessment is free and the quote is the invoice.
Get your free estimateThe Complete Gate Installation Guide for Whitney Homeowners
More gate installations around Whitney fail at the post than at any other point, and almost every one of those failures was predictable the day the footing was poured. That’s the uncomfortable part. A gate that sags, drifts, or starts dragging within a few seasons usually isn’t a motor problem or a hinge problem. It’s a soil-and-concrete problem that was invisible for a while and then became very visible. The Nevada ground doesn’t forgive a shallow footing, and by the time you notice the tilt, the fix costs more than doing it right the first time.
This guide walks through the decisions that actually determine whether your gate works for two decades or two summers. We’ll cover post depth and footing mix for Whitney soil, why freeze-thaw matters here even though hard freezes are rare, HOA approval before anyone digs, swing and approach geometry on sloped driveways, and the automation rough-in choices that are cheap now and expensive later. Read it before you get quotes.
Quick Answer
A gate installation in Whitney lasts when the posts are set deep enough for the soil (typically 30 to 42 inches down into a concrete footing below the frost line, wider at the base than the post), sized to the gate’s weight and wind load, and planned around the driveway’s slope and approach angle. The automation conduit, power source, and any intercom rough-in need to be decided before concrete is poured. Skip any of those and you’ll pay for it twice. Whitney sits in a semi-arid zone with caliche layers and sandy loam that make generic footing rules unreliable, so site-specific engineering comes first.
Styles & brands we work with
- Wrought iron
- Wood & steel frame
- Farm & ranch
- Sliding driveway gates
- LiftMaster operators
Table of Contents
- Why Posts Fail First in Whitney Soil
- Post Depth and Footing Specifications
- Freeze-Thaw in Whitney: Why Occasional Beats Regular
- HOA Compliance Before You Dig
- Gate Width, Swing Radius, and Sloped Driveways
- Automation Infrastructure Decisions at Installation
- Permits, Inspections, and Nevada Code
- Material Selection for Whitney Conditions
- Common Mistakes to Avoid
- When to Call a Professional
- Frequently Asked Questions
Why Posts Fail First in Whitney Soil
Most of the gate installations we’re called back to evaluate in Whitney show the same pattern: the gate itself is fine, the automation is fine, but one or both posts have moved. Sometimes it’s a lean of an inch or two that started as a quarter-inch. Sometimes it’s a post that heaved a full three inches out of the ground during a single cold snap. Either way, the symptom is a gate that drags on the ground, binds at the latch, or triggers the opener’s obstruction sensor at the same spot every cycle.
Whitney’s soil is part of the reason. The area sits on a mix of sandy loam and caliche, the dense calcium-carbonate layer common across southern Nevada. Caliche is essentially nature’s concrete – grey, hard, and unpredictable in depth. A footing dug into sandy loam behaves differently than one that partially rests on a caliche shelf, and someone who has only installed gates in softer ground won’t know to check. We’ve seen posts nailed into what looked like solid caliche that turned out to be a thin cap over loose fill.
The failure modes follow the soil:
- Shallow footings in sandy loam – the post rotates under gate weight and wind load, usually within the first two seasons.
- Insufficient concrete volume – the footing cracks because the mass isn’t broad enough to spread the load, and the gate begins pulling to one side.
- Caliche damming – water pools on top of a caliche shelf instead of draining, softening the soil around the post and speeding up consolidation.
- Under-sized posts for the gate weight – steel tube walls too thin for the span, and the post flexes every time the gate is opened by hand.
The lesson is the same every time: the gate is only as good as what’s underground. Every quality decision in an installation starts there.
Post Depth and Footing Specifications
Nevada doesn’t have a single statewide magazine number for gate post depth, and anyone who gives you one without looking at your property is guessing. But there are working minimums that gate installers in Whitney follow when the soil supports them. These numbers assume a standard driveway gate weight for a residential property and should be adjusted up for wide spans and heavy materials.
- Minimum post depth: 30 inches below grade for a single swing gate, 36 to 42 inches for double gates and heavy ornamental steel.
- Footing diameter: 10 to 12 inches for a 4-inch post, 12 to 14 inches for a 6-inch post. Wider is better in sandy loam.
- Concrete mix: 3,000 to 4,000 PSI ready-mix, not bagged quick-set unless the volume is small and the post is light.
- Post setting: set on a 4 to 6 inch gravel base for drainage, and never set in dirt.
- Bell-shaped footing: wider at the bottom than the top, with a broad base that resists uplift.
For a heavy steel gate on a Whitney property, a 12-inch by 36-inch footing for each post is a reasonable starting point. For a lightweight aluminum gate, a 10-inch by 30-inch footing may be adequate. Both numbers should be verified against the actual gate weight and span, and both should be increased when you’re anchoring into sandy loam rather than caliche.
One detail almost every install we inspect gets wrong: the post should not sit on top of the concrete. It should be embedded into it, with concrete poured around the sides and under the base so the post can’t lift independently. A post sitting on a cap of concrete will move the first time the ground heaves. If your installer is bolting the post to a flat pad, that’s a warning sign worth asking about.
Freeze-Thaw in Whitney: Why Occasional Beats Regular
Southern Nevada doesn’t get the long, slow freezes that bite the Midwest or the Northeast. What it gets is short overnight dips that drop below freezing maybe a few dozen times per winter, followed by daytime highs in the 50s and 60s. That pattern is actually harder on gate footings than a regular freeze would be.
Every freeze-thaw cycle moves water out of the soil and back in. When the freeze is a one-night event followed by warm temperatures, the water gets a chance to move under the footing and refreeze in a different place the next night. Over a winter, a poorly drained footing can accumulate movement that a slow northern winter would never produce. How hard the ground actually freezes at the post depends on the soil and the depth, but the important rule is that footings should extend below the typical frost line for the height of the gate, and drainage should push water away from the post base rather than toward it.
What that means in practice:
- Dig deeper than the minimum when in doubt. A 36-inch footing with a bell base costs a couple of extra bags of concrete and adds years.
- Slope the surrounding ground away from the post. Water pooled at the base accelerates heave damage.
- Set the footing on gravel. A gravel base keeps the bottom of the concrete out of standing water and reduces frost movement.
- Cap the post, not the footing. A post-cap keeps water out of the inside of the tube.
- Re-check footing on the north side of the property during the first winter after installation. That’s the side that sees more frost, in our experience in Whitney.
Freeze-thaw is a section of the installation that a Whitney homeowner can’t easily fix after the concrete sets. It has to be designed in. When we measure a site, we’re looking at footing depth and elevation along with the gate itself.
HOA Compliance Before You Dig
Whitney is dotted with master-planned communities, and several of them have design review requirements that apply to any new gate before a single post hole is dug. The approvals often take longer than the installation, so they need to be started first. If the gate goes in before the HOA signs off, expect to take it down.
What HOAs in the Whitney area typically want to see:
- An architectural request submitted with a scale drawing of the proposed gate, height, material, and color.
- Setback compliance, which sometimes varies from the city code and is often the tighter of the two.
- Approved color palette for any painted or powder-coated finish.
- Automation details including visible components (keypads, intercoms, photo eyes) and how they’ll be mounted.
- Confirmation that the gate swing doesn’t cross a shared property line or the neighbor’s driveway approach.
Nevada also has rules around shared-driveway gate installations and right-of-way access. If your property fronts a shared private drive, or if the gate spans a maintenance access easement, both the HOA and the county may need to weigh in. This is one of the reasons we tell Whitney homeowners to keep the HOA packet handy before any work is scheduled: an approval that comes back with a tweak (a shorter gate, a different color) means the installation plan changes with it.
We’ve seen HOA reviews take three weeks in some Whitney neighborhoods and one week in others. If you’re on a timeline, submit early. For a fuller look at how the installation process works end to end, our Gate Installation in Whitney page walks through it.
Gate Width, Swing Radius, and Sloped Driveways
The gate width that fits your opening is not always the width that opens cleanly. Whitney driveways often slope in one of two directions: from the street up to the house (a positive grade) or from the house down toward the street (a negative grade). Both change how a sweep gate behaves and where the swing has to be anchored. Getting this wrong is one of the most common reasons a gate only opens partway, or catches on the ground near the end of its arc.
The measurements that matter at the installation stage:
- Total opening. Measure between the inside faces of the posts at the point where the gate will mount, and again at the bottom (posts aren’t always plumb).
- Clearance to the driveway slope. A gate set at ground level needs enough bottom clearance to swing through the arc without dragging, and on Whitney’s sloped driveways that clearance has to be measured along the arc, not just at the closed position.
- Swing direction relative to grade. A gate swinging uphill needs more motor torque; a gate swinging downhill needs a good operator brake so it doesn’t run away.
- Approach angle. The vehicle arriving needs the gate to clear its turning circle, not just the driveway width. Sloped driveways off curved Whitney streets sometimes need the gate set back further than the homeowner first imagines.
- Dual-gate clearance. A pair of gates meeting in the middle each need half an inch of clear space at the latch side so the automation can fully seat them.
Whitney’s curved entry roads and short driveway aprons make approach angle a bigger deal than on a long country driveway. A gate that fits width-wise can still cost a homeowner a fender if the approach geometry forces the car to swing wide and clip the post. We measure the approach with the actual vehicle in mind, and we recommend setting the gate back two to four feet from the street when the driveway curve demands it.
For gates heavy enough to need automated swinging, our Gate Motor & Opener in Whitney service covers operator selection, tuning, and safety setup.
Automation Infrastructure Decisions at Installation
Here’s the part of an installation that Whitney homeowners most often wish they’d done differently: the wiring. Once the concrete is poured and the drive is paved, running new conduit under the driveway means cutting it open. Retrofit is possible but it’s rarely pretty, and it can add several hundred dollars to the total bill.
Every automated gate on a Whitney property needs four infrastructure decisions settled before the posts go in:
- Power source location. A dedicated 120V circuit from the house, an exterior outlet at the gate, or a solar-charged battery operator. Each has trade-offs. Solar is a fit for gates far from any structure; 120V is the fit for anything with regular traffic.
- Conduit run. One 1-inch conduit for power from the house to the gate operator post, plus a spare 1-inch conduit for low-voltage accessories (keypad, intercom, safety edges, exit loop). Two conduits, both 18 inches deep, before the driveway goes in. If the run is short (under 100 feet), 3/4-inch is workable; over that, use 1-inch.
- Intercom rough-in. If a phone or video intercom at the gate is part of the long-term plan, run a data conduit (Cat6 ready) alongside the power now, even if the intercom goes in a year from now. Adding it later means trenching.
- Safety edge and photo-eye placement. The mounting points for safety reversing edges on the gate itself and the photo-eye pair across the driveway should be planned at the installation stage so the wiring has somewhere to go.
The operator brand matters less than the infrastructure beneath it. We’re trained on a range of brands – Linear and Viking for mid-weight swing gates, Ghost Controls for premium residential automation – and the right choice depends on gate weight, duty cycle, and how the gate is mounted. Choosing after the conduit is already buried limits the options.
If you’re thinking about access control on top of automation – keypads, remotes, app control – the rough-in is the same decision. Our Ironworks Gate Co. Whitney home page gives a full picture of the access control options we install and service.
Permits, Inspections, and Nevada Code
Whitney falls under Nevada residential construction requirements, and the two governing bodies are usually the city (for building permits) and the HOA (for design review). The city takes an interest in any structure above a certain height, in electrical work on the new circuit, and in how the gate relates to the property line and the right-of-way. The HOA takes an interest in everything else.
A short checklist before digging:
- Confirm whether the gate is tall enough to require a permit. Fences and gates above six feet usually do; below that, some Whitney installations are exempt from the structural permit but still need electrical work permitted.
- Locate the property line. Gates on shared driveways often sit within a few inches of the neighbor’s easement, and that inch matters.
- Check the utility locator mark-out. Nevada 811 will come out and mark gas, water, and cable before any post hole is dug.
- Confirm the electrical permit for the operator circuit, if 120V is being run from the house.
- Save the approved HOA packet. If a neighbor ever disputes the installation, the approvals are the record.
Both the permit and the inspection take time. A Whitney gate installation quoted at two days usually turns into a two-week timeline once the permit window is added. That’s not a problem, it’s the process. Anyone promising a permit-free same-day installation on a full driveway gate is a red flag.
Material Selection for Whitney Conditions
Whitney’s environment – dry heat, intense UV, occasional cold snaps, and airborne dust – narrows the material menu. The three common options for a driveway gate:
- Ornamental steel or wrought iron. Heavy, strong, and durable. The right answer when the design calls for it, but the footing has to be sized for the weight. Powder-coat finish lasts well here; bare primer doesn’t.
- Aluminum. Lighter, rust-resistant, and easier on automation. Aluminum gates need less footing mass than steel and are a good fit for homeowners who want the automation to run quietly for a decade.
- Wood and composite. Quieter, warmer, and a fit for some Whitney HOA styles. Both need regular attention – UV damage on composite and dry-rot on wood – and both are wider than they look, which affects swing clearance.
Galvanized steel lasts longer than ungalvanized in any climate and holds up to the UV exposure in southern Nevada without fading the way painted finishes do. Powder-coat over galvanized is the standing recommendation for Whitney driveway gates, since the annual UV load is harder on paint than most homeowners expect.
The material choice also has to match the gate’s likely repair lifecycle. Ornamental steel gates can be repaired – hinges re-welded, spindles re-seated, sections replaced. Aluminum gates are also repairable but usually require replacement hardware. When a gate is going in for twenty years, the material choice is a service-life decision, not just a look decision. Our Gate Repair in Whitney service sees the downstream effect of these choices every week.
Common Mistakes to Avoid
- Setting posts shallow because the ground is dry. Dry, sandy soil offers less lateral resistance than wet soil, so shallow posts move faster here than they would in the Midwest. Post depth is not a place to save money.
- Using bagged quick-set on a full-size driveway gate. A 4-inch post set in 2 bags of quick-set may look fine for a year and then fail under weight. Heavy gates need ready-mix and a proper footing.
- Pouring concrete without conduit run. If automation is coming at any point, lay conduit before the concrete. Retrofitting is a day of cutting and patching the drive.
- Forgetting the HOA packet. In Whitney’s master-planned neighborhoods, an unapproved gate on an HOA-governed driveway can be removed at the homeowner’s expense.
- Sizing gate width to the driveway without checking approach. A car can get a gate open and still clip a post turning in a tight Whitney driveway. Measure the approach angle, not just the opening.
- Not sloping the ground away from the footing. Pooled water at the post base accelerates heave damage in freeze-thaw, and it’s invisible until the gate starts leaning.
- Skipping the utility mark-out. Digging into an unmarked irrigation line, gas line, or cable is the kind of mistake a homeowner only makes once, and it’s expensive to fix.
When to Call a Professional
Some installation decisions can be handled with care by a capable homeowner. Digging post holes, running conduit, and setting a footing for a heavy driveway gate is not one of them. A footing that’s six inches too shallow and a post that isn’t embedded into the concrete are problems you can’t see once the ground is back. The gate looks fine for a season, then it doesn’t, and by then the fix involves pulling the posts.
Specific situations that justify a call to a gate professional in Whitney:
- Any gate above waist height or heavier than a small walk gate.
- Anything automated, even if the automation is coming later and the conduit needs to be run now.
- Any gate on a sloped driveway where swing clearance is tight.
- Any gate in an HOA-governed Whitney community where design review is required.
- Any gate on a shared driveway or an easement.
Ironworks Gate Co. Whitney offers free estimates in Whitney – call (855) 928-1304. We’ll measure the site, walk through footing and swing geometry, and give you an upfront price before anything is ordered. Our technicians have up to 13 years of experience, and every job we complete is protected by our 90-Day Done Right Promise. A live person answers the phone, day or night.
Frequently Asked Questions
For a typical Whitney residential driveway gate, plan on 30 inches below grade for a single swing gate and 36 to 42 inches for a double gate or a heavy steel installation. Footing diameter should be 10 to 14 inches depending on post size, set on 4 to 6 inches of gravel. Sandy loam soil and caliche layers change the working number, so a site measurement matters more than a rule of thumb. Call (855) 928-1304 for a free measure and a written quote.
Usually yes for anything above six feet, for the electrical circuit that powers an automated gate, and always for HOA-governed properties. Fences and gates under six feet on ungoverned Whitney properties have fewer structural requirements, but any 120V run for an operator is still a permitted electrical job. We’ll help sort out what your specific address needs before work starts, and the price is quoted and agreed before we turn a bolt.
Whitney’s caliche and sandy loam soil combination is less forgiving than most. Caliche creates a hard shelf that traps water, and sandy loam gives less lateral support than the heavier clay soils in other regions. Combine that with freeze-thaw cycling during winter and a shallow footing will shift within a few seasons. Deeper footings, wider bases, and drainage-away-from-post design account for this. Call (855) 928-1304 if your gate is already showing a lean.
Yes, but it’s cheaper when the conduit is roughed in at installation. Retrofitting power and low-voltage conduit to a gate on a finished driveway means trenching under or alongside the pavement, which adds cost and time. If automation is a possibility at any point, run the two 1-inch conduits now – one for power, one for accessories and future intercom. Free second opinions on any written estimate are available if you have a contractor’s proposal in hand.
Powder-coated galvanized steel or aluminum are the two strongest choices for Whitney’s UV-heavy, dry climate. Aluminum is lighter and easier on automation; galvanized steel is heavier and requires a more substantial footing. Wood and composite work in some HOA styles but need more maintenance. The right answer depends on gate weight, span, and how the driveway approaches the gate, and we’ll walk through it on a free measurement visit.
Five things: HOA approval if your community requires it, the utility mark-out through Nevada 811, the property line on shared driveways, the permit status (structural and electrical), and the driveway slope and approach angle. Getting these settled before the first post hole is dug saves the most money. Call (855) 928-1304 and we’ll walk it through with you. Every completed job is backed in writing by our 90-Day Done Right Promise.
The Bottom Line
A Whitney gate installation is a site engineering decision. Post depth, footing mix, and soil conditions under the driveway determine whether the gate still closes cleanly in 2045. The concrete, conduit, and rough-in are the three decisions that are easy to skip and impossible to fix cheaply later. Everything else – the material, the operator brand, the finish – is downstream of those. Get the underground right, and the gate itself becomes the easy part. Get it wrong, and the gate becomes a permanent annoyance.
If you’re planning a gate in Whitney, call Ironworks Gate Co. Whitney at (855) 928-1304 for a free estimate. We’ll measure the site, quote the job in writing before any work begins, and stand behind every install with our 90-Day Done Right Promise. Free second opinions are available on any written estimate, and active standing offers include $50 off any repair over $250, an $89 seasonal tune-up, and a permanent 5% senior and veteran discount.
Written by the team at Ironworks Gate Co. Whitney.
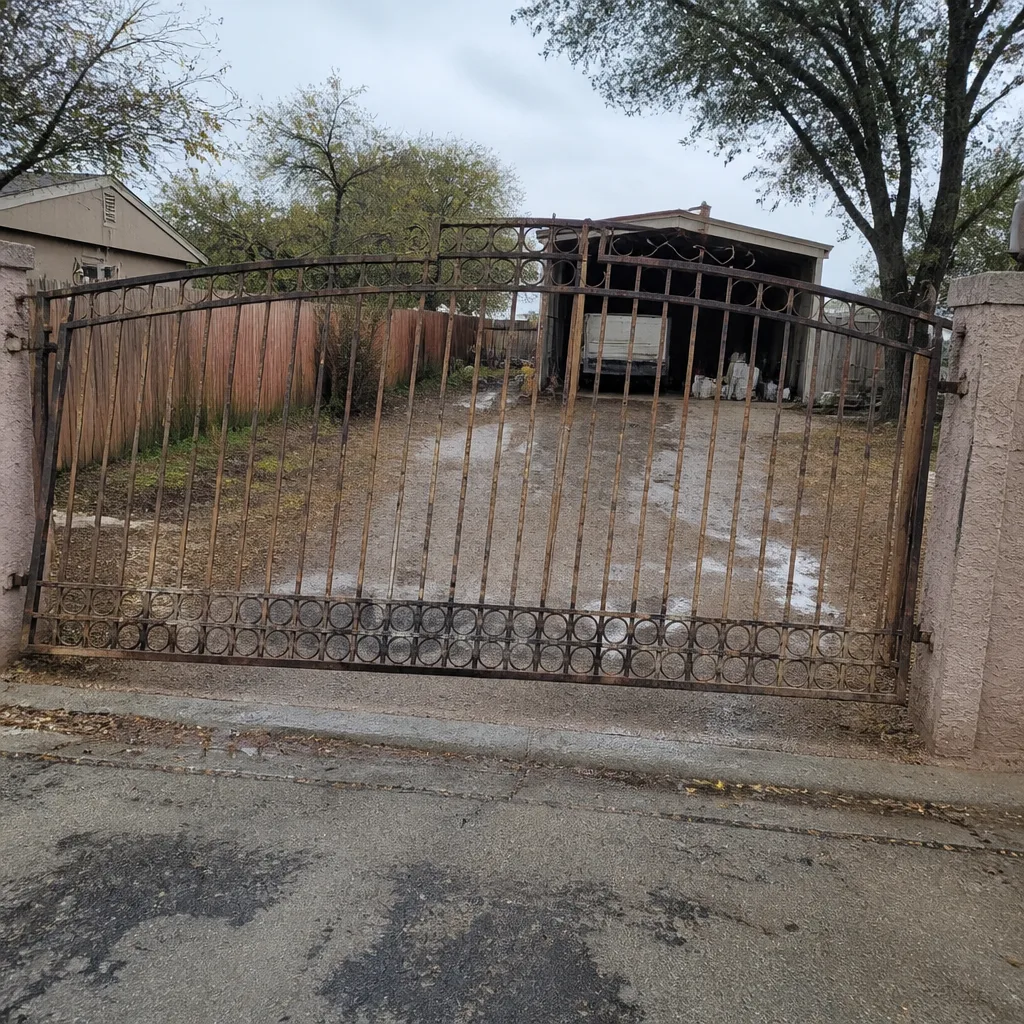
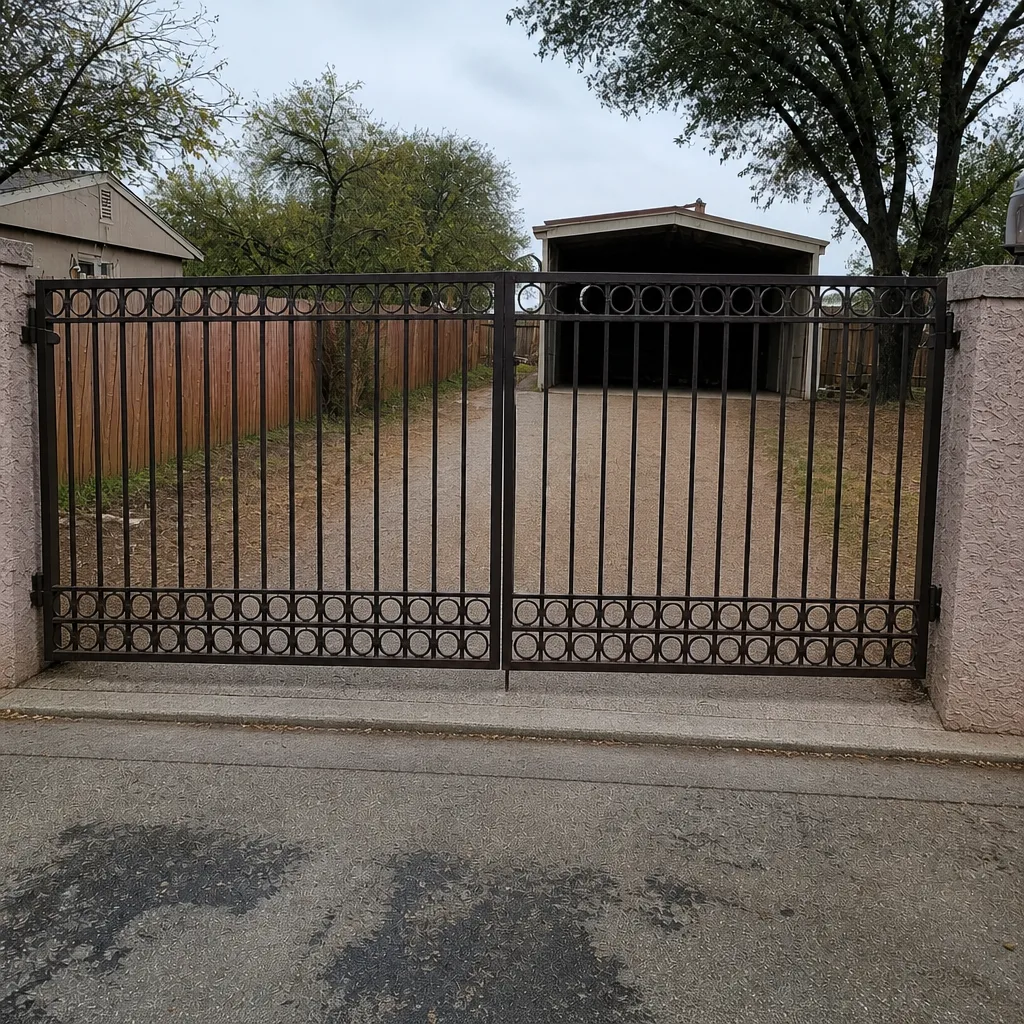
See the difference
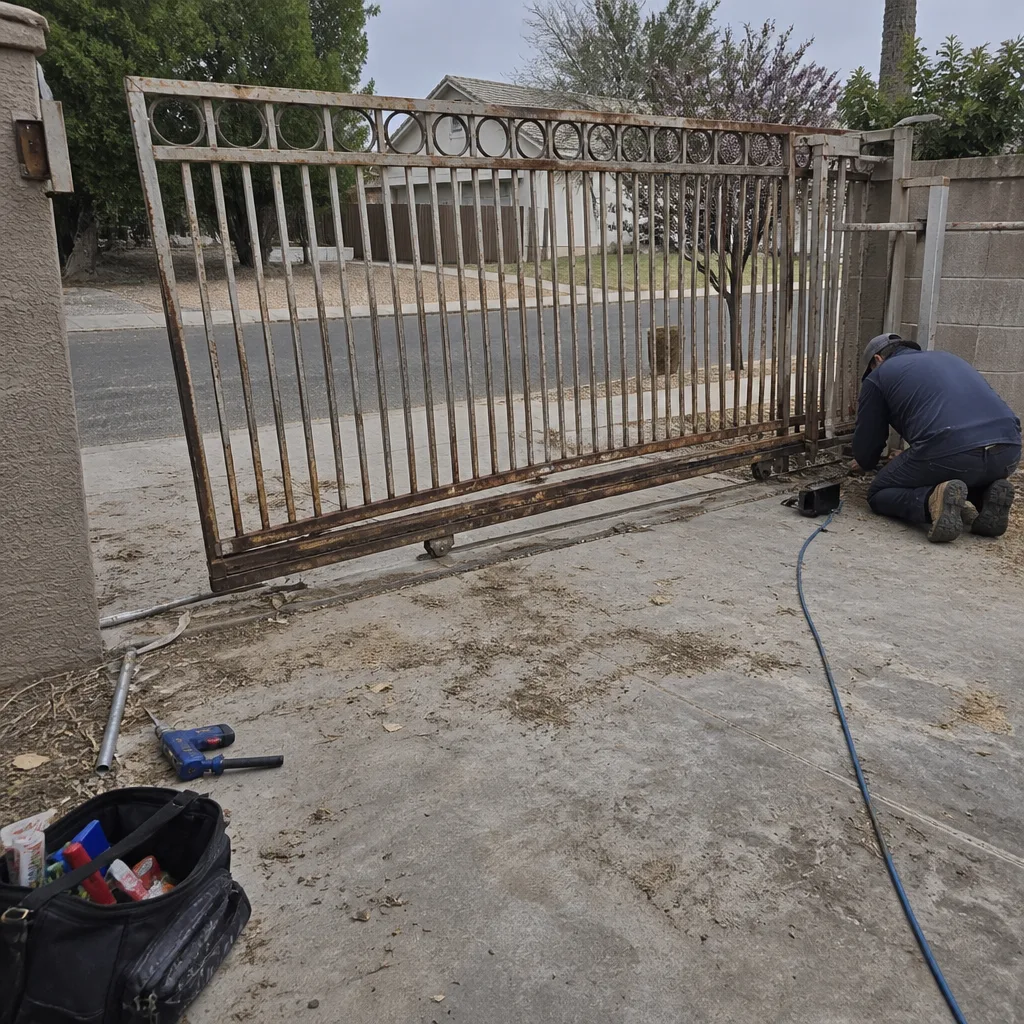 Before
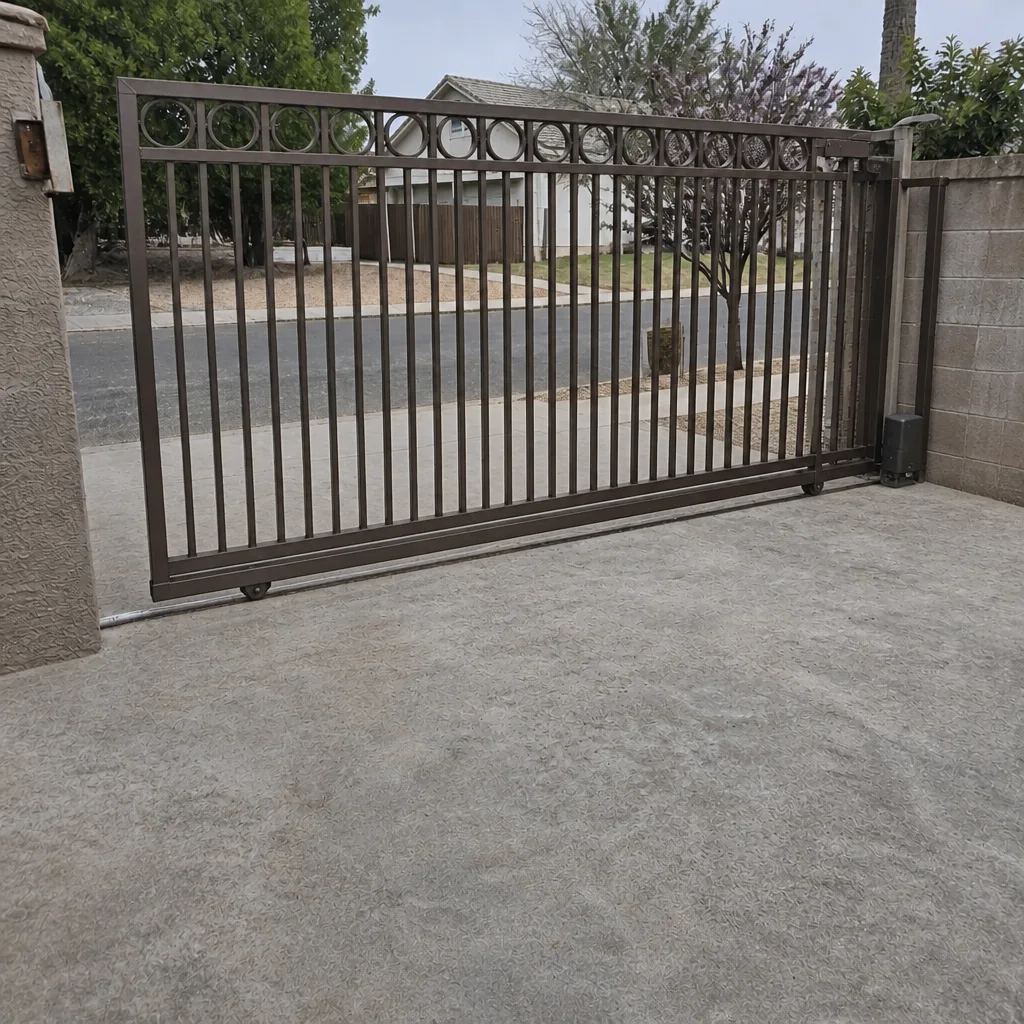 After
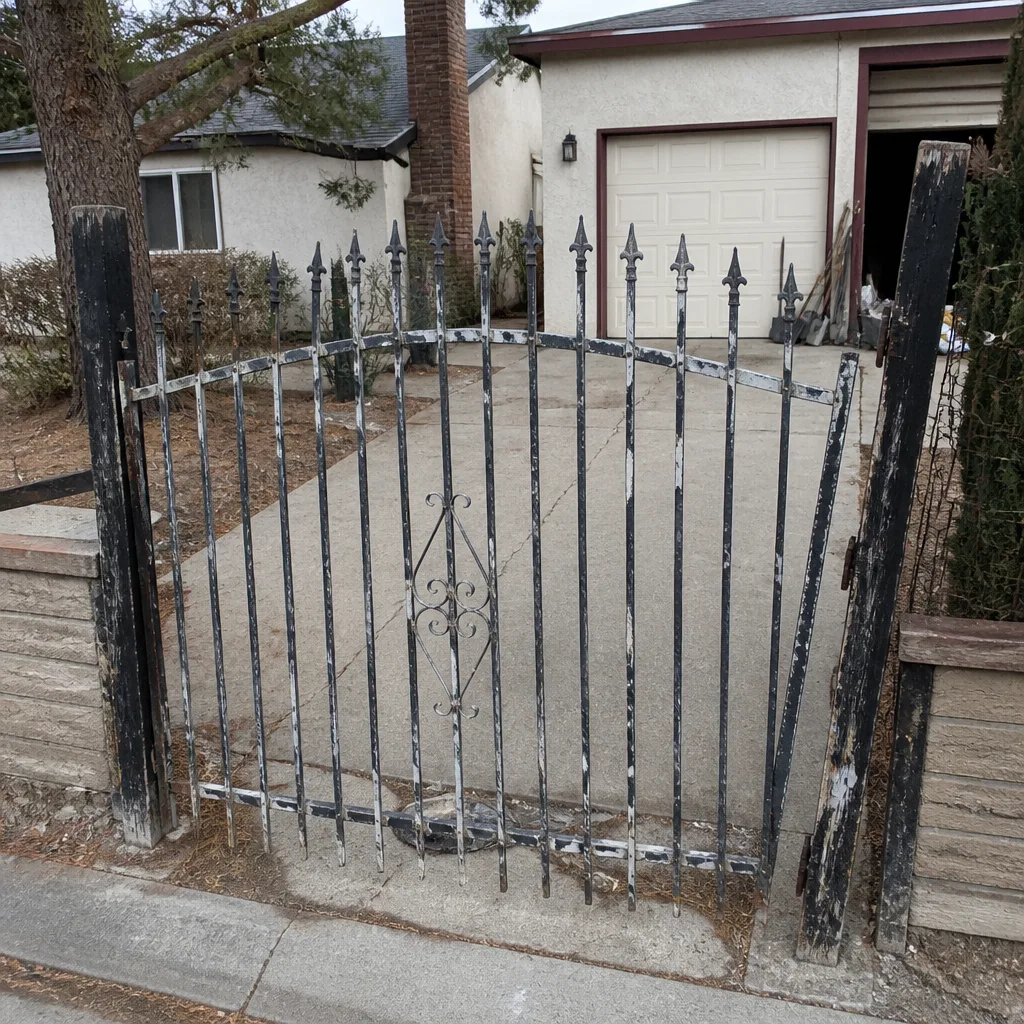 Before
 After
 Before
 After