
Last updated November 17, 2026
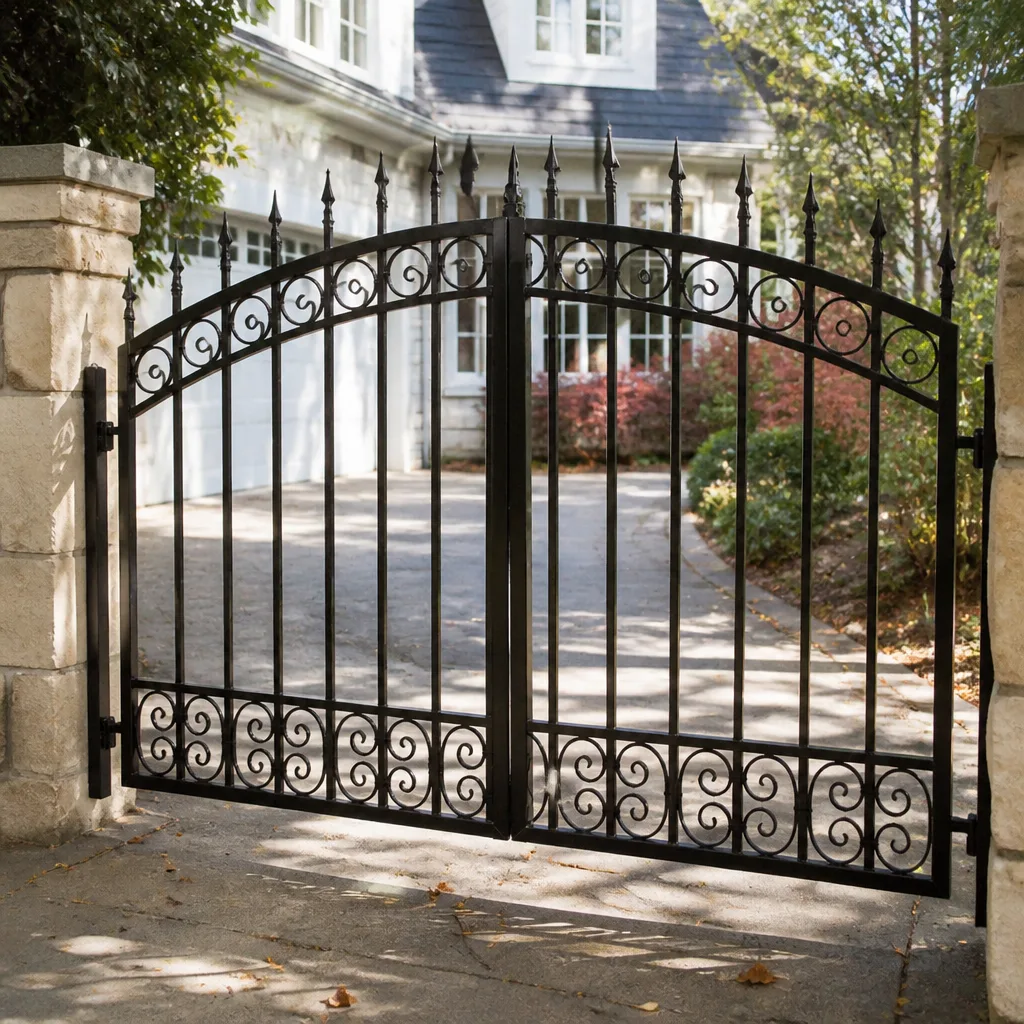 Wrought iron
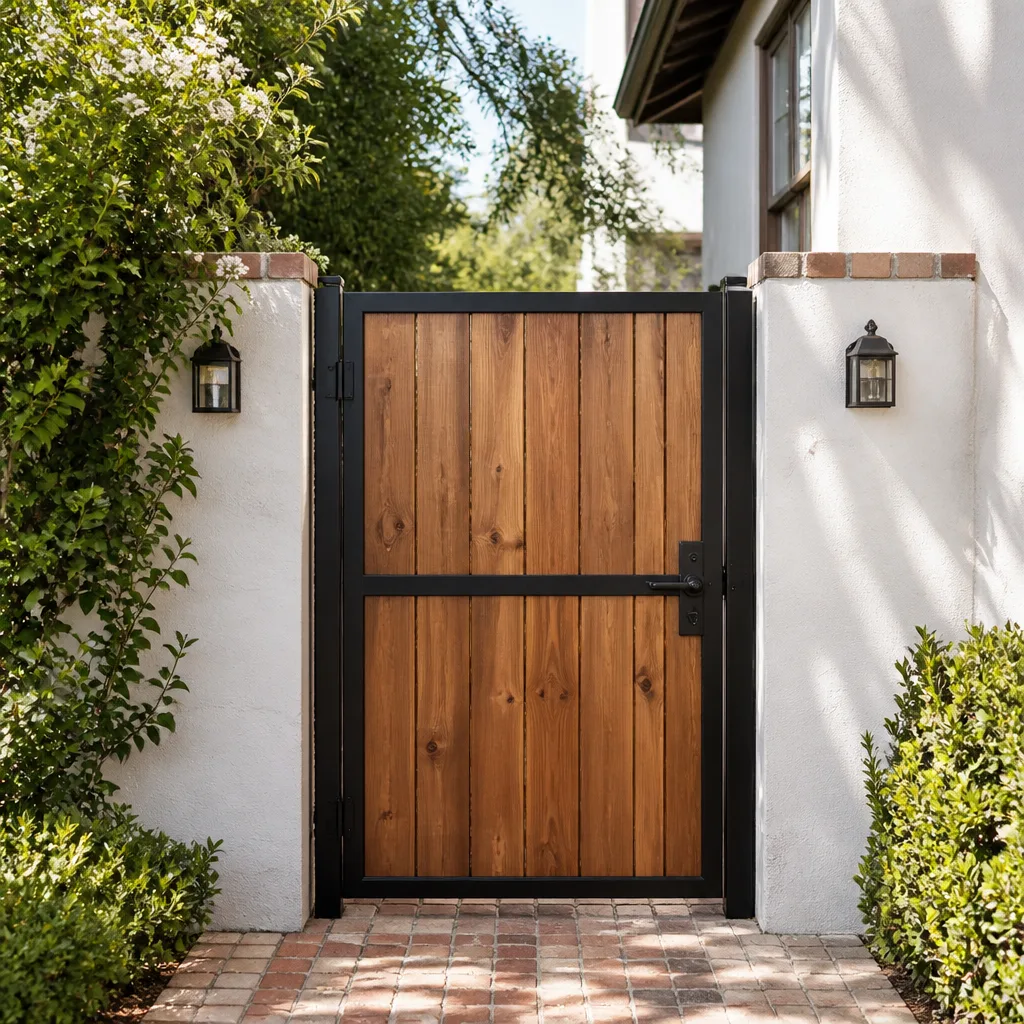 Wood & steel frame
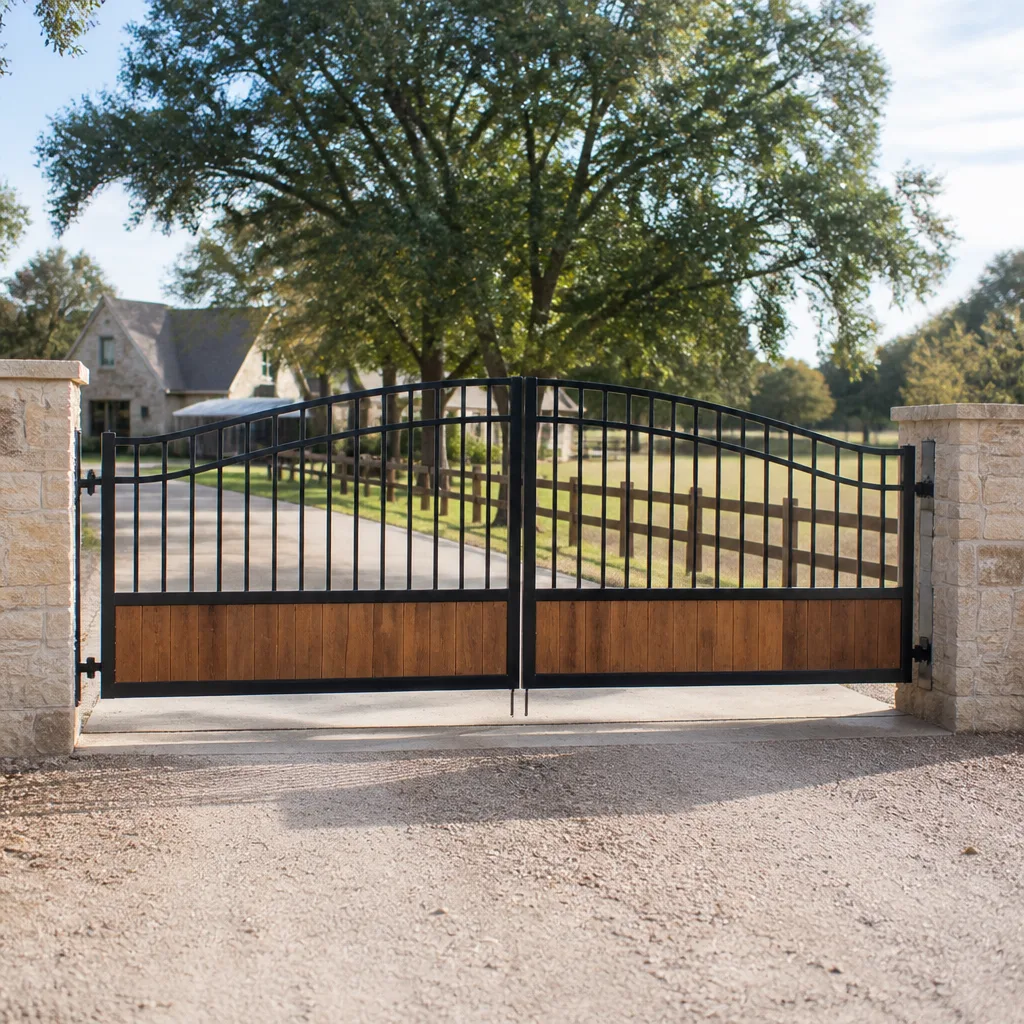 Farm & ranch
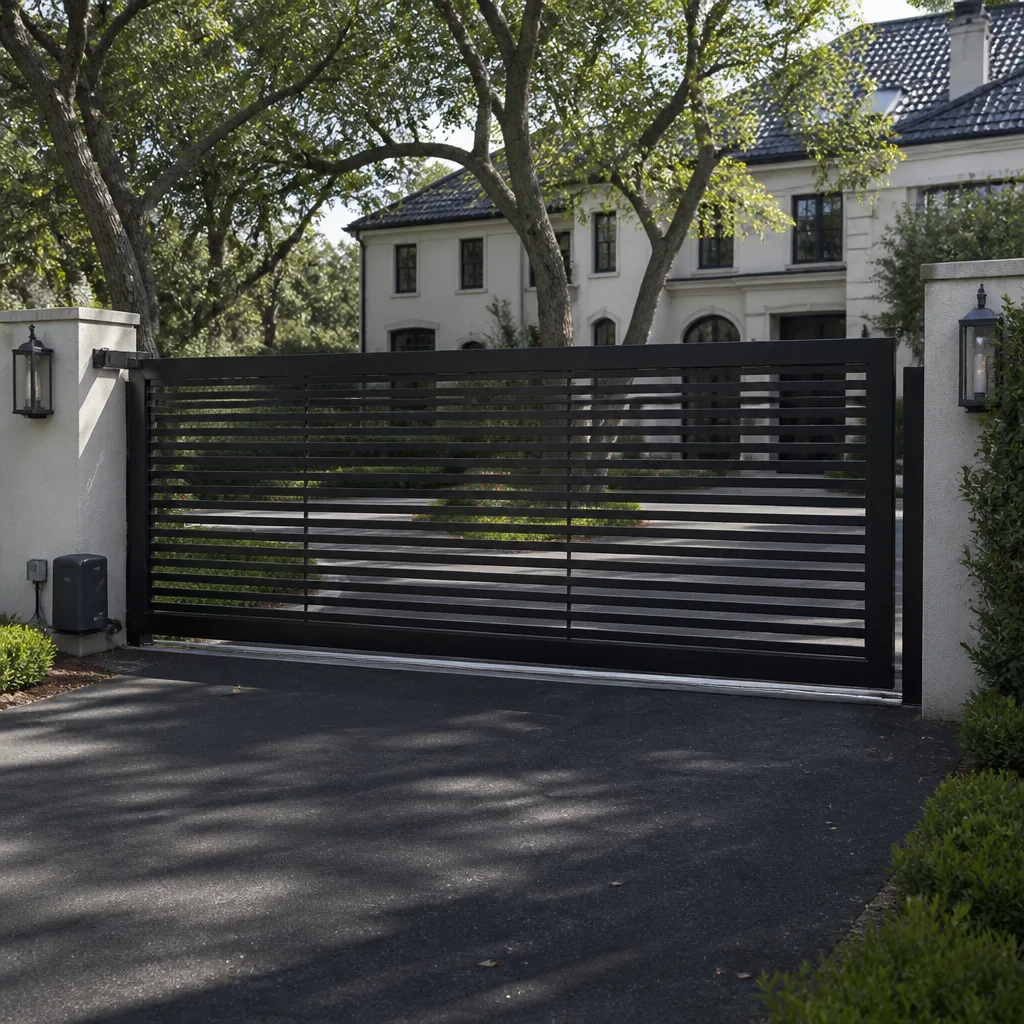 Sliding driveway gates
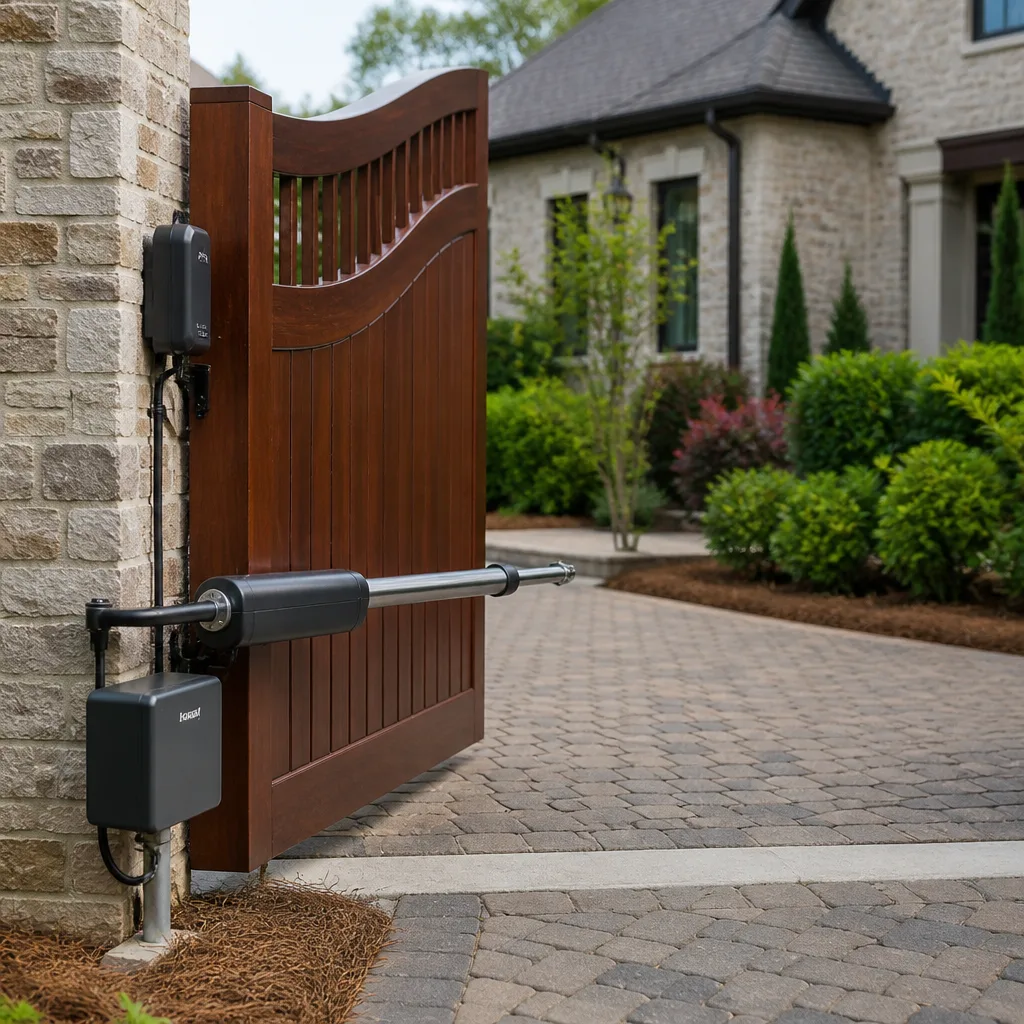 LiftMaster operators
Free on-site gate assessment - hinges, posts, and your LiftMaster or Nice gate operator checked before anything is quoted
The assessment is free and the quote is the invoice.
Get your free estimateGate Installation Warning Signs Every Homeowner Should Know
By the time your new gate starts dragging on the driveway, the contractor who installed it may be unreachable. That is the hard truth behind most of the service calls we run in Whitney. The failures that show up six months later – hinges that sag, motors that strain, posts that heave out of the ground – almost always had a visible warning sign on the day the crew was still there with tools in hand. Most homeowners just didn’t know what to look for. This guide teaches you to read a job while it is still in progress, not after the truck has driven away.
Quick Answer
The biggest gate installation warning signs are posts set without a plumb check, concrete mixed too thin, hinges shimmed with scrap metal instead of welded properly, a skipped site survey, rushed welds with visible pinholes or undercut edges, and a written quote that never mentions post depth, scope, or permits. Any one of these during installation predicts a failure within a year. Watching for them takes ten minutes and can save you the cost of a full redo.
Styles & brands we work with
- Wrought iron
- Wood & steel frame
- Farm & ranch
- Sliding driveway gates
- LiftMaster operators
Table of Contents
- Warning Sign 1: The Installer Who Skips the Site Survey
- Warning Sign 2: Posts Set Without a Plumb Check
- Warning Sign 3: Concrete Mixed Too Thin
- Warning Sign 4: Rushed Welds You Can Spot by Eye
- Warning Sign 5: Hinges Shimmed Instead of Welded
- Warning Signs in the Quote Itself
- Nevada Desert Conditions That Expose Shortcuts
- Common Mistakes to Avoid
Warning Sign 1: The Installer Who Skips the Site Survey
The first red flag appears before a shovel touches dirt. A proper installer walks the site, measures the opening, checks the grade, and looks at what is underground before committing to a post location. An installer who backs the truck up and starts digging within five minutes has skipped the survey, and that shortcut usually surfaces as a gate that does not swing level or a post set too shallow.
Measurement is not the same as assessment. Anyone can run a tape measure between two points. Assessment means the installer checks the soil, notes the slope, looks for buried irrigation lines or old concrete footings, and confirms where the gate will actually rest when it opens. In Whitney, we regularly find old landscaping footings and abandoned sprinkler runs under driveways that were paved by a previous owner, and a post dug blind will hit one of them.
Ask a simple question during the walkthrough: “What did you find under the surface, and how does it change your post depth?” A prepared installer answers without hesitation. If the answer is a shrug, that is your sign.
The same survey should confirm the power run for an automated gate. If the installer has not discussed where the low-voltage line will be buried or where the operator will get power, the electric side of the job is being improvised. That is what separates a measured installation from an ad hoc one. Our Gate Installation in Whitney page walks through how a proper survey sequence works from start to finish.
Warning Sign 2: Posts Set Without a Plumb Check
A gate post that is one degree off plumb at the top will pull the gate out of square within months, and no amount of adjustment at the hinge will fix it. Watch for the installer who sets a post in the hole, packs the dirt, and moves on without ever holding a level to the steel in two directions. Plumb checks are non-negotiable on the day the post goes in and again after the concrete sets.
Here is what a proper post set looks like, step by step:
- The hole is dug to a depth suited to the gate weight, the soil, and the local frost line – in the Nevada desert, that means going deep enough to resist heaving and lateral torque from wind.
- The post is set in the hole with the bottom resting on undisturbed soil or a concrete footing pad, never on loose backfill.
- A spirit level or laser is held against two faces of the post at the same time, and the post is braced until the concrete cures.
- The post is re-checked after the concrete has set, not just before.
If you see a post go into the ground with no level in sight, or a brace pulled off after an hour while the concrete is still soft, ask the installer to re-check plumb before the gate is hung. Once the gate hangs, the error is baked in.
Warning Sign 3: Concrete Mixed Too Thin
Concrete that is too wet looks easy to work with on the day of install. It pours into the hole smoothly and the installer moves on faster. But a thin mix cures weak, and a weak footing is the single most common cause of a post that leans or lifts within two years – especially under the thermal cycling we get in Whitney, where the ground can swing hot to cold by forty degrees or more over the course of a season.
You do not need to be a mason to spot a problem mix. Watch for these signs:
- Concrete that flows like soup rather than sitting up in the wheelbarrow or bucket.
- Water pooling on the surface of the pour that is not absorbed back in.
- Bagged mix poured dry into the hole and hosed down from above, rather than mixed to the correct consistency first.
- Footings that are set with barely any concrete at all – just enough to cover the bottom of the post.
A correct mix holds its shape when scooped and sets densely. If the installer hoses the hole down after the fact and calls it done, ask how many bags went into the footing and what the mix ratio is. A vague answer is a warning sign. Proper footings are not a place to economize.
Warning Sign 4: Rushed Welds You Can Spot by Eye
You do not need welding experience to recognize a bad weld. A proper weld looks like a small row of uniform ripples or stacked coins, laid down evenly along the joint. A rushed weld looks like a lumpy, uneven bead with visible holes and slag still clinging to the surface. Here is the plain-language translation.
What a proper weld looks like:
- An even bead with consistent height and width along the full joint.
- Ripples that stack in a regular pattern, like overlapping coins.
- No holes, pits, or undercut grooves at the edge where the bead meets the parent metal.
- Slag cleaned off before the next pass or before paint.
What a rushed weld looks like:
- A bead that is uneven, thin in one spot and piled up in another.
- Pinholes or visible gaps in the joint that you can see daylight through.
- Undercut – a groove eaten into the base metal right alongside the bead, which is a sign of too much heat moving too fast.
- Weld spatter left in place, or slag painted over without being cleaned.
A gate frame that has been welded too fast will crack at the joints under the constant flex of opening and closing, especially under a heavy swing arm. If you see uneven beads or visible pinholes on gate frame joints, ask the installer to grind back and re-weld before the gate is painted. Welding is skilled trade work and if you would rather not judge it yourself, our Gate Repair in Whitney crew can inspect the joints on your existing gate.
Warning Sign 5: Hinges Shimmed Instead of Welded
Shimming a hinge with scrap metal – a washer, a scrap of aluminum, a folded piece of sheet metal – is fast, invisible under paint, and guaranteed to fail. The shim works loose as the gate swings, the hinge loosens, the gate sags, and by the time you notice, the hinge plate has worn an oval hole in the gate frame that has to be filled and re-drilled before it can be welded properly.
A properly hung hinge is welded to the frame, aligned so the gate swings free from post to latch, and checked for clearance with the gate at full open and full close. The installer should not need to stack anything to make it fit. If you see washers or plates stuffed behind a hinge strap on the day of install, ask why. The answer should be a real one, or the hinge should come off and be re-set.
We see this specific shortcut most often on heavy estate gates in Whitney where the gate and the post were not drilled or aligned during the survey, so the installer shims rather than re-fits. That is a sign of working around a mistake instead of fixing it. Properly welded hinges on a plumb post do not need shims.
Warning Signs in the Quote Itself
Most installation failures are written into the quote before the crew ever arrives. A quote that looks short and sweet is often short on purpose. Here is what a warning-sign quote looks like versus a real one.
- No written scope of work. A real quote spells out post depth, footing size, hinge type, finish, and whether the gate has been measured to a tolerance. A one-line quote is not a scope.
- No post depth specified. If the quote does not say how deep the posts are set, the installer has not committed to a standard. In Nevada, that standard has to account for caliche and heaving, not just “six feet down.”
- No permit discussion for an automated gate. Automated gates that cross a driveway typically require permits and, in many jurisdictions, a safety check for obstruction sensing and reversing. If the quote says nothing about permitting the automation, you may be liable for an unpermitted installation later.
- No mention of a power source or safety edges. A gate operator without a clear power plan or safety edge on the closing edge is not a complete job.
- No warranty in writing. Any guarantee has to be on paper. If the installer says “we’ll take care of it,” that is not a warranty. Our Gate Motor & Opener in Whitney page shows what a proper automation scope actually looks like.
Read every quote for what is missing, not just for what it costs. A cheap bid that leaves out post depth, permitting, and safety edges is not cheaper – it is a smaller scope that will cost more to finish correctly.
Nevada Desert Conditions That Expose Shortcuts
Whitney sits in a corner of the Mojave where two things stress every gate installed here: caliche and thermal expansion. Caliche is the calcium carbonate layer that can form an impenetrable crust in desert soil, and a post dug into soft ground above a caliche shelf will sit on top of the crust and rock loose as soon as the gate load hits it. A proper installer probes the soil during the survey to confirm where the caliche layer sits and sets the footing below or through it, not on top.
Thermal expansion is the second stress. Steel expands and contracts in the desert heat, and a rigid gate frame welded tightly to a fixed post, with no room for movement, cracks at the joints or bows the gate rail. A properly hung gate has enough clearance in the hinge and the latch to allow for 100-plus degree swings in metal length between the cool hours of the morning and the peak of a July afternoon.
We have pulled dozens of Whitney gates installed by shortcut crews that failed within a year for exactly this reason – the footing was too small, the post was not checked for plumb, and the hinge was shimmed. The day the gate went in, it looked fine. Six months later, the gate was dragging. When our technicians service a gate here, they are checking for both caliche compression and thermal fit, not just the hinge bolts. Our technicians have up to 13 years of experience reading exactly these failure patterns.
Common Mistakes to Avoid
- Watching from inside instead of walking the job. Step outside while the crew is working. On a Whitney install, you want to see the level on the post and the mix in the wheelbarrow. You do not need to supervise – you need to look.
- Accepting a verbal scope. A deal agreed by phone and handshake has no post depth, no permit detail, and no warranty. Insist on the written quote before digging begins.
- Choosing the bid with the smallest number. On gate installation, the lowest bid is usually the smallest scope – missing a proper footing, safety edges, or automation permits. Compare scopes side by side, not totals.
- Ignoring the power plan for an automated gate. If the operator and access controls are added on later, the wiring shortcut shows. Get the power run specified in the quote.
- Not checking the hinge alignment before the crew leaves. Open and close the gate at full swing while the installer is still on site. A gate that drags or binds on the day it goes in will worsen, not settle.
- Paying without reading the guarantee. A written guarantee is the difference between a gate that is fixed right and one that is fixed again next year. Our Done Right Promise is written, not verbal.
- Assuming the desert sun means more welding is better. More heat and more weld bead does not mean a stronger joint. A clean, correctly sized weld with proper penetration beats a heavy lumpy bead every time.
See the difference
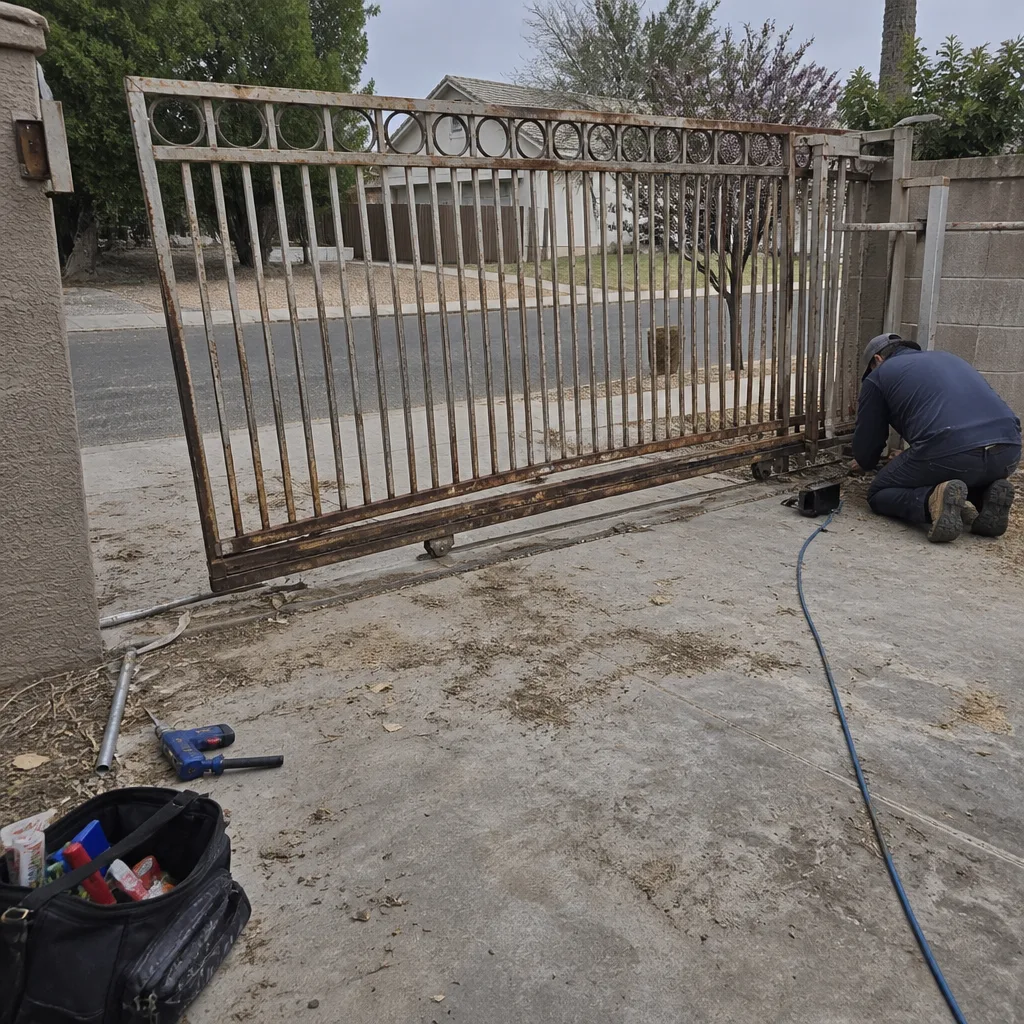 Before
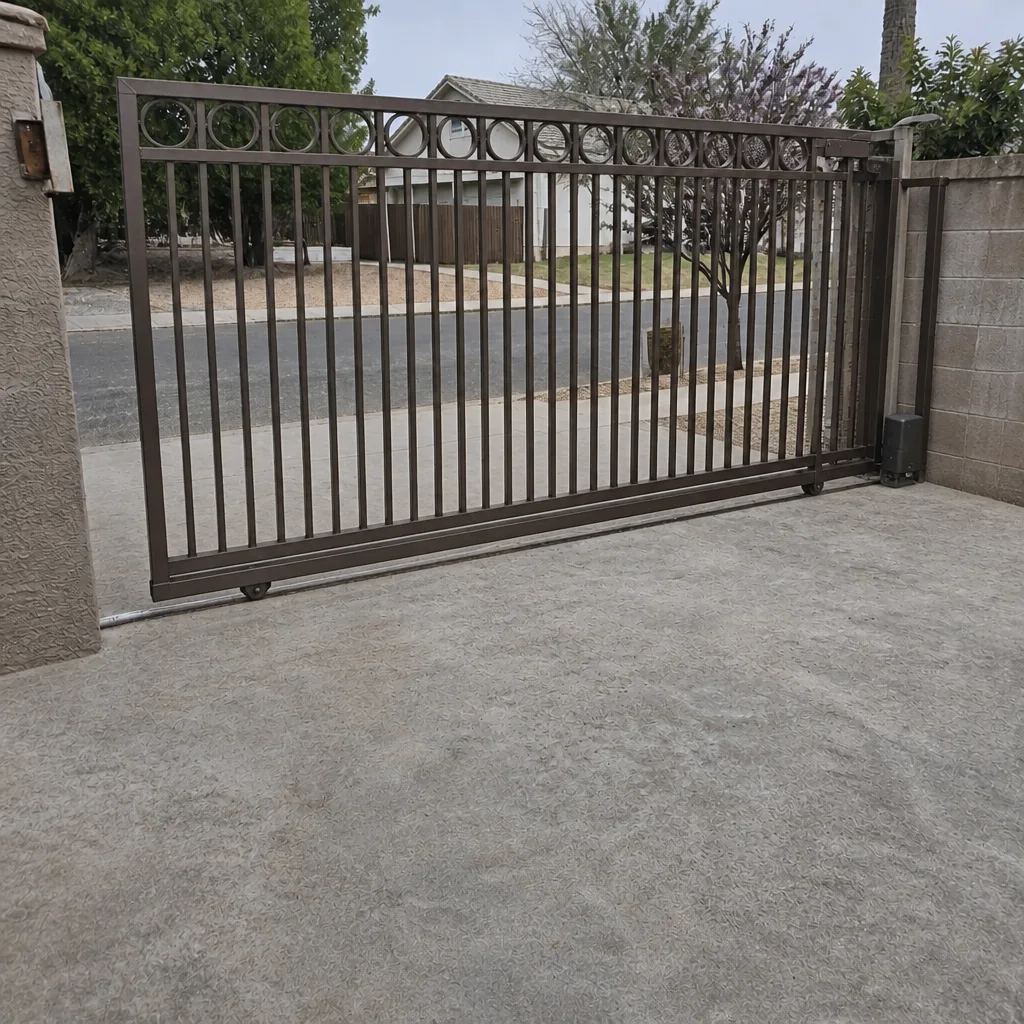 After
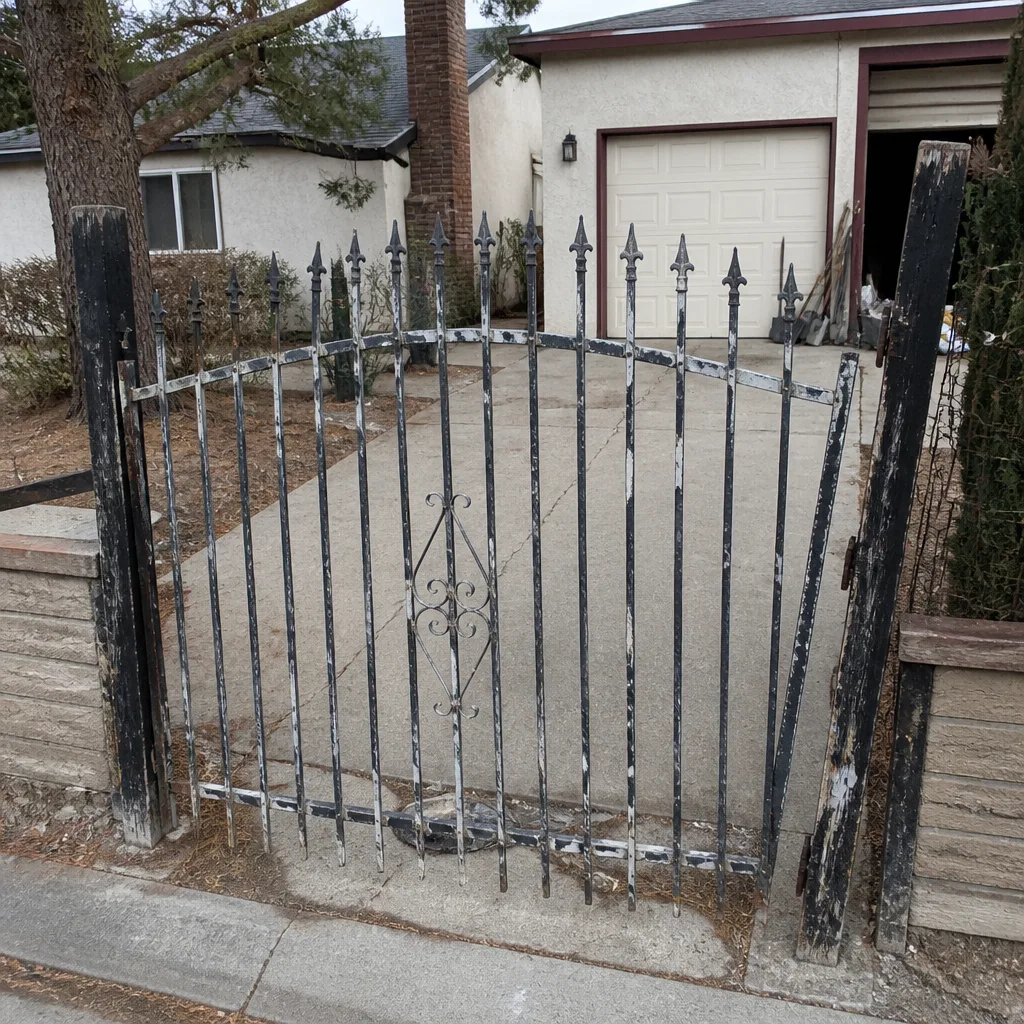 Before
 After
 Before
 After
When to Call a Professional
If you are looking at a gate project – new install, an automated operator being added to an existing gate, or a gate you suspect was hung badly by a previous crew – it makes sense to have a trained eye look at it before the next step, not after. The signs above are meant to help you evaluate a job while it is in progress, but if the crew has already left and your gate is already dragging, the diagnosis and the fix are the same: an inspection at the post, the hinge, and the weld. Ironworks Gate Co. Whitney offers free estimates in Whitney – call (855) 928-1304. We are trained on the automation brands you are likely to see on a Whitney driveway, including BFT, Linear, Viking, and Ghost Controls, so the diagnosis is not a guess.
Frequently Asked Questions
The most common is a post set without a plumb check. It is quick to spot – a post going in the ground with no level against it – and it is the direct cause of the most sagging-gate service calls we run in Whitney. If you see it, ask the installer to re-check before the gate is hung.
Look for an uneven bead with pinholes, visible gaps, or undercut grooves alongside the weld. A good weld looks like a neat row of stacked coins along the joint. You can see the difference in daylight, and if the joint has visible holes or slag left over, it needs to be ground back and re-welded before the gate is painted. Call (855) 928-1304 if you want a second look at an existing joint.
Because of caliche and heaving in the Mojave soil. A post set on top of the caliche crust instead of through it will rock loose under the gate load, and the thermal swings we get here lift and drop the soil around a shallow footing. A proper Whitney install probes for the caliche layer during the survey and sets the footing below it. If your installer did not probe, ask why.
Automated driveway gates generally require a permit, and the rules vary by jurisdiction. Ask your installer to specify in the written quote whether the automation is being permitted and what the safety edge and obstruction-sensing plan is. A quote with no permitting line is a red flag. Call (855) 928-1304 for a straight answer about what your job will need.
A written quote should list post depth, footing size, hinge type, finish, whether the gate is automated, the power source for the operator, whether safety edges are included, and the warranty in writing. If any of those are missing, the quote is smaller than the job. Our free second opinion on any written estimate is exactly for this – call (855) 928-1304 and we will read it with you.
Most poorly installed gates can be repaired rather than replaced – new footings, re-welded hinges, re-plumbed posts. The exception is a gate that has cracked along a frame weld from repeated flex, which is usually cheaper to rebuild than to patch. Have it inspected before you decide. Call (855) 928-1304 for a free estimate.
The Bottom Line
Gate installation failures are almost always visible on the day the job is done – in a post that was never checked for plumb, a mix that was too wet, a weld that was rushed, a hinge that was shimmed, or a quote that never named post depth or permits. Learn to read those signs while the crew is still on the driveway, and you skip the six-month-later call to a contractor who may be gone. If you want the installation done right the first time and backed in writing, our Ironworks Gate Co. Whitney home page shows how we work. Call (855) 928-1304 for a free estimate.
Written by the team at Ironworks Gate Co. Whitney.