
Last updated November 17, 2026
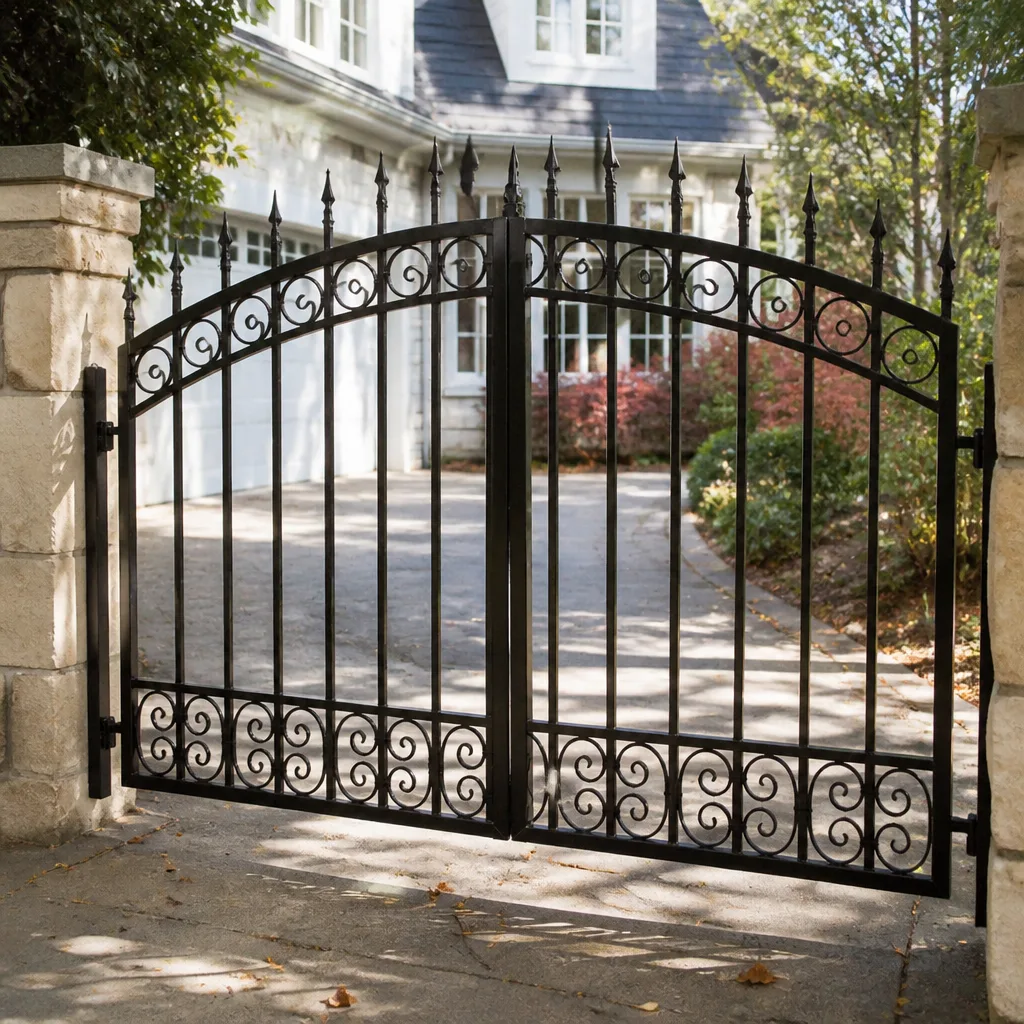 Wrought iron
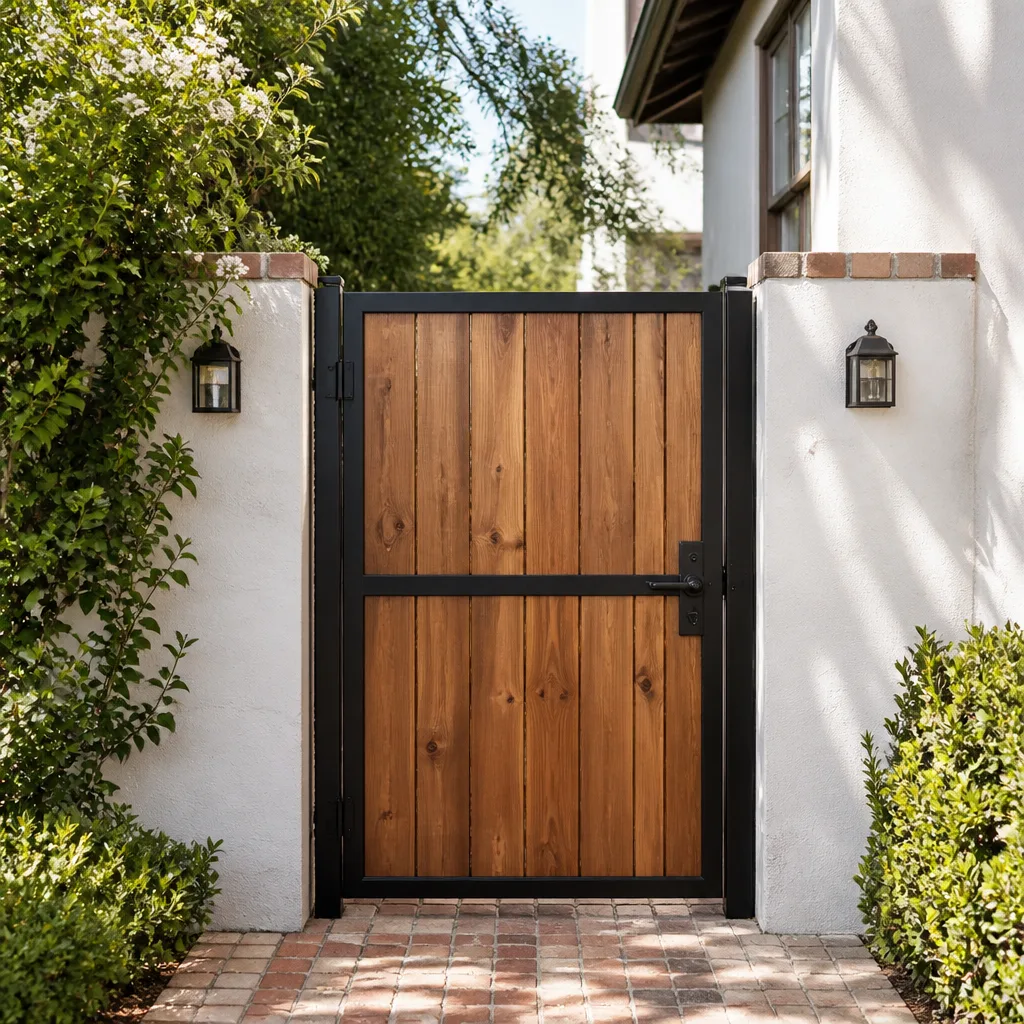 Wood & steel frame
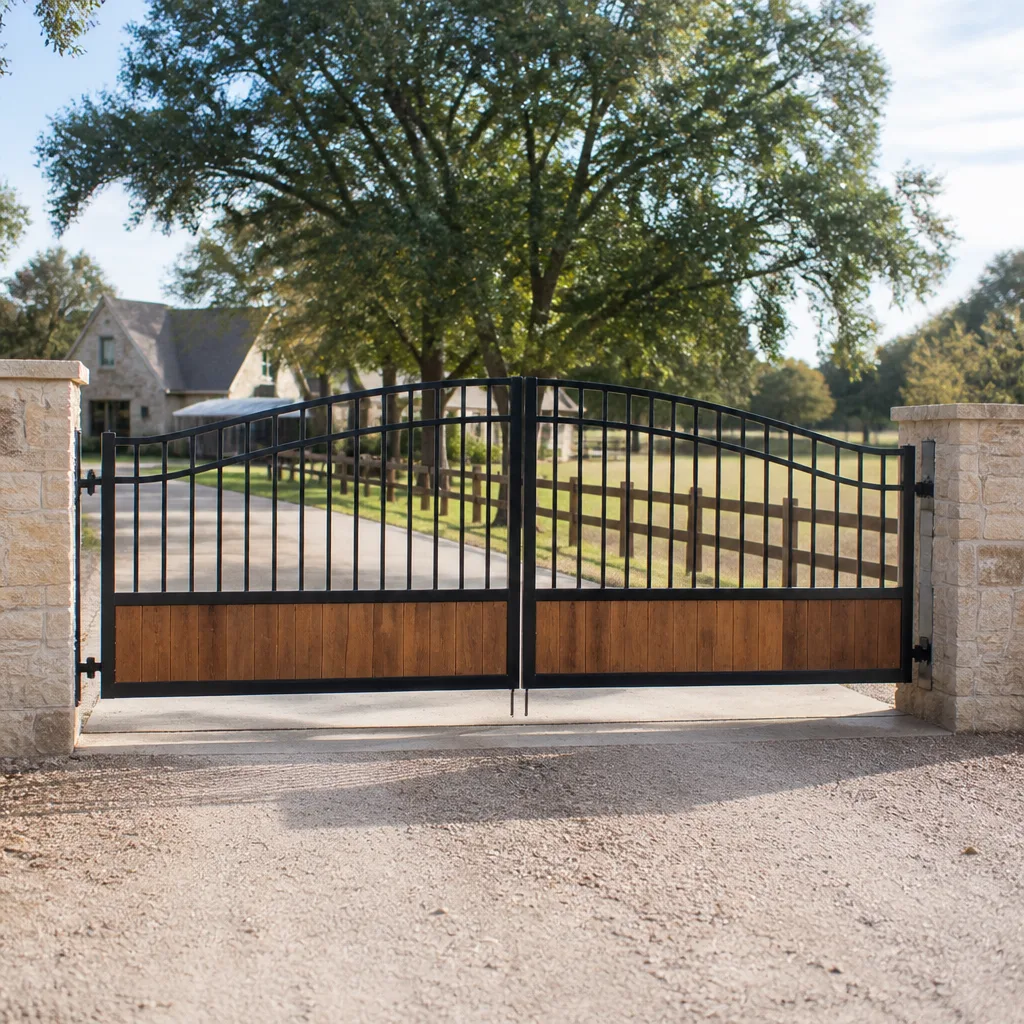 Farm & ranch
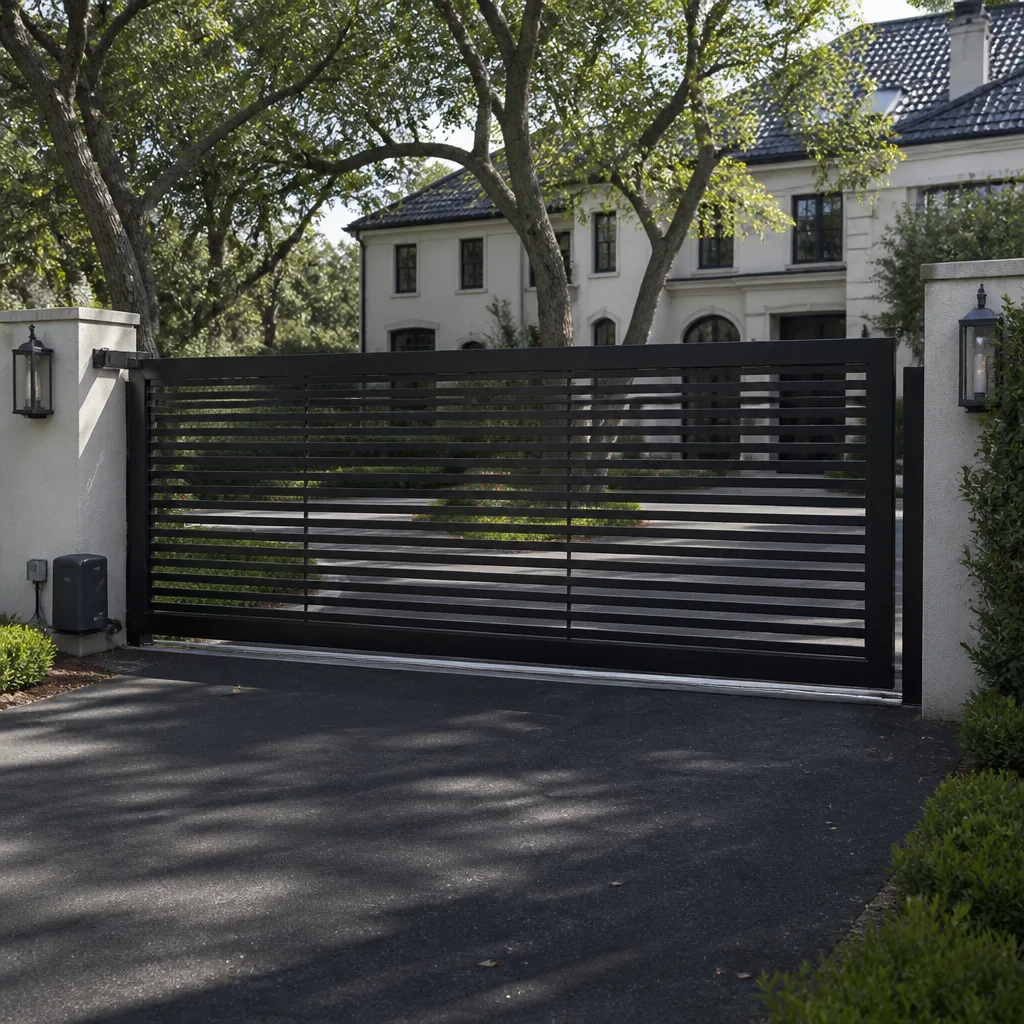 Sliding driveway gates
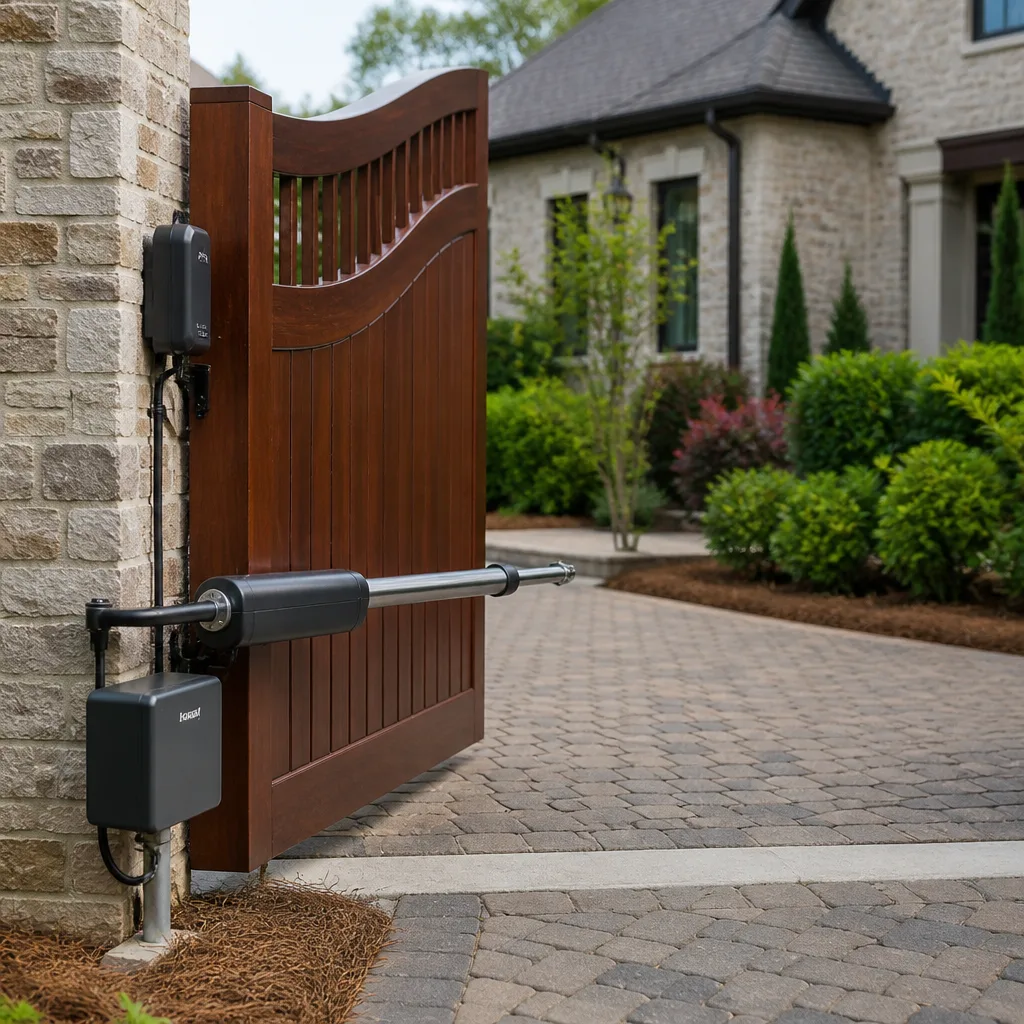 LiftMaster operators
Free on-site gate assessment - hinges, posts, and your LiftMaster or Nice gate operator checked before anything is quoted
The assessment is free and the quote is the invoice.
Get your free estimateGate Parts & Welding Maintenance Schedule: What to Do and When
Paint on a gate is not cosmetic. It is the first line of corrosion defense, and once it fails at a weld seam, rust can travel an inch under intact paint before it shows on the surface. That hidden migration is why welded steel gates need a different maintenance rhythm than aluminum or vinyl. The metal fails along seams and joints before it fails anywhere else, and the timeline is predictable if you know where to look. This guide lays out that timeline in plain terms: the annual inspection order, the seasonal tasks that matter in Whitney, the jobs you can handle yourself, and the ones that need a welder.
Quick Answer
Welded steel gates should get a full inspection once a year in this order: weld seams first, then hardware torque, then coating integrity, then hinge alignment. In Whitney, add pre-summer lubrication before the high heat sets in and a post-monsoon check for water at the post bases. Homeowners can handle cleaning, touch-up paint and lubrication. Stress cracks, joint repairs and re-welding need a welder.
Styles & brands we work with
- Wrought iron
- Wood & steel frame
- Farm & ranch
- Sliding driveway gates
- LiftMaster operators
Table of Contents
- The Annual Inspection Sequence and Why the Order Matters
- Weld Seams: Where Corrosion Starts and How to Read It
- Seasonal Tasks Specific to Whitney
- Hardware Torque and Hinge Alignment
- What You Can Do Yourself vs. What Needs a Welder
- How to Catch a Stress Crack Before It Breaks
- Record-Keeping That Protects Your Warranty
- A Year-at-a-Glance Maintenance Calendar
The Annual Inspection Sequence and Why the Order Matters
The order of inspection is not arbitrary. Each step feeds the next. If you check hardware torque before you check the weld seams, a cracked seam can hide the fact that a loose bolt is loading a joint it was never meant to carry. If you check coating integrity first and find paint failing, you won’t yet know whether the paint failed on its own or because the metal underneath has been moving. Doing the four checks in sequence tells you the actual cause, not just the symptom.
Work through them in this order:
- Weld seams. Every welded joint: corners, hinge mounts, latch posts, decorative scrollwork attachments.
- Hardware torque. Bolts, lag screws and anchor fasteners at hinges, latches and operator brackets.
- Coating integrity. Paint, powder coat or galvanizing. Look for cracking, blistering and rust bloom.
- Hinge alignment. Check that the gate hangs square, swings freely and latches without force.
We’ve seen gates in Whitney where the homeowner assumed a sagging gate meant worn hinges. The hinges were fine. The post-base weld had cracked and the gate was pulling the post out of plumb. Checking seams first would have found it in seconds. That sequencing habit is the single most useful thing you can build into a yearly routine, and it applies whether the gate is manual or driven by a Linear or Viking operator.
Plan the inspection for the same month every year. A gate that fails in October usually gave warnings in spring. For more on what a professional inspection covers, see our Gate Repair in Whitney page.
Weld Seams: Where Corrosion Starts and How to Read It
Rust appears on a welded steel gate at the seams first, and for a simple reason: the weld is where the metal was heated, where the coating is hardest to apply evenly, and where water collects in microscopic pits. A weld bead is not flat. It has ripples and toe lines that hold moisture against the steel after a rain. Once the coating breaks at the toe of a weld, corrosion has a starting point and no reason to stop.
What to look for at each seam:
- Rust bloom or orange staining running away from the weld, even if the paint above it looks intact.
- Hairline cracking in the paint along the weld toe. This is coating failure starting.
- Bubbling or lifting of paint over a weld. That’s corrosion pushing the coating up from underneath.
- White or chalky deposits on galvanized gates at seams, which signal the zinc layer is being consumed.
The deceptive part is the migration. Once moisture gets under a coating breach at a weld, rust travels laterally along the steel-coating interface. It can run an inch or more before it surfaces. By the time you see a rust spot on the face of a gate, the damage underneath is wider than the spot. That’s why a flashlight and a wire brush matter more than a visual scan from the driveway. Scrub the seams lightly and look at what the brush reveals. Our technicians have up to 13 years of experience reading that evidence, and it’s rarely what the surface first suggests.
Seasonal Tasks Specific to Whitney
Whitney’s climate pushes gates in two directions: summer heat and monsoon moisture. Each has its own task, and both matter more for welded steel than for other materials because steel expands, contracts and corrodes in response to both.
Before summer: lubricate and free up moving parts
High heat thins grease and drives off light oils. A hinge that was smooth in March can dry out by June. Before the heat peaks, lubricate hinges, latches, rollers and the operator’s drive chain or screw if it has one. Use a lubricant rated for high temperature and reapply at the manufacturer’s interval. Check that the operator’s limit switches and safety sensors are clear of debris. Heat also accelerates the curing of any paint applied in cool weather, so touch-up paint done in spring will bond better than paint done in the heat of July.
After monsoon: check for water at the post bases
Monsoon rain is the bigger long-term threat. Water pools at post bases, wicks into the seam where the post meets its base plate, and sits against the concrete footing. That seam is where we find the most advanced corrosion on Whitney gates. After the monsoon season, inspect each post base: look for rust staining, cracked coating, loose anchor bolts and soil that has settled away from the footing, which lets water collect. Clear any drainage path so water moves away from the base rather than pooling against it.
Automated gates add a third seasonal concern: the operator housing. If your gate runs a DoorKing or Ghost Controls unit, check that water isn’t entering the housing and that the control board area stays dry. Moisture in an operator is a common cause of intermittent faults after a storm. Our Gate Motor & Opener in Whitney page covers what those faults look like.
Hardware Torque and Hinge Alignment
Loose hardware is the quiet accelerant. Every bolt that backs off a quarter turn adds load to the weld and hinge next to it. A gate weighs what it weighs; the fasteners are what keep that weight distributed the way it was designed to be. When they loosen, the load concentrates, and concentrated load is what cracks welds.
Check torque at these points during your annual inspection:
- Hinge bolts and lag screws at both the gate frame and the post.
- Latch and strike hardware, which take repeated impact.
- Operator mounting brackets and the arm connection to the gate.
- Anchor bolts at post base plates.
- Caps, finials and decorative elements that can work loose and rattle.
Re-torque to the manufacturer’s spec, not as tight as you can turn it. Over-tightening crushes washers and can split the coating, which opens a new corrosion point. If a bolt will not hold torque, the thread or the surrounding metal is damaged, and that’s a repair, not a tightening.
Hinge alignment comes last because everything before it affects it. Once the seams are sound, the hardware is snug and the coating is intact, check that the gate hangs square. Open it to the halfway point and let go. It should stay where you put it, not swing on its own. A gate that drifts indicates the post has moved or a hinge has worn. Left alone, a drifting gate loads one hinge and one weld far beyond design, and that’s how a slow problem becomes a fast one. For full installation and alignment guidance, see Gate Installation in Whitney.
What You Can Do Yourself vs. What Needs a Welder
There’s a clear line between maintenance and repair, and crossing it the wrong way costs more than it saves. Homeowners can keep a gate healthy. Structural metalwork and anything involving the operator’s electrical side belong to a trained professional.
You can handle:
- Cleaning the gate with a mild detergent and rinsing away grit and salt.
- Touch-up painting small coating chips before rust starts (clean to bare metal, prime, then topcoat).
- Lubricating hinges, latches, rollers and chains at the recommended interval.
- Checking and re-tightening accessible bolts to spec.
- Clearing debris and checking drainage around post bases.
- Keeping a written record of everything you do and observe.
Leave to a welder or metalworker:
- Any stress crack at a weld seam, even a hairline one.
- Re-welding hinge mounts, latch posts or frame joints.
- Straightening a bent frame or post, which requires controlled heat and force.
- Repairing corrosion that has penetrated the steel section.
- Any work on the gate operator’s wiring, control board or safety edges.
A stress crack is the one most often ignored. It looks minor. But a crack in a weld seam concentrates stress at its tip and grows with every cycle of the gate. A hairline crack today is a broken hinge mount in a year. Re-welding it properly means grinding out the old weld, prepping the joint and re-welding to restore full strength, not laying a bead over the top. That’s bench work, not a driveway touch-up.
How to Catch a Stress Crack Before It Breaks
A stress crack announces itself before it breaks, but only if you look in the right place with the right light. Cracks start at the toe of a weld, where the weld bead meets the parent metal, because that’s where stress concentrates. The most common locations on a residential gate are the hinge-side frame joints and the latch-side post connection.
Here’s the routine we recommend, and it takes about ten minutes per gate:
- Bring a bright flashlight and a stiff wire brush.
- Scrub each weld seam clean so bare metal or intact coating is visible.
- Shine the light along the seam at a low angle, not straight on. Low-angle light throws shadows into cracks that straight-on light hides.
- Look for a thin dark line or a step in the coating along the weld toe.
- Press firmly on the gate near the seam and watch for movement or a widening line.
- Mark any suspect spot with a paint pen and recheck it in a month to see if it has grown.
If a crack is visible and widening, stop using the gate under power and call for service. A gate that’s cracking at a hinge mount can fail while opening, and a falling steel gate is a serious hazard. We’d rather look at ten clean seams than one that let go. That low-angle light trick is the same one our technicians use on every Whitney inspection.
Record-Keeping That Protects Your Warranty
A maintenance record does two jobs. It protects your warranty coverage, because most gate and operator warranties require documented maintenance, and it gives the next technician a history of the gate so nobody has to guess what was done and when. A gate with a written record gets better service than one with none, every time.
Keep a simple log with these fields:
- Date of each inspection and each task.
- What was checked and what condition it was in.
- What was done: lubricated, tightened, painted, repaired.
- Parts used: lubricant brand, paint and primer, any replacement hardware.
- Photographs of any spot you’re watching, dated, so growth is measurable.
- Service records from any professional visit, including the work order and the guarantee.
Store it somewhere you’ll actually find it: a folder with the gate’s paperwork, or a photo on your phone. When you call for service, the record tells us whether a seam was already flagged, whether a bolt has loosened twice, or whether a coating failure is new. That history is often worth more than the inspection itself. It’s also the difference between a warranty claim that goes through and one that gets argued. Every job we complete comes with the 90-Day Done Right Promise in writing, and keeping that paperwork is part of the same habit. If you’re comparing estimates, take advantage of our Free Second Opinion on Any Written Estimate, and bring your log with you.
A Year-at-a-Glance Maintenance Calendar
Here’s the schedule in one place, built for a Whitney climate. Adjust the months if your gate sees heavy use or sits in full afternoon sun, but keep the order.
- Early spring: Full four-step inspection. Clean the gate. Touch up any coating chips. Re-torque hardware. Note any suspect seams for follow-up.
- Late spring, before the heat: Lubricate hinges, latches, rollers and the operator drive. Test the operator’s safety sensors and manual release. Change batteries in remotes and keypads if your system uses them.
- Mid-summer: Quick visual check of seams and hinges. Heat expands metal and can reveal a loose joint. Re-lubricate if the gate is heavily used.
- After monsoon season: Inspect post bases and footings for water intrusion. Check the operator housing for moisture. Clear drainage. Look for new rust staining at seams.
- Fall: Recheck any spots you marked in spring. If a crack has grown, schedule a weld repair. Lubricate again before cooler weather.
- Winter: Light inspection. Confirm latches and locks operate cleanly. Review your log and plan next year’s work.
This is the rhythm that keeps a welded gate on top of its failure timeline instead of behind it. If you’d rather not manage the schedule yourself, our $89 Seasonal Tune-Up covers the annual inspection and lubrication with upfront pricing agreed before any work starts. It’s an easy way to keep the record current and catch problems while they’re still small. For a full look at how we handle repairs and the parts involved, start at Ironworks Gate Co. Whitney home.
Common Mistakes to Avoid
- Painting over rust instead of cleaning to bare metal. Paint over an active rust spot traps the corrosion and lets it keep eating the steel under a fresh coat. In Whitney’s summer heat, that fails fast.
- Ignoring a hairline crack because it looks minor. A crack at a hinge weld grows with every cycle. Waiting turns a cheap re-weld into a hinge-mount replacement.
- Over-tightening bolts to “make sure.” Overtorque crushes washers, splits coating and creates new corrosion points. Torque to spec.
- Skipping the post-base check after monsoon. The post-to-base seam is where we find the worst corrosion on Whitney gates, and it’s the easiest spot to overlook.
- Letting the operator go unserviced. A well-maintained gate frame attached to a failing Linear or Ghost Controls operator is still a gate that stops working. Service both.
- No written record. Without a log, you can’t prove maintenance for a warranty claim or tell a technician what’s been done. Keep the paperwork.
- Running a gate with a visible crack under power. A steel gate can fail while moving. If a seam is cracking, stop using the operator and get it looked at.
Safety note: gate operators carry line voltage, and the springs and counterbalance systems on some gates store significant force. Don’t open the operator housing or adjust counterbalance hardware yourself. That’s work for a trained professional.
See the difference
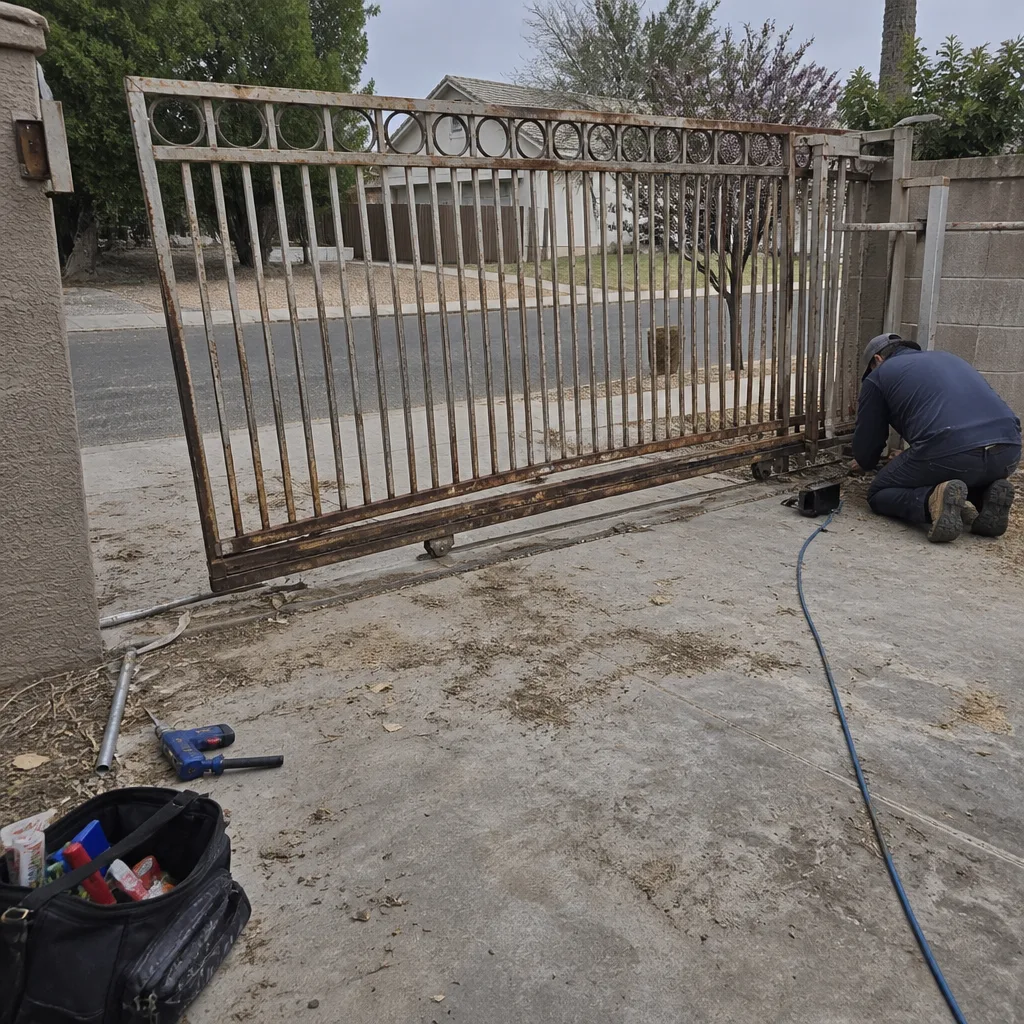 Before
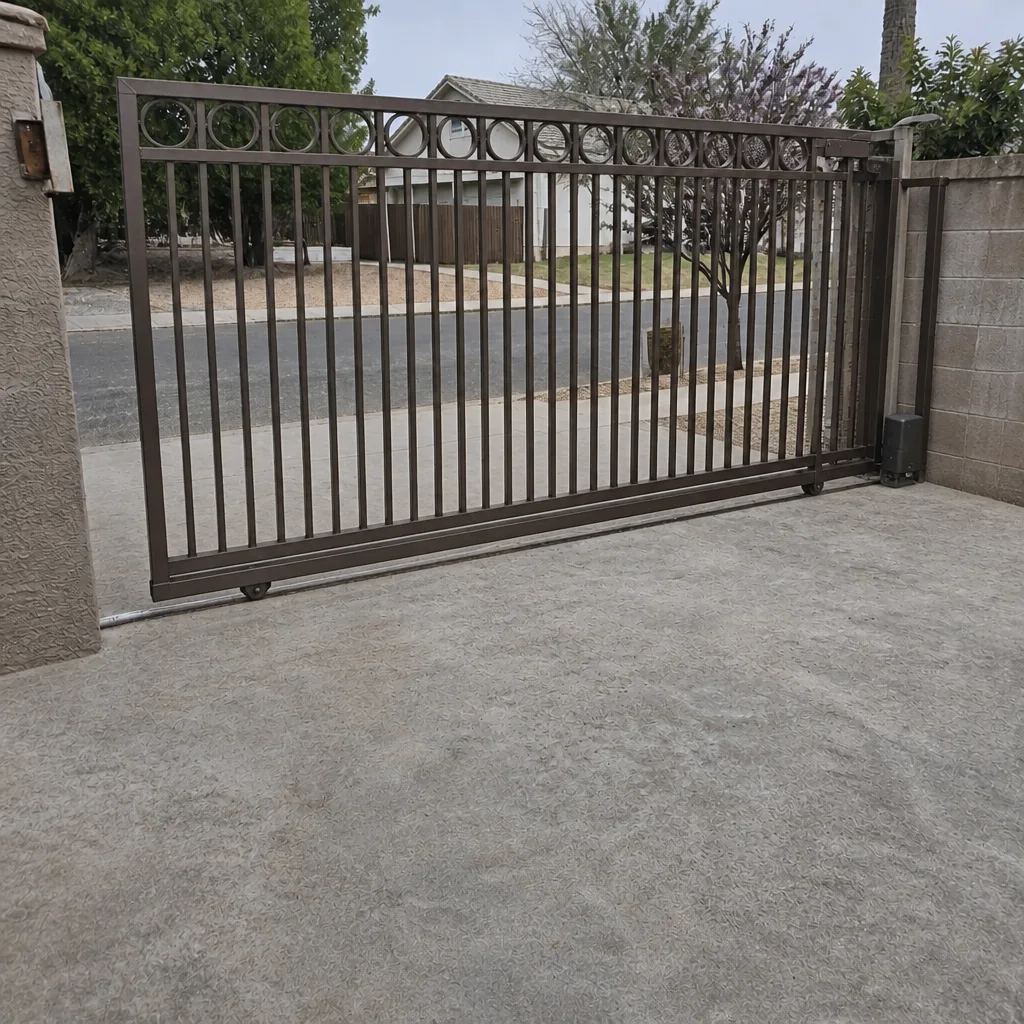 After
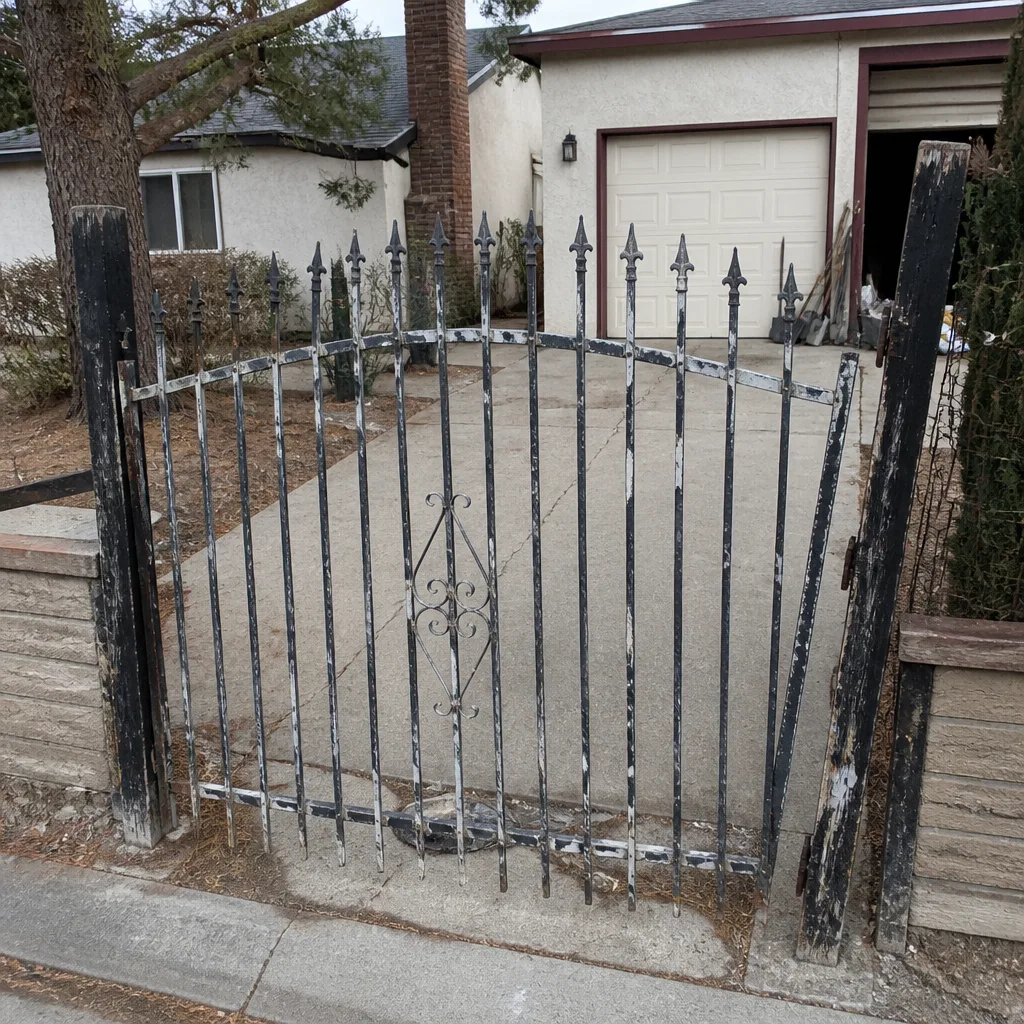 Before
 After
 Before
 After
When to Call a Professional
Call a professional for any stress crack at a weld seam, for corrosion that has penetrated the steel, for a gate that has dropped or won’t latch, and for anything involving the operator’s wiring, control board or safety edges. Also call if a post has moved or a hinge mount is failing, since those require structural repair, not adjustment. If you’re unsure whether a spot is a crack or just a paint flaw, that’s a good reason to call too. A free estimate costs you nothing and settles the question.
Ironworks Gate Co. Whitney offers free estimates in Whitney. We service Linear, Viking, DoorKing and other major operators, and our technicians have up to 13 years of experience with welded steel gates. Call (855) 928-1304, and a live person answers, day or night.
Frequently Asked Questions
Once a year at minimum, with a lighter seasonal check before summer and after monsoon season. Welded gates fail at seams first, so the annual inspection should start with weld seams, then hardware torque, coating integrity and hinge alignment. Heavy use or full-sun exposure may call for a mid-year check as well.
No. Paint over an active rust spot traps the corrosion and lets it spread under the coating. Clean to bare metal, treat the area, prime and then topcoat. If rust has penetrated the steel or is migrating under intact paint at a weld, call for service instead of painting over it.
Maintenance is cleaning, touch-up painting, lubrication and re-tightening hardware. Repair is any weld work, frame straightening, corrosion penetration or operator electrical work. Maintenance keeps a gate healthy; repair restores strength after it has been lost. A professional welder should handle anything structural.
Because each check can mask the one before it. Loose hardware can hide a cracked seam, and failing paint can hide moving metal. Checking weld seams first, then hardware, then coating, then hinge alignment tells you the cause rather than the symptom. That’s the difference between fixing the problem and guessing at it.
Yes. Most gate and operator warranties require documented maintenance, and a written log helps any future technician understand the gate’s history. Keep dates, tasks, parts used and dated photos of anything you’re watching. It’s also the difference between a warranty claim that goes through and one that gets argued.
Our seasonal tune-up is $89 and covers the annual inspection sequence plus lubrication, with the price agreed before any work starts. If it turns up a weld crack or other repair, we quote that separately before touching it. Call (855) 928-1304 for an exact quote, and estimates are free.
The Bottom Line
Welded steel gates fail on a predictable timeline: corrosion at the weld seams, loosening hardware, coating breakdown and hinge misalignment, in that order. Inspect annually in that same order, add pre-summer lubrication and a post-monsoon post-base check for Whitney, and keep a written record. Homeowners can handle cleaning, painting and lubrication. Cracks and structural repairs need a welder. Do the schedule consistently and a 40-year-old gate keeps closing like the day it was hung. Skip it, and a hairline crack becomes a broken hinge mount. Either way, we’re here to help: call (855) 928-1304 for a free estimate.
Written by the team at Ironworks Gate Co. Whitney.