
Last updated November 17, 2026
 Wrought iron
 Wood & steel frame
 Farm & ranch
 Sliding driveway gates
 LiftMaster operators
Free on-site gate assessment - hinges, posts, and your LiftMaster or Nice gate operator checked before anything is quoted
The assessment is free and the quote is the invoice.
Get your free estimateGate Installation Troubleshooting: Common Problems and How to Fix Them
A new gate that drags on the ground isn’t a hardware problem. It’s an installation problem, and tightening the hinges will only mask it until the motor burns out. We’ve seen this pattern more than any other: a gate that looks installed but was never true, hung on a frame that isn’t square, with a motor that works overtime to push a leaf uphill against a bad geometry. The hardware is fine. The geometry is wrong. Below we’ll walk through how to tell an installation fault from a product or wear fault, the measurement sequence that confirms it, and what to document the day the gate goes in so you’re not negotiating from memory three months later.
Quick Answer
Most gate installation problems come down to geometry, not parts: posts that aren’t plumb, frames that aren’t square, and travel paths that bind against the ground or a stop. Check plumb, square, and clearance with a level and tape measure before you touch a single hinge, because adjustment can’t fix a frame that was hung out of true. The second most common cluster is automation calibration – limit switches, obstruction sensors, and remote pairing – which is fixable but needs to be done in the right order on the right brand.
Styles & brands we work with
- Wrought iron
- Wood & steel frame
- Farm & ranch
- Sliding driveway gates
- LiftMaster operators
Table of Contents
- How to Tell an Installation Problem from a Product or Usage Problem
- The Geometry Check: Plumb, Square, and Travel Path
- Automation Problems After a New Installation
- Normal Settling vs. a Failing Post or Footing
- What to Document the Day the Gate Goes In
- Why Whitney Installations See Particular Problems
- Common Mistakes to Avoid
- When to Call a Professional
How to Tell an Installation Problem from a Product or Usage Problem
The first question on any gate that misbehaves is who owns the fix. That answer starts with a distinction the homeowner can usually make in ten minutes with a tape measure and a level: is the gate out of true, or is a part worn or defective? These are two different conversations, and confusing them wastes time and money.
An installation problem shows up early and consistently. The gate bound from the first week. The motor strained on day one. The latch never quite lined up. These symptoms don’t wander; they repeat every cycle, because the frame or the posts are wrong in a fixed way. Adjusting a hinge or tightening a bolt can hide the symptom for a month or two, but the strain comes back. That pattern is the tell.
A product or wear problem develops over time. A hinge that ran smooth in April grinds in October. A sensor that worked through the summer starts giving false trips in the first cold snap. These are real faults, but they’re not installation faults, and they’re fixed by replacing or servicing the part, not by re-hanging the gate.
A usage problem is the third category, and the one homeowners most often blame on the installer. A gate asked to open 40 times a day on a residential-duty operator, or a driveway that gets a truck parked against the stop, will fail in ways that have nothing to do with how it was hung. If the duty cycle is wrong for the job, the fix is a different operator, not a different installation.
- Installation fault: repeats every cycle, shows from the first week, comes back after adjustment.
- Product or wear fault: develops over months, is inconsistent at first, tracks a specific part.
- Usage fault: correlates with how often or how hard the gate is used, not with time since install.
Knowing which one you’re facing changes everything downstream: who pays, what gets done, and whether a warranty claim is even the right move. For a wider look at how these faults are handled once they’re identified, our gate repair in Whitney page walks through the repair side of each category.
The Geometry Check: Plumb, Square, and Travel Path
This is the sequence we run on every gate before we touch hardware. It’s also the sequence a homeowner can run themselves to see whether an installation is even worth adjusting. You need a 4-foot level, a tape measure, and about twenty minutes.
- Check the posts for plumb. Hold the level against the hinge post in two directions, front-to-back and side-to-side. Both bubbles should sit dead center. A post that leans even a quarter inch over its height changes the geometry of every swing. If the post leans, stop here: you’re not adjusting hinges, you’re correcting a post.
- Check the frame for square. Measure the diagonal from the top hinge corner to the opposite bottom corner, then the other diagonal. The two measurements should match within about an eighth of an inch. If they don’t, the frame is racked, and a racked frame will always bind, no matter how you set the hinges.
- Measure the travel path. Walk the gate slowly through its full arc and watch the gap between the bottom of the leaf and the ground. It should be even across the entire swing. A gap that closes at one end means the travel path is misaligned or the ground has a slope the installer didn’t account for.
- Check the clearances at both stops. With the gate fully closed and fully open, look at the gaps at the latch and the hinge. They should be consistent. Uneven gaps on a new gate usually mean the posts were set to different heights or set out of line.
Run the checks in that order. If the posts fail, the frame doesn’t matter yet, and the frame doesn’t matter until the travel path is checked. A gate that fails on step one was never going to be fixed by adjusting anything on the leaf.
We’ve seen this repeated across Whitney on gates installed by general handymen: the gate hangs, the homeowner is happy for a week, then the drag starts and the motor starts getting hot. The gate was never true. The frame wasn’t square. Nothing on the gate itself will fix it. If the pattern sounds familiar, our gate installation in Whitney page describes what a properly trued install looks like from the start.
Automation Problems After a New Installation
Once the geometry is confirmed, the next layer of faults lives in the operator. These are the three we get called about most after a new install, and each has a specific cause worth understanding.
Limit switch calibration
The limit switches tell the operator where to stop. When they’re set wrong, the gate stops short of fully open, reverses prematurely, or drives hard into a mechanical stop. On a LiftMaster or FAAC operator, the calibration is set with the gate half-open and the operator in learn mode; if the installer sets the limits with the gate at the fully-open position, the operator records the wrong travel. The gate then works unevenly, opening fine one cycle and stalling the next. Recalibration is a five-minute job once you know the sequence, but it has to be done with the gate in the right position.
Obstruction sensor alignment
The safety sensors are a pair of eyes at the base of the posts, and they have to see each other cleanly through the full travel of the gate. False trips after install are almost always alignment or obstruction, not a failed sensor. Common causes: the receiving eye mounted a hair lower than the sending eye, a leaf that swings through the beam mid-arc, or debris (leaves, gravel kick-up, a loose irrigation line) sitting in the line of sight. Check both eyes are level, clear, and aimed at each other. On a BFT operator, the diagnostic LED on the receiver tells you whether the beam is being interrupted; that alone saves a lot of guessing.
Remote pairing failures
A remote that won’t pair on installation is usually one of three things: the operator isn’t in pairing mode, the remote was paired to a different operator on the same property, or the receiver has hit its memory limit from test remotes the installer used and didn’t clear. On a Mighty Mule operator, clearing the receiver memory first and pairing fresh usually resolves it. If the remote paired and then lost the pairing, that’s a receiver fault, not a pairing fault.
- Stopping short or reversing: check limit switch calibration before anything else.
- Random stops or reversals: check sensor alignment and clear the beam path.
- Remote won’t take: clear the receiver memory, then re-pair in the correct mode.
If the fault is in an operator we don’t recognize or the brand’s pairing sequence is unfamiliar, our gate motor & opener in Whitney page covers the service scope across the major brands.
Normal Settling vs. a Failing Post or Footing
A gate moves in its first ninety days. Concrete cures, soil settles, and a new post shifts by a fraction of an inch as the ground finds its level. That’s normal, and it’s one reason we build the 90-Day Done Right Promise around that window: the first three months tell us everything.
What matters is how much movement, and in what direction. Here’s how to tell the two apart.
Normal settling: a quarter inch or less of movement at the post over the first ninety days, and the gate still swings clean. Maybe one hinge needs a small adjustment. The motor runs without strain. The gate closes on its own weight and holds. Nothing about this is a failure, and it’s exactly the case where a single visit puts things right.
Footing or post failure: more than a quarter inch of movement in a post with a heavy leaf, or a post that’s leaning further each time you check. A gate that swings cleanly in week one and drags in week nine is showing you that a post moved. That’s more than settling. It’s a footing that wasn’t deep enough, wasn’t set in the right material, or landed on soft fill. Whitney’s soil varies a lot across neighborhoods, and a footing set on engineered fill moves in ways a footing in native soil does not.
The check: put a pencil mark on the post at the ground line on install day. Measure the mark against the ground line every thirty days for the first ninety. If the mark rises, the post is being pushed up by soil movement. If the mark sinks, the post is being pulled down. Either way, a post that moves more than a quarter inch is a footing conversation, not a hinge conversation.
A word of caution: do not try to correct a leaning post by tightening hinge bolts or over-torquing the brackets. That masks the movement on the small gate but accelerates wear on the hinge side, and on a heavy leaf it can crack a post casting. Post correction is work for a professional, and on a gate with a folding or sliding leaf it involves the operator alignment as well.
What to Document the Day the Gate Goes In
Three months from install, memory is not evidence. What protects a homeowner is a record made on day one. Take twenty minutes on install day and put the following in one folder.
- Photos. Shoot the posts, the hinges, the operator, the sensor mountings, and the gate at both fully-closed and fully-open positions. Photograph the post at the ground line from a fixed spot, so the same photo can be retaken at 30, 60, and 90 days to show any movement.
- Measurements. Write down the post height above grade, the gap between the gate bottom and the ground at both ends of the arc, the gate leaf width, and both frame diagonals. Date them. These numbers tell you whether what you’re seeing later is movement or a misreading.
- Warranty and paperwork. Keep the written installation quote, the operator documentation, the warranty terms, and any written guarantee in the same folder. If a problem emerges, the first question is whether it’s covered, and the answer lives in that paperwork.
- Brand and model. Note the exact operator brand and model, and the names of any safety sensors or accessories. A technician on the phone can tell you a lot more with a model number than without one.
If the install is by a company that offers a written guarantee, know the terms, the window, and what “makes it right” means in practice. Ironworks backs every job with the 90-Day Done Right Promise, and we say so before the first bolt is turned.
Why Whitney Installations See Particular Problems
Whitney has its own pattern, and a lot of it is soil. The valley’s soil ranges from caliche-heavy hardpan to engineered fill, sometimes on the same street, and a footing that’s right in one lot can be wrong two doors down. We regularly see posts set shallow in the fill that lift a quarter inch by late spring, and we’ve seen gates that were dead level in January bind by July because the ground under one post moved and not the other.
Heat is the other factor. In Whitney, the thermal swing on a steel gate between a cool morning and a July afternoon is enough to change the gate’s geometry by an eighth of an inch. A gate hung with zero clearance for cold weather will bind in the heat. A gate hung to run freely in July will rattle in December. The installer has to leave room for both, and a homeowner who reads the gate in either season deserves to know which way the tolerance was set.
What we do about it is measure the same gate twice, on different days, before we call it done. A Whitney install that reads true in the cool and true in the heat is an install we’re confident in. If you’re in a part of Whitney where you’ve seen movement, we’ll tell you plainly whether the gate needs correction or just needs to settle. Starting from our Ironworks Gate Co. Whitney home page is a simple way to reach the team.
Common Mistakes to Avoid
- Adjusting hinges to fix a drag. If the post is out of plumb or the frame isn’t square, tightening the hinge changes nothing that matters and wears the hinge side. Fix the geometry first, then the hardware.
- Setting the operator limits with the gate in the wrong position. The limit switches record whatever position the gate is in at the moment of the set. Get the gate half-open, not fully open, before you begin the calibration, or the operator will stop in the wrong place every cycle.
- Pairing a remote before clearing the receiver. Test remotes from the install often stay in the receiver’s memory. Clear it first, then pair only the homeowner’s remotes. That alone prevents a lot of “the remote doesn’t work” callbacks.
- Reading a sensor fault as a sensor failure. Before you replace the sensor, look at the beam. A leaf, gravel, or a loose irrigation line in the line of sight is more common than a failed eye.
- Ignoring a leaning post because the gate still swings. A post that moves more than a quarter inch in the first ninety days is a footing conversation. Letting it go for a season turns a correction into a re-set.
- Skipping the day-one documentation. Photos, measurements, and the written warranty made on install day are the difference between a straightforward warranty claim and an argument from memory.
- Assuming any installer can service the operator. Brand-specific calibration on LiftMaster, FAAC, BFT, and the others follows different sequences. A technician who knows the brand saves days of trial and error.
When to Call a Professional
Some faults are homeowner checks; some are not. Do not attempt to correct a leaning gate post, re-hang a heavy leaf, or adjust an operator while the gate is powered and moving. Gate leaves and springs under tension can cause serious injury, and an operator that starts on its own is a genuine hazard. If you see a leaning post, a cracking weld at a hinge bracket, a gate that swings through its stop, or an operator that starts on its own, stop using the gate and call a trained professional.
On the automation side, if the limit switches won’t hold calibration, the safety sensors won’t stay aligned, or the remote pairing won’t take after a fresh receiver clear, the fault is likely in the operator and needs a brand-specific diagnosis. A generalist installer can’t always tell a LiftMaster limit fault from a wiring fault; a technician trained on the brand can, usually on the first visit.
Ironworks Gate Co. Whitney offers free estimates in Whitney. Call (855) 928-1304 to get a written second opinion on any written estimate. A live person answers, day or night.
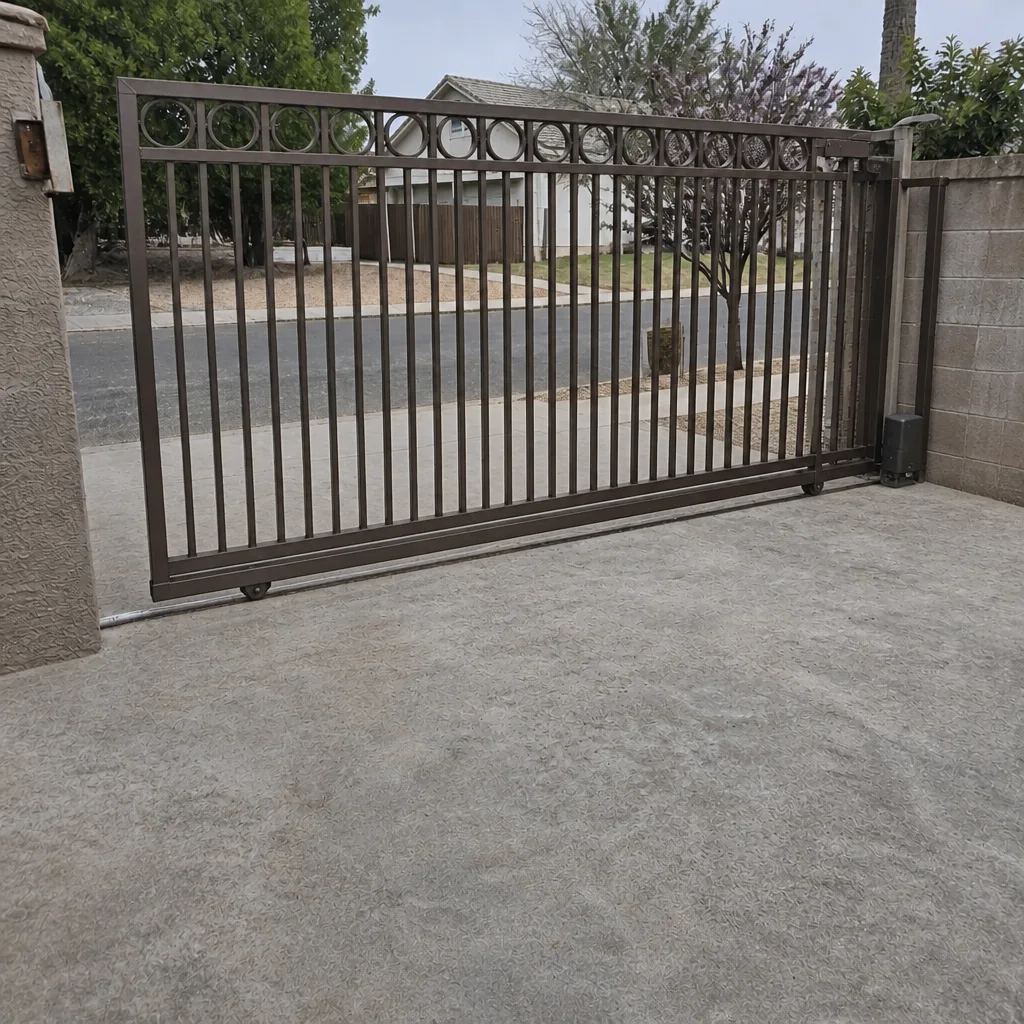
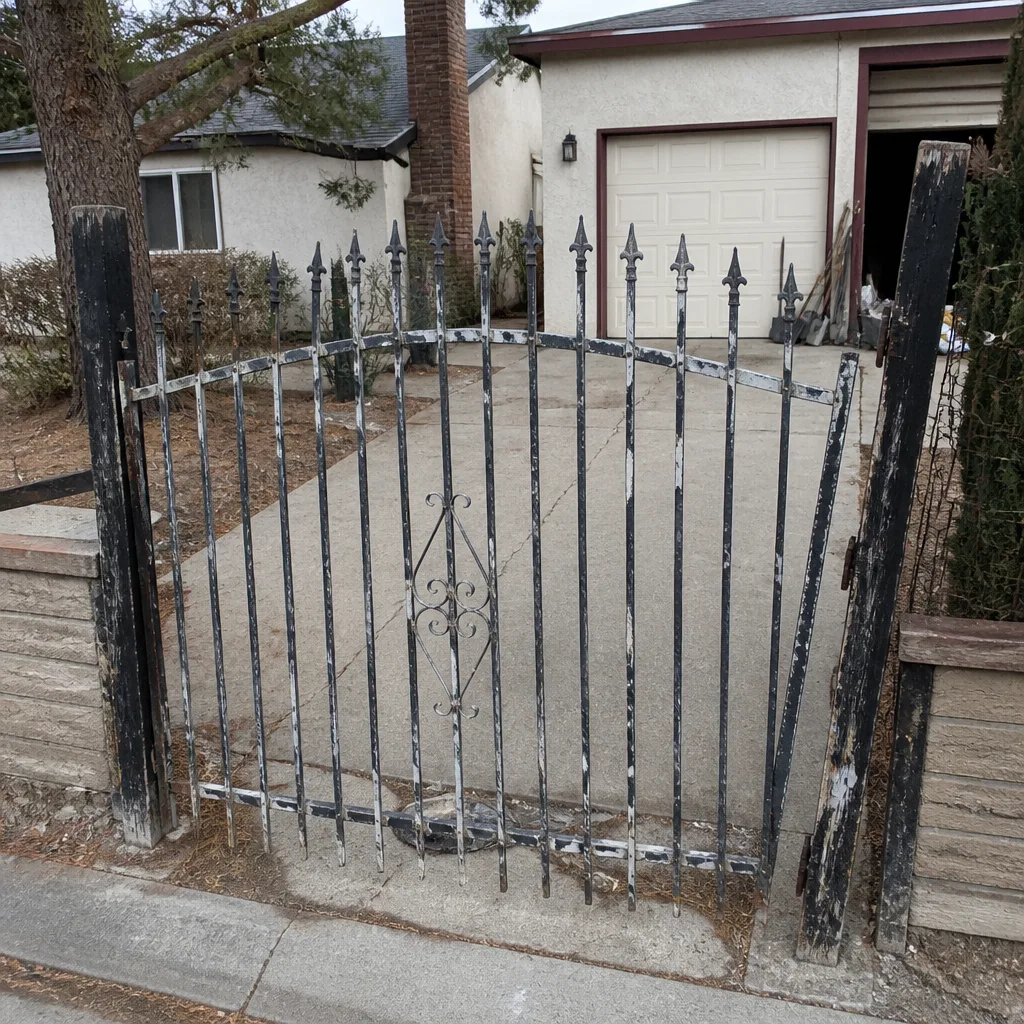
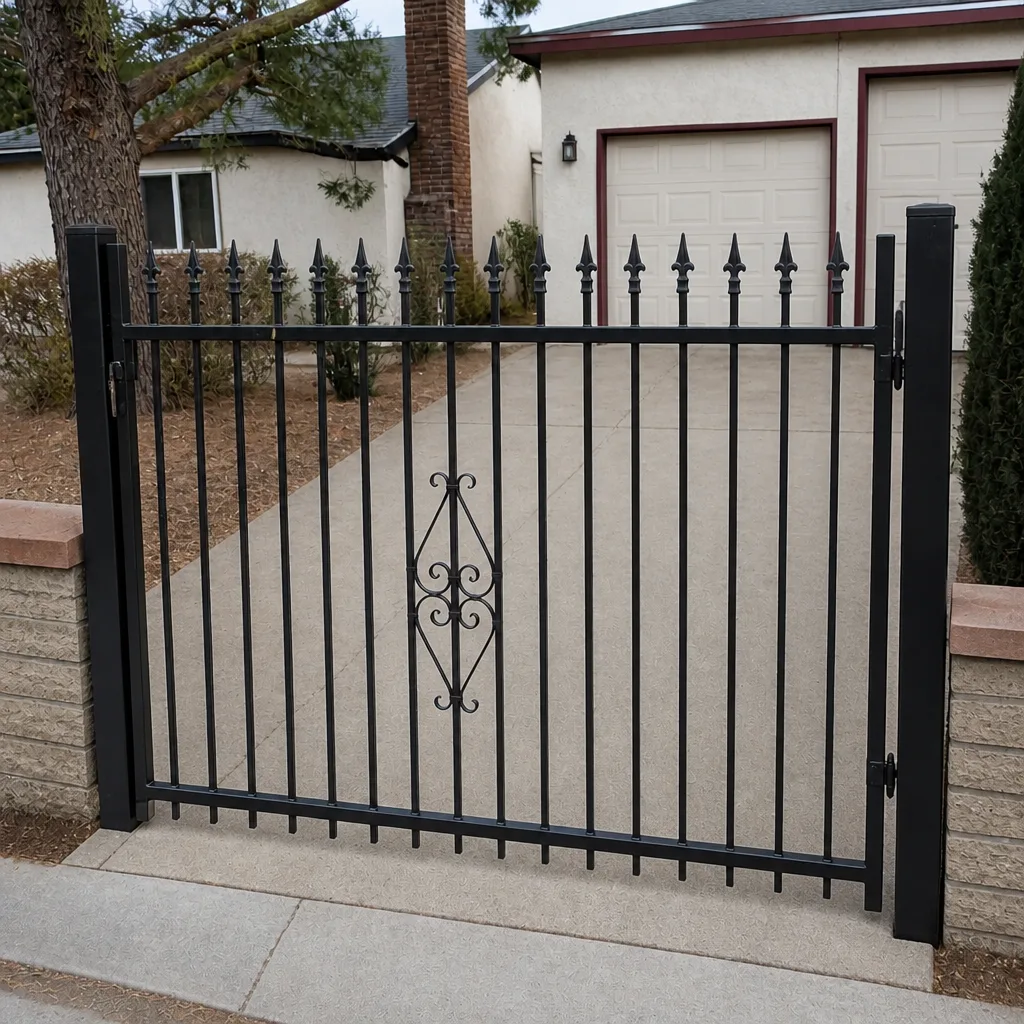
See the difference
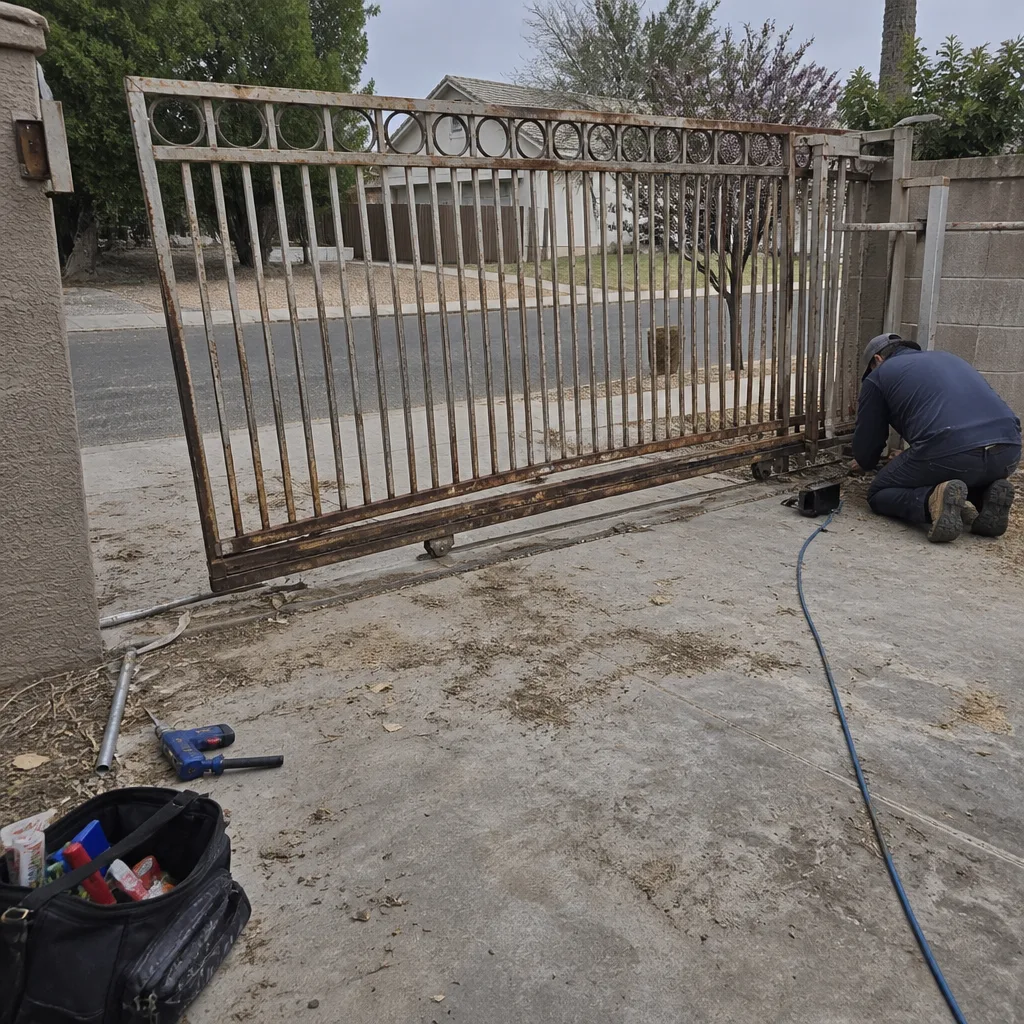 Before
 After
 Before
 After
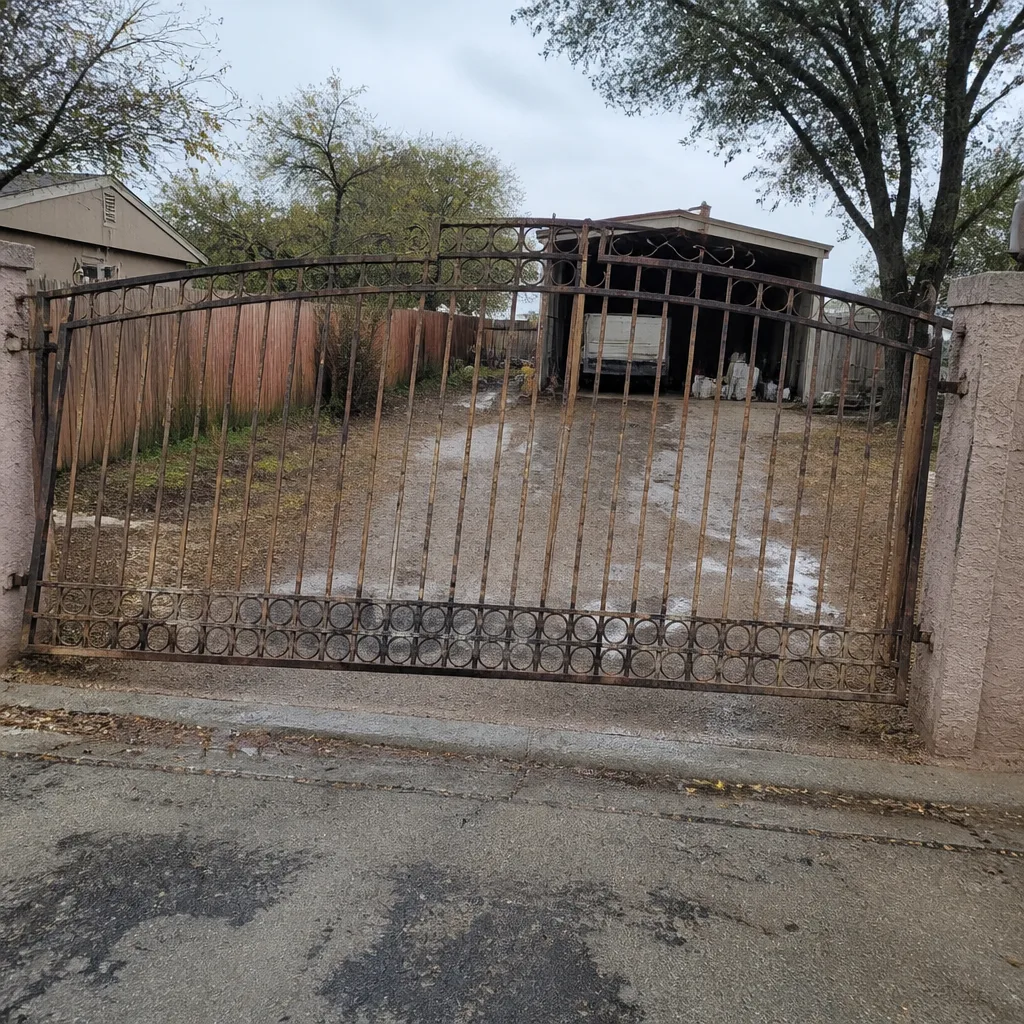 Before
 After
Frequently Asked Questions
Out-of-plumb posts and out-of-square frames are the most common, and they’re also the most often missed, because they show up as drag or strain rather than as an obvious failure. A 4-foot level and one tape-measure diagonal check catch both in under ten minutes. If you’d rather have a trained eye run the check, call (855) 928-1304 and we’ll come look.
No, not if the cause is geometry. Hinge adjustment only works on a gate that’s already plumb and square; on a gate that isn’t, tightening the hinges masks the drag and accelerates wear on the hinge side. Fix the posts and frame first. Call (855) 928-1304 for a free estimate on correcting the geometry.
A quarter inch or less at the post over the first ninety days is normal settling, provided the gate still swings clean. More than that, or a post that keeps moving with each check, points to a footing problem that needs correction. The 90-day mark exists for exactly this reason; call us at (855) 928-1304 if your gate is past a quarter inch.
The receiver memory is usually full of test remotes, or the operator isn’t in pairing mode. Clear the receiver first, then pair only the homeowner’s remotes. If it still won’t take, the receiver is the fault, not the remote. Call (855) 928-1304 and we’ll diagnose the brand.
The obstruction sensor is almost always the cause on a new install: the eyes are misaligned or something is blocking the beam mid-swing. Check that both eyes are level and clear, and that the leaf doesn’t cross the beam during the arc. If the sensor is clean and aligned, call (855) 928-1304 for a same-day look on a gate that’s also a genuine safety concern while it’s faulting.
A gate specialist, for two reasons: geometry and automation. General handymen can hang a gate but often miss the plumb-and-square step that determines whether the install holds, and they can’t always calibrate a modern operator on a specific brand. A specialist trained on the major brands will get the first visit right. Call (855) 928-1304 for a free estimate and ask specifically about brand training before you book.
The Bottom Line
Nearly every gate installation problem you’ll see in the first year traces back to geometry or to calibration, not to hardware. Check plumb and square before you adjust anything. Measure the first ninety days and document the day-one numbers so a footing problem can’t hide behind time. When the fault is in the operator, match the brand’s calibration sequence rather than guessing. And when a post is moving, when a weld is failing, or when the gate starts on its own, stop and call a professional. If you’re in Whitney and want a free second opinion on a written estimate, call (855) 928-1304. A live person answers, day or night.
Written by the team at Ironworks Gate Co. Whitney.